


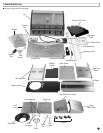
Special offers from our partners!

Find Replacement BBQ Parts for 20,308 Models. Repair your BBQ today.
Assembly/Set up
(cont.)
10
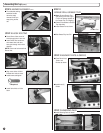
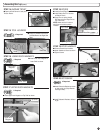
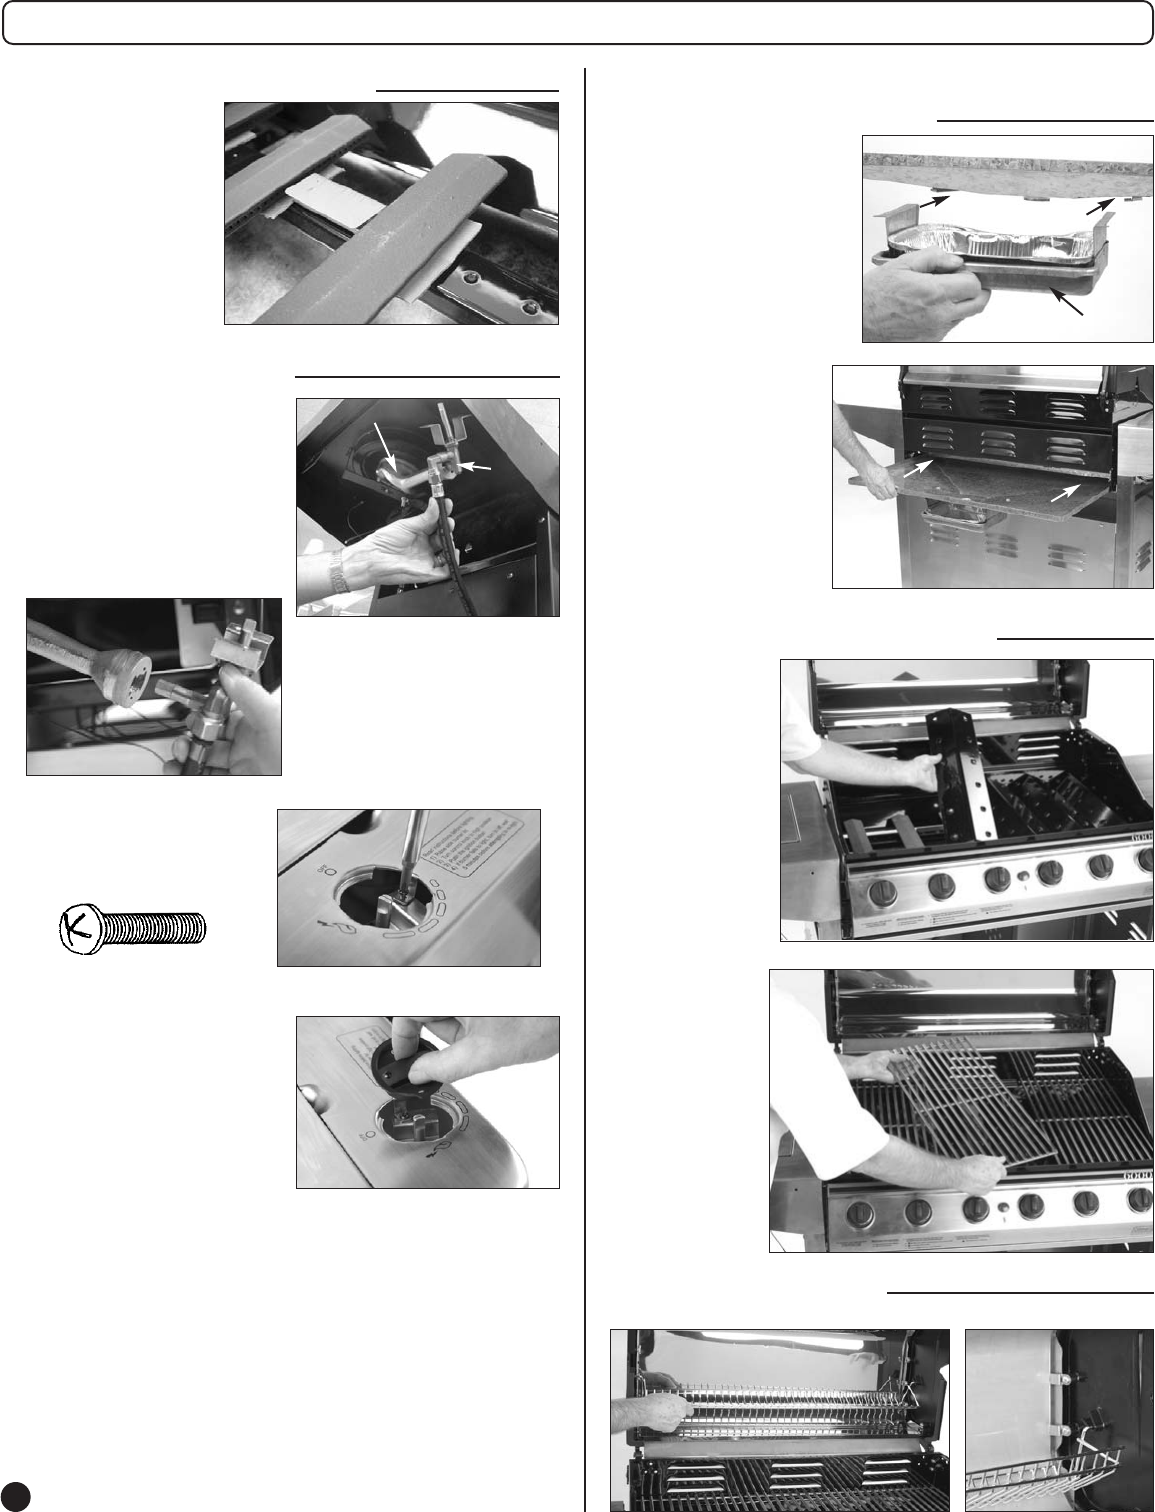
STEP 12
BURNER TENTS & GRATES
STEP 13
WARMING RACK
■ Install Warming Rack as shown.
■ Place Burner Heat
Tents
TM
over
Burners as shown.
■ Install three (3)
Grates.
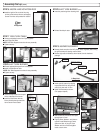
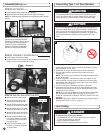
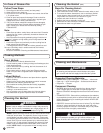
STEP 10
HOSE ROUTING
Orifice
Tube
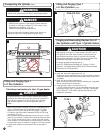
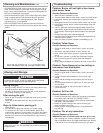
STEP 11
GREASE PAN & GREASE TRAY
■ Slide Grease Tray into Grill.
Grease Pan
Grease Tray
■ Route Burner Valve at end of
Hose through hole in cart end.
■ Insert Orifice Tube into burner,
then rotate valve until valve
stem goes through hole in side
table top.
NOTE: Valve must be inserted into
Burner Inlet.
Valve
Stem
Burner
■ Align screw holes of Valve
Bracket with holes in brace.
■ Install screws and tighten.
■ Install Valve Knob on Valve
Stem.
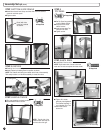
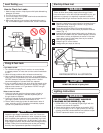
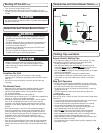
STEP 9
BURNER ASSEMBLY (cont.)
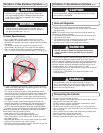
■ The cardboard packing
below the burners
cannot be easily
removed. It will burn
away during the first
use.
■ Note: Remove Grease Tray
and packing from rear of grill.
(This is the storage position of
the Grease Tray for shipping.)
■ Grease Pan attaches to Grease
Tray with slides.
■ Install Grease Pan as shown.
2 Required