


Special offers from our partners!

Find Replacement BBQ Parts for 20,308 Models. Repair your BBQ today.
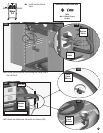
CAUTION
Inspect the gas supply hoses before each use. If there are
cuts, damage, excessive abrasion or wear, replace the hoses
prior to operating the appliance. During assembly of grill and
when attaching or replacing the L. P. gas cylinder, insure that
all gas supply hoses are free of kinks and/or damage and are
at least 3" away from hot surfaces such as the grill housing.
Use only hose replacements specified in the parts list.
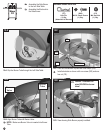
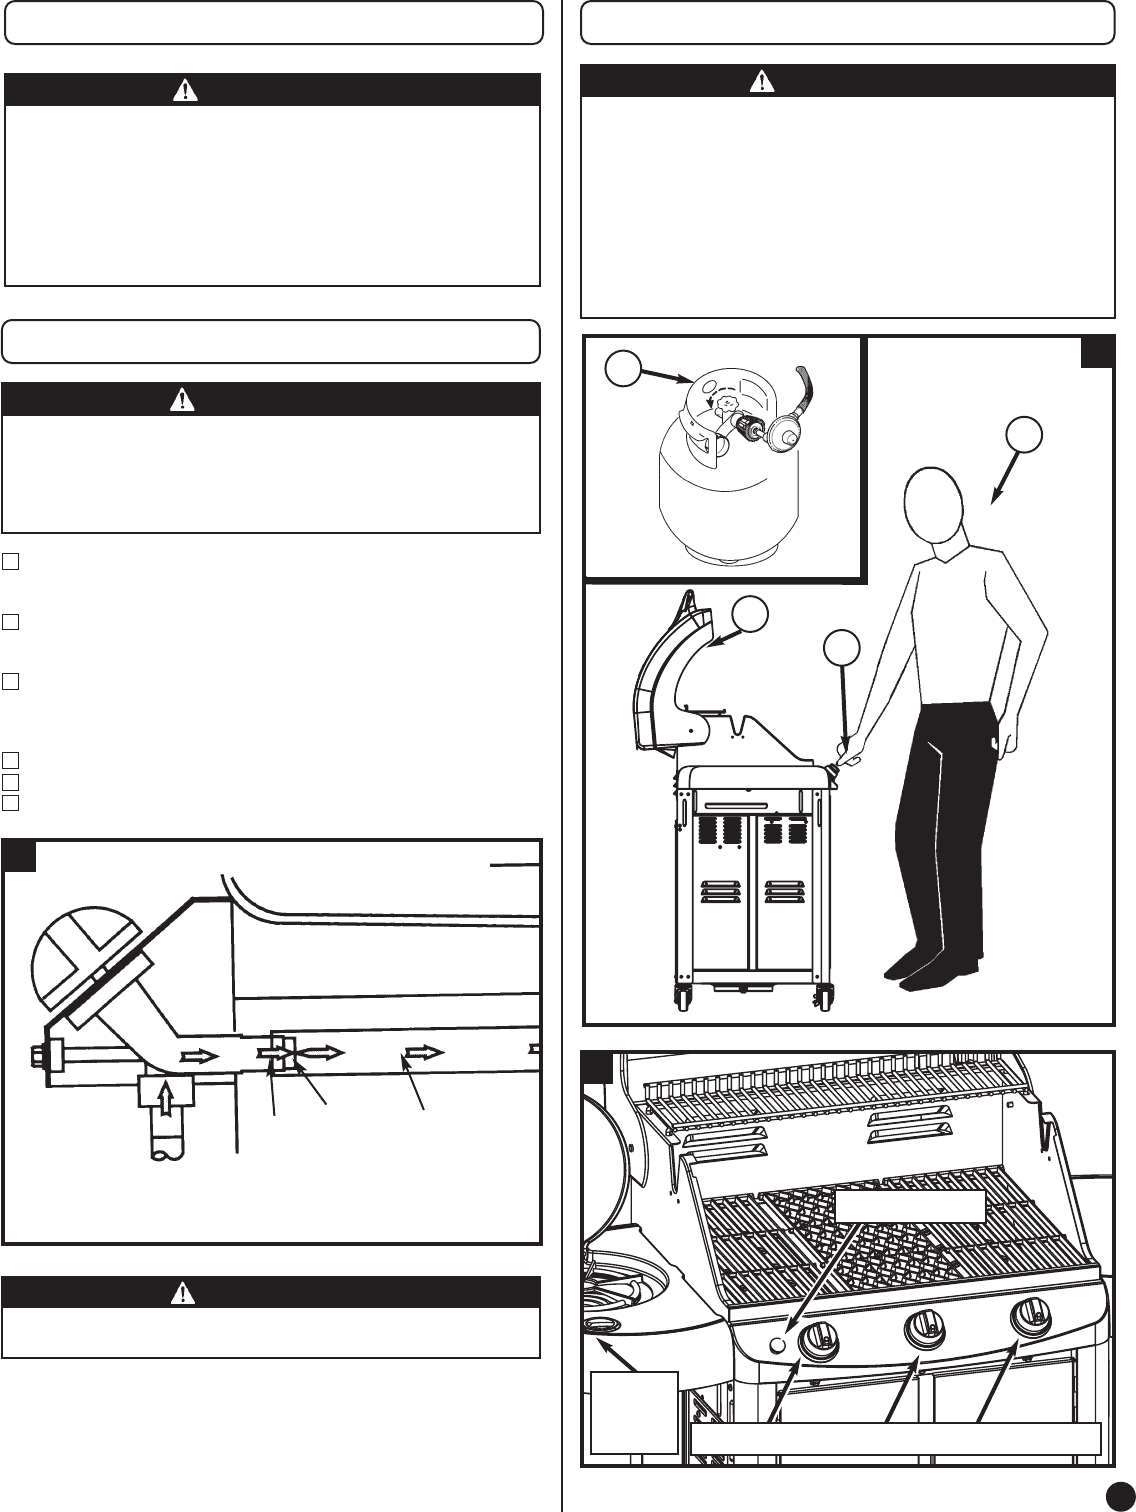
1. Regularly check burner venturi tubes for blockage from an
insect nest. Read “Cleaning the Venturi” on pg. 30 and
“Troubleshooting” on pg. 31.
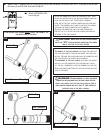
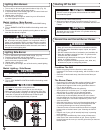
2. Check that all burner venturi [H] are set over the valve
outlets [J] correctly. The valve orifice [K] must be inside the
venturi. (Fig. 17)
3. Inspect the gas supply hoses before each use. Hoses can
be burned or chafed if they are routed improperly. See that
hoses have no kinks, sharp bends or tension. Insure that
hoses are at least 3 inches away from any hot surface.
4. Use only the gas specified.
5. Keep the grill on a level surface.
6. Keep grease pan empty at start up.
WARNING
Failure to follow these safety steps before using grill each
time could result in a fire that could be hazardous to you,
your appliance or property. It is especially important to
observe these steps after the grill has been stored, moved or
cleaned.
Fixing A Fuel Leak
(cont.)
Start-Up Check List
J
K
H
REPRESENTATIVE ILLUSTRATION
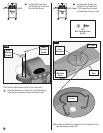
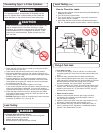
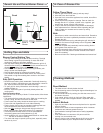
CAUTION
DO NOT add charcoal or lighting fluid!
17
1
2
3
4
WARNING
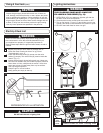
THE FOLLOWING RULES MUST ALWAYS BE
FOLLOWED IN THIS ORDER (Fig. 18):
1. OPEN GRILL LID! Any attempt to light the grill with the
lid down could cause an explosion.
2. Check that the burner control knobs are turned to “OFF”.
3. Turn on fuel supply. For an L.P. gas cylinder, turn the top
cylinder valve knob counterclockwise one rotation to open.
4. DO NOT stand with head or arms over grill.
Lighting Instructions
18
19
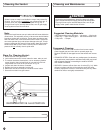
Control Knobs for Main Cooking Area
LEFT
SIDE
BURNER
KNOB
27
Igniter Switch