


Special offers from our partners!

Find Replacement BBQ Parts for 20,308 Models. Repair your BBQ today.
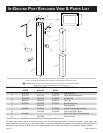
B101586-4-0112 Page 15
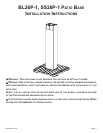
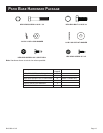
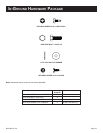
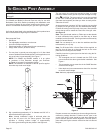
pAtio bASE inStAllAtion
5. For Grill Heads other than R3 Series, continue on to Step 6.
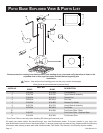
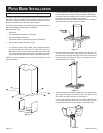
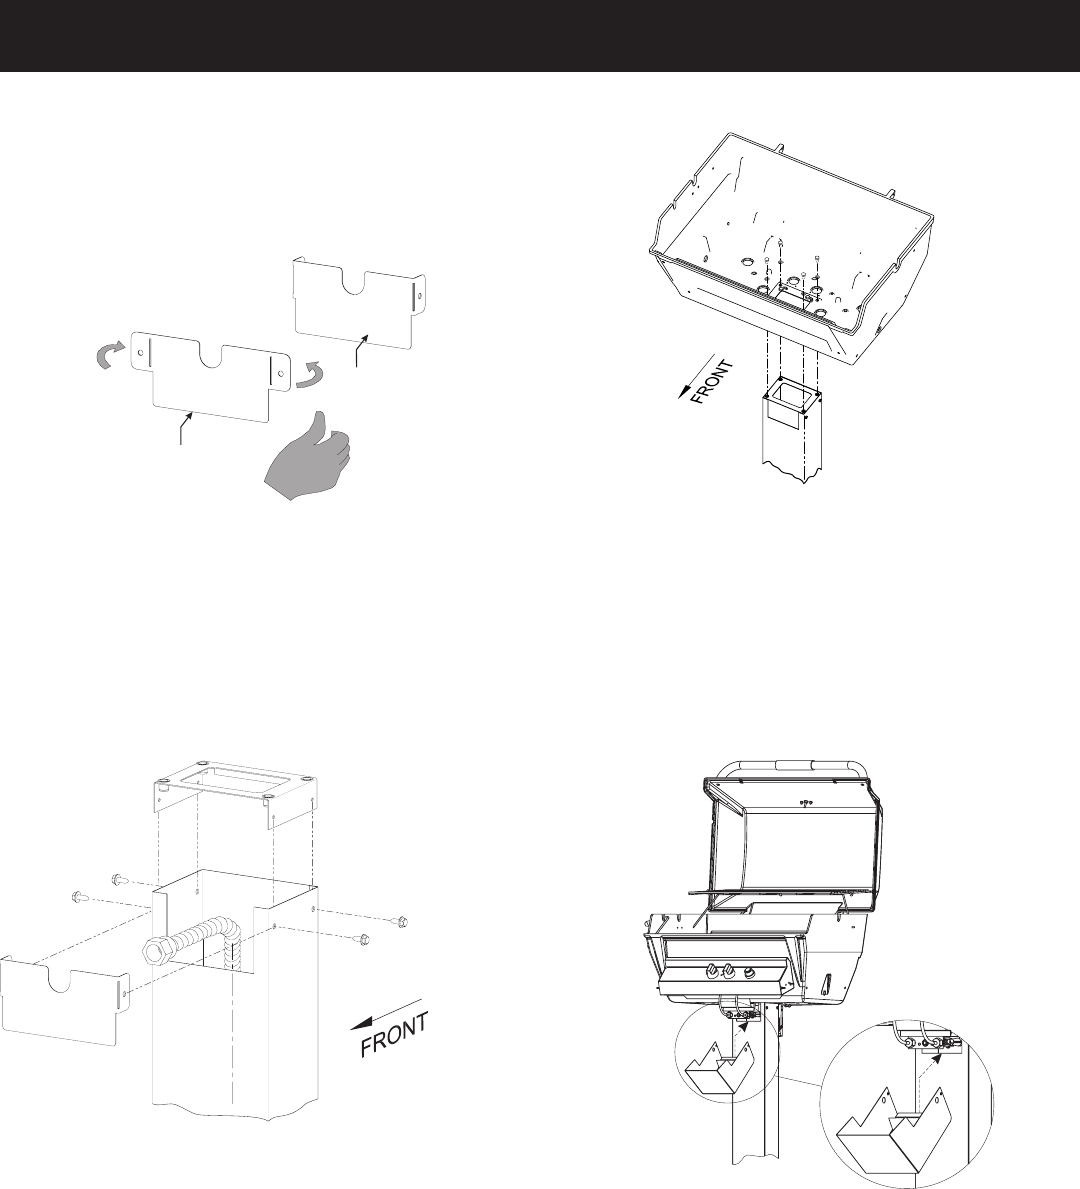
For R3 Series Grill Heads: Bend the tabs on the Post Cover
Plate to 90° as shown in Figure 5. Two different size cover
plates are included with the R3 Series Grill Heads. Choose
the plate that will best t your post.
Note: If using the stainless steel Post Cover Plate, bend the
tabs so they face away from the protective lm. Remove the
protective lm after bending the tabs.
COVER PLATE
PROTECTIVE
FILM SIDE
Figure 5
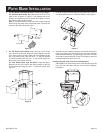
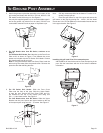
6. For R3 Series Grill Heads: Slide the Post Cover Plate
onto the front of the post. Slide the Upper Bracket onto the
post. Secure the Post Cover Plate and Upper Bracket to the
top of the square post using four #10 – ½ Self Drill screws
for stainless steel posts and 10 x 1/2 Hex Head screws for
black posts. See Figures 5 and 6.
For Grill Heads other than R3 Series: Slide the Upper
Bracket into the post. Secure the Upper bracket to the top
of the square post using four #10 – ½ Self Drill screws. See
Figure 6.
Figure 6
7. Position the grill head onto the post and fasten with ¼-20 x ¾
Hex Head Screws and 1/4 x 5/8 Flat Washers. See Figure 7.
Figure 7
8. Arrange with your local gas company or licensed contractor to
have a gas supply line connected to the inlet of the stainless
steel ex tube assembly. The gas supply must have a shutoff
valve that is close to the post in case of emergency and must
be shutoff when the grill is not in use.
Installing old grill head P3 or P4 to new patio post.
A B101668 kit will need to be used to cover the opening in the
post. See the instructions with the kit for further installation
information.
Figure 8