Special offers from our partners!

Find Replacement BBQ Parts for 20,308 Models. Repair your BBQ today.
19
BURNER ASSEMBLY/MAINTENANCE CONTINUED
5. Use a narrow bottle brush or a stiff wire bent into a small hook to
run through each burner tube and flame port several times.
Note: Wear eye protection when performing procedure 6.
6. Use compressed air to blow into burner tube and out the flame
ports. Check each port to make sure air comes out each hole.
7. Wire brush entire outer surface of burner to remove food residue
and dirt.
8. Check burner for damage, if any large cracks or holes are
found replace burner.
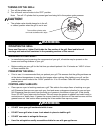
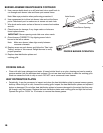
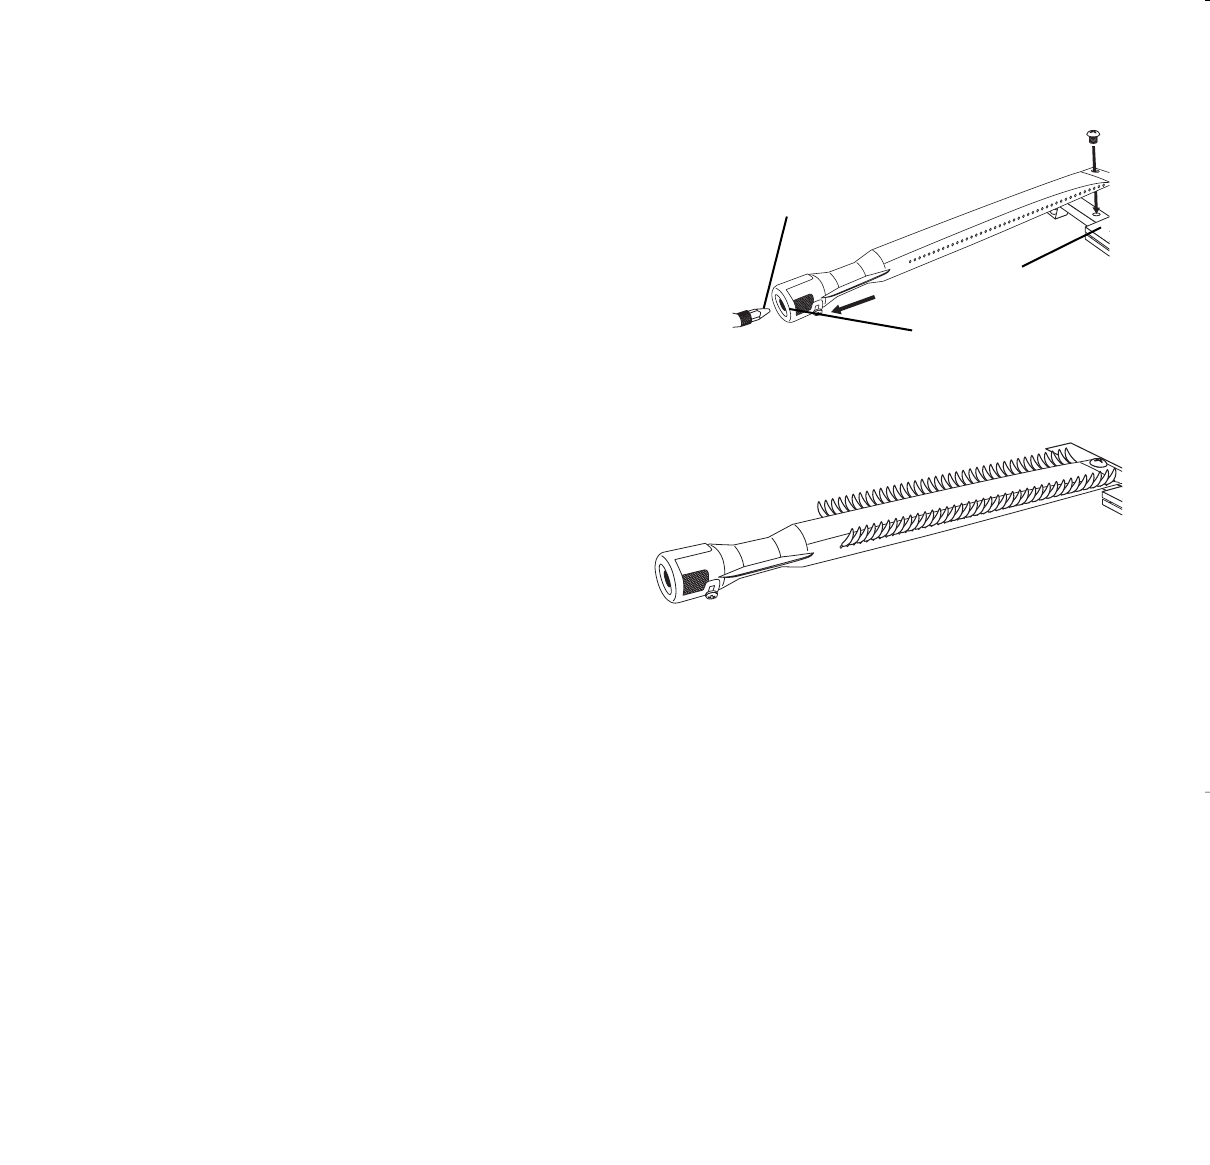
IMPORTANT: Burner opening must slide over valve nozzle.
9. Orient burners CORRECTLY by aligning screw hole in
burner to the left as shown.
Note: Make sure burner tubes align evenly between
crossover channels.
10. Replace screw on each burner and follow the "Gas Leak
Testing" section of this manual. Relight burners to verify
proper operation.
11. Replace heat distribution plates and
cooking grills.
COOKING GRILLS
• Clean with mild soap detergent and water. A brass bristled brush or a nylon cleaning pad can be used to
remove residue from the stainless steel surfaces. Do not use steel wire bristles to clean the cooking grills.
Steel can cause the finish to chip or crack. DO NOT use a commercial oven cleaner.
HEAT DISTRIBUTION PLATES
• Periodically, it may be necessary to inspect and clean the heat distribution plate to prevent excess grease
build-up. When the grill is cold, remove the cooking grills. Inspect the heat distribution plates and replace if
broken or damaged. Do not allow heat distribution plates to become damaged to the extent that they may
fall through onto the burners. Replace the heat distribution plates and cooking grills and light the burners.
Operate the grill on "HIGH" for 10 minutes to remove the excess grease.
PROPER BURNER OPERATION
Valve Nozzle
Burner Opening
Crossover Channel


