


Special offers from our partners!

Find Replacement BBQ Parts for 20,308 Models. Repair your BBQ today.
8
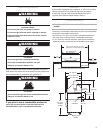
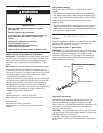
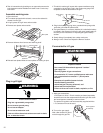
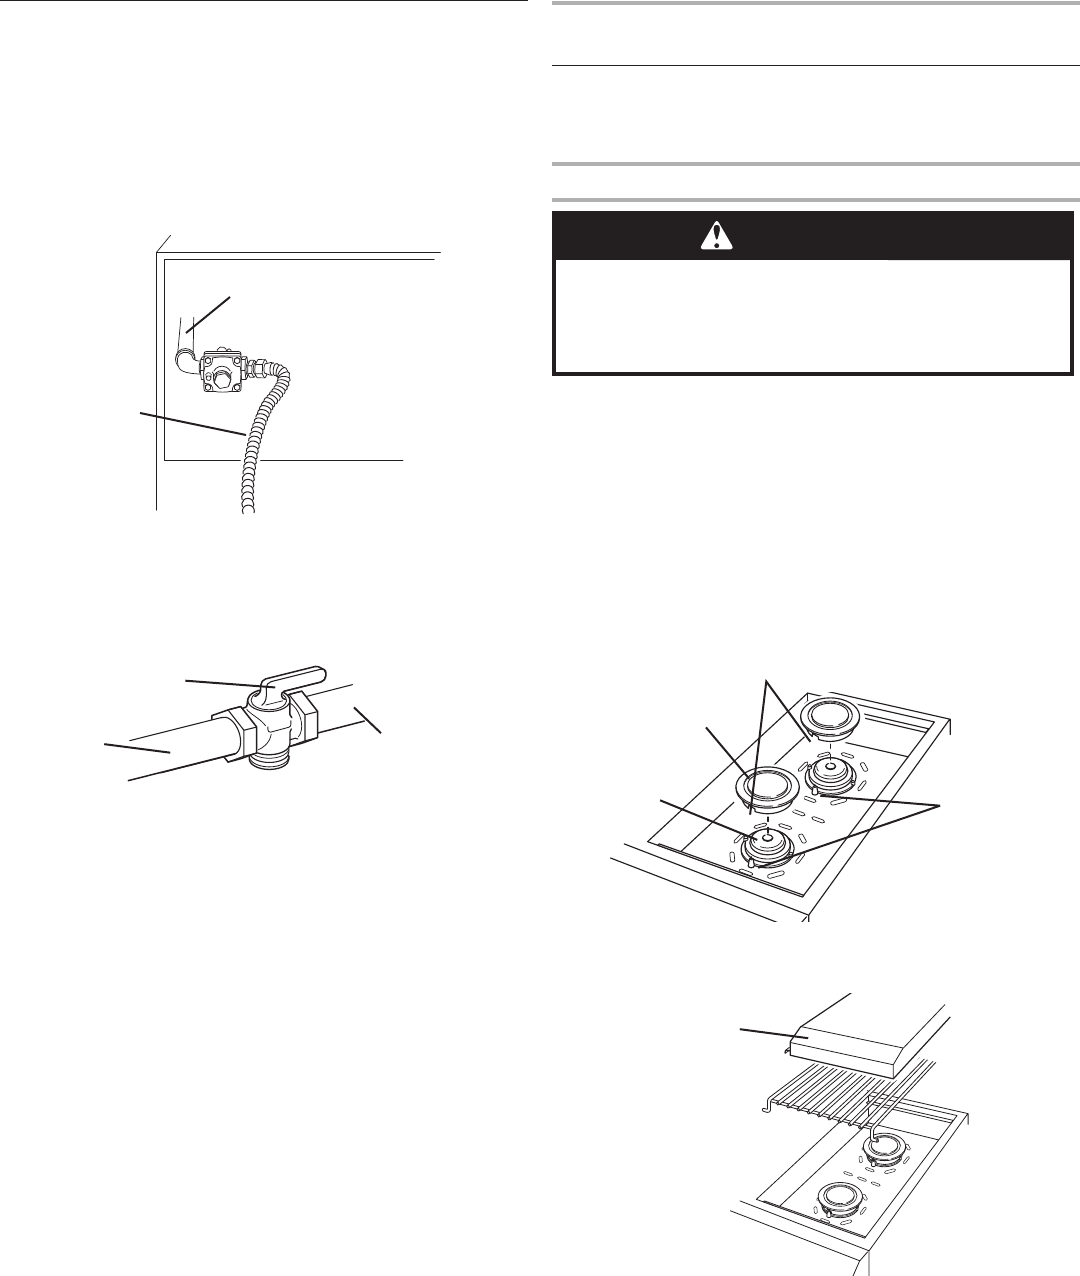
rear of grill
fl exible gas
connector
1/2
” grill
gas pipe
Built-In Outdoor Grills
(non-combustible construction)
Natural Gas:
Built-in grill models are equipped for use with Natural gas. They
are design-certifi ed by CSA International for L.P. (propane or
butane) gases with appropriate conversion.
Built-in models are set for natural gas use and have a pressure
regulator with 1/2” female pipe threads.
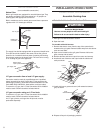
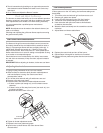
The supply line shall be equipped with an approved shutoff valve.
This valve should be located in the same area as the grill and
should be in a location that allows ease of opening and closing.
Do not block access to the shutoff valve. The valve is for turning
on or shutting off gas to the appliance.
To grill
Shutoff valve
“open” position
gas supply line
L.P. gas conversion from a local L.P. gas supply:
Conversion must be made by a qualifi ed person. A qualifi ed
natural gas technician shall provide the L.P. gas supply to the
selected grill location in accordance with the National Fuel Gas
Code ANSI Z223.1/NFPA 54 -latest edition, and local codes.
To convert to L.P. gas, the L.P. Gas Conversion Kit No. 4396311
must be used. Follow Instructions included with kit.
L.P. gas conversion using an L.P. fuel tank:
To convert to L.P. gas, the L.P. Gas Conversion Kit No. 4396311
must be used. Follow Instructions included with kit.
An L.P. gas cylinder, not larger than 20 pounds, must be
purchased separately.
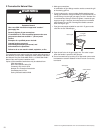
Portable Outdoor Grill Installation
Assemble Cooking Area
Portable Architect
TM
Series Outdoor Grill
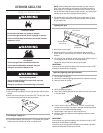
WARNING
Excessive Weight Hazard
Use two or more people to move and install grill.
Failure to do so can result in back or other injury.
1. Move grill into desired outdoor location.
2. Open the hood.
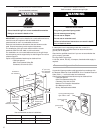
For models with side burners:
1. Remove side burner cover from the top of the carton that is
located on the grill grate. Remove bubble wrap from side burner
cover and set aside.
2. Open carton located on the grill grate. Remove side burner
grate, unwrap and set aside.
3. Remove burners and burner caps from carton and unwrap.
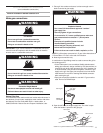
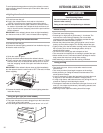
4. Install each set of burners and caps inside the side burner
cavity as shown.
5. Install side burner grate and cover (with extension toward
grill) as shown.
notch
burner
cap
burner
alignment
tab
cover
extension
burner grate
6. Dispose of/recycle all packaging material.
INSTALLATION INSTRUCTIONS