


Special offers from our partners!

Find Replacement BBQ Parts for 20,308 Models. Repair your BBQ today.
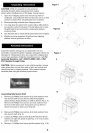
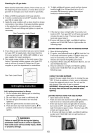
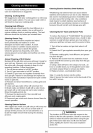
Checking for LP gas leaks
Never test for leaks with a flame. Prior to first use, at
the beginning of each season, or every time your LP
gas tank is changed, you must check for gas leaks.
1. Make a 50/50 (soap/water) mild soap solution.
2. Turn the control knobs to full OFF position; then turn
gas ON at supply tank.
3. Apply the soap solution with a clean brush to all gas
connections. See below. If growing bubbles appear
in the solution the connections are not properly
sealed. Check each fitting and tighten or repair as
necessary.
Gas Connection Leak Check
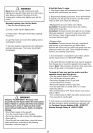
4. If you have a gas connection leak you cannot repair,
turn gas OFF at supply tank, disconnect fuel line
from your grill and call 1-800-4-MY-HOME or your
gas supplier for repair assistance.
5. Also apply soapy solution to the tank seams. See
below. If growing bubbles appear, shut tank OFF
and do not use or move it! Contact an LP gas
supplier or your fire department for assistance.
Gas Tank Leak Check
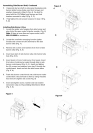
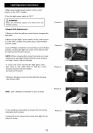
Grill Lighting Instructions for Burner
1. Do not smoke while lighting grill or checking
gas supply connections.
2. Be sure that LP gas tank is sufficiently full.
3. Be sure all gas connections are securely
tightened.
4. Open the grill main lid and side burner lid.
5. Push and turn any main burner knob to _HI
position, hold in for 3 to 5 seconds until burner
ignites.
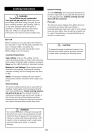
//_ WARNING
Failure to open grill lid during the lighting
procedure could result in a fire or explosion
that could cause serious bodily injury, death,
or property damage.
,
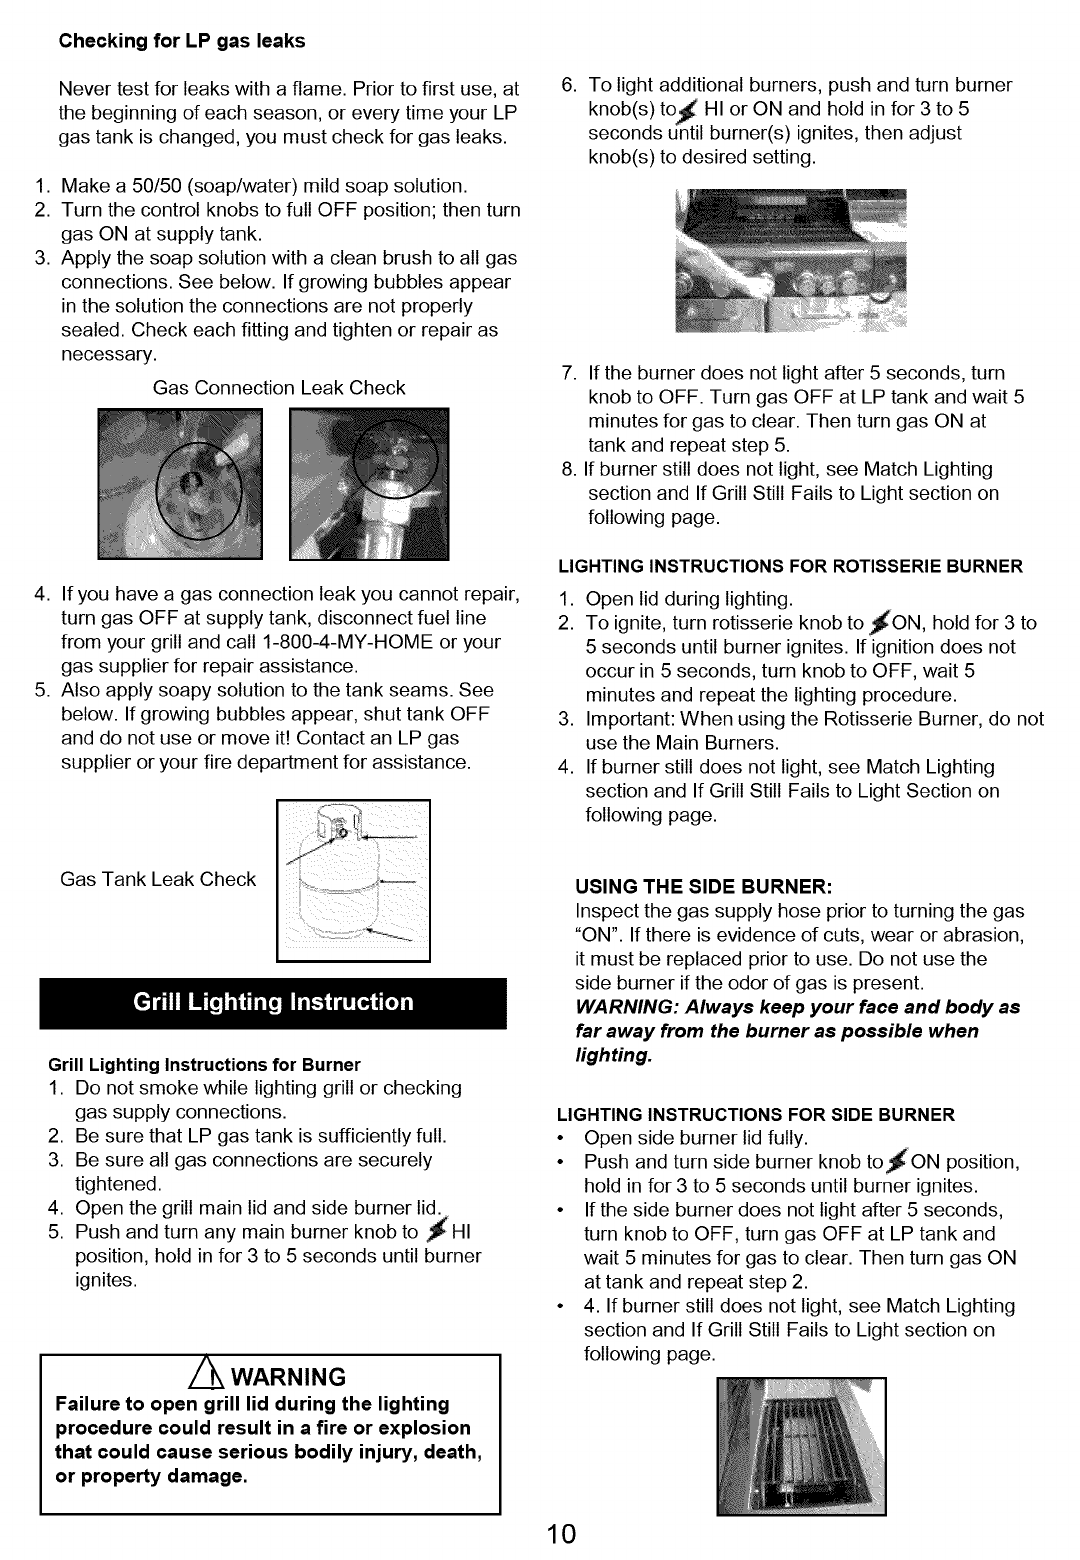
To light additional burners, push and turn burner
knob(s) to_ HI or ON and hold in for 3 to 5
seconds until burner(s) ignites, then adjust
knob(s) to desired setting.
7. If the burner does not light after 5 seconds, turn
knob to OFF. Turn gas OFF at LP tank and wait 5
minutes for gas to clear. Then turn gas ON at
tank and repeat step 5.
8. If burner still does not light, see Match Lighting
section and If Grill Still Fails to Light section on
following page.
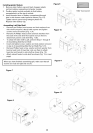
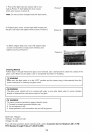
LIGHTING INSTRUCTIONS FOR ROTISSERIE BURNER
1. Open lid during lighting.
2. To ignite, turn rotisserie knob to _ON, hold for 3 to
5 seconds until burner ignites. If ignition does not
occur in 5 seconds, turn knob to OFF, wait 5
minutes and repeat the lighting procedure.
3. Important: When using the Rotisserie Burner, do not
use the Main Burners.
4. If burner still does not light, see Match Lighting
section and If Grill Still Fails to Light Section on
following page.
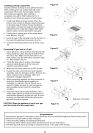
USING THE SIDE BURNER:
Inspect the gas supply hose prior to turning the gas
"ON". If there is evidence of cuts, wear or abrasion,
it must be replaced prior to use. Do not use the
side burner if the odor of gas is present.
WARNING: Always keep your face and body as
far away from the burner as possible when
lighting.
LIGHTING INSTRUCTIONS FOR SIDE BURNER
• Open side burner lid fully.
• Push and turn side burner knob to,ON position,
hold in for 3 to 5 seconds until burner ignites.
• If the side burner does not light after 5 seconds,
turn knob to OFF, turn gas OFF at LP tank and
wait 5 minutes for gas to clear. Then turn gas ON
at tank and repeat step 2.
• 4. If burner still does not light, see Match Lighting
section and If Grill Still Fails to Light section on
following page.
10