Special offers from our partners!

Find Replacement BBQ Parts for 20,308 Models. Repair your BBQ today.
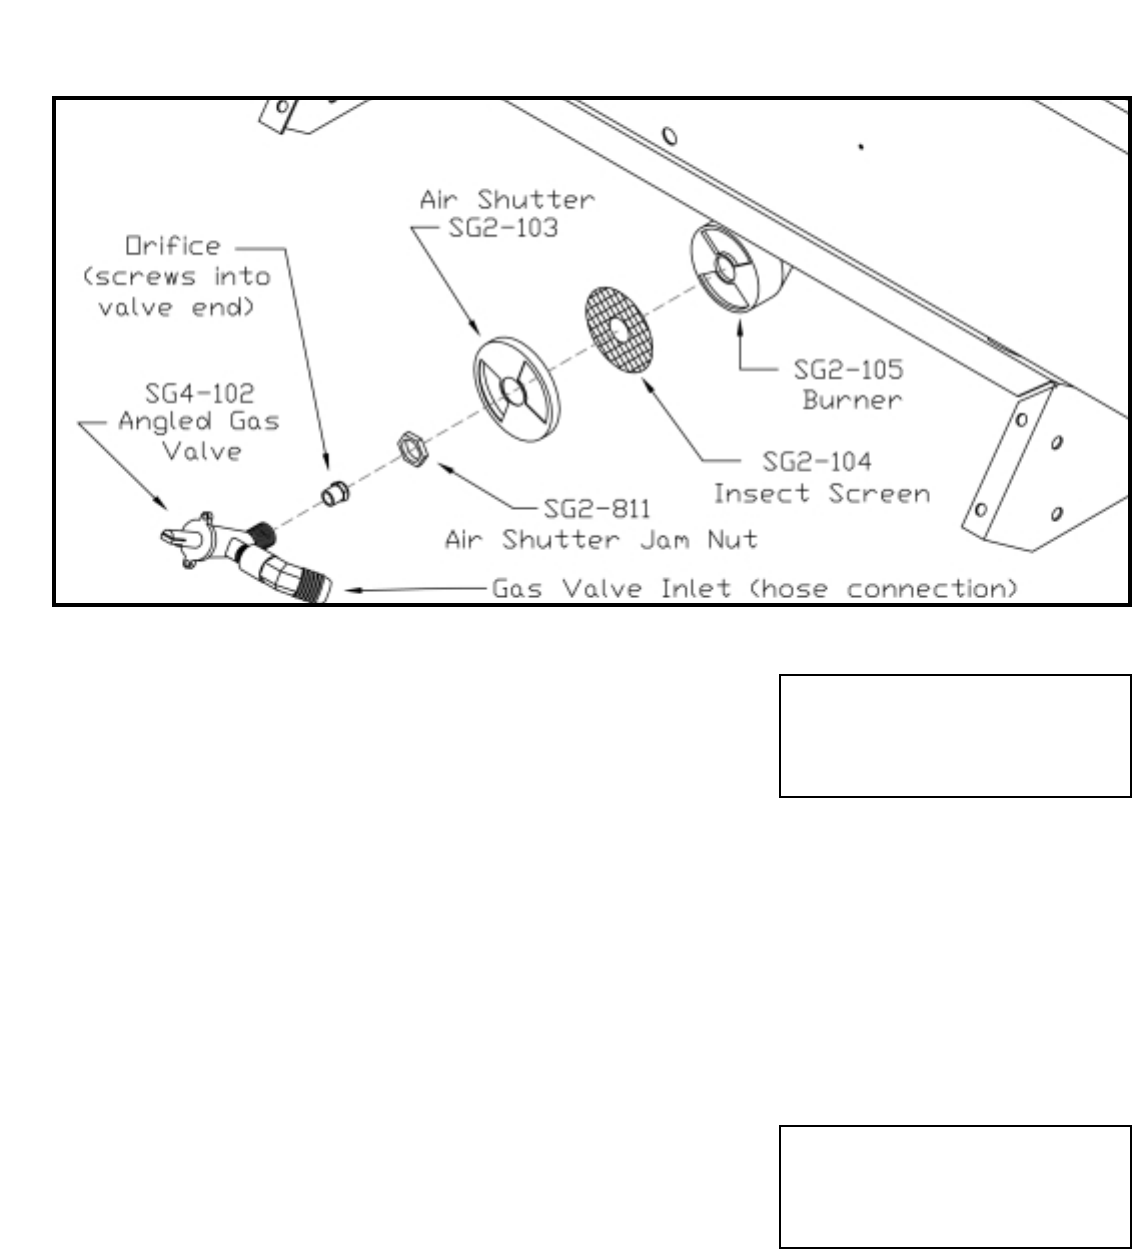
SG5-LABEL-LP GAS CONVERSION KIT INSTRUCTIONS EPIC MODELS
Natural Gas to LP (propane) Gas
STEP 1 Close valve at gas supply.
STEP 2 At the grill, remove on/off knob from gas valve.
STEP 3 Remove the control panel by removing the Phillips head screws.
STEP 4 Using 2 wrenches, loosen and remove the supply line from the gas valve inlet.
STEP 5 Using a wrench, loosen air shutter jam nut by turning counter-clockwise.
STEP 6 Remove gas valve from burner by turning counter-clockwise.
STEP 7 Remove the No. 48 orifice from gas valve. It is the hex shaped fitting located in the end that was screwed into the burner.
STEP 8 Replace the No. 48 Natural gas orifice with the No. 55 LP (propane) gas orifice. Installation is the reverse.
STEP 9 Use only a Holland Grill factory authorized LP (propane) hose and regulator assembly.
STEP 10 Attach the regulator hose to the gas valve inlet and then attach big black plastic nut to LP tank.
NOTE: Be sure to properly adjust the air shutter before tightening the jam nut.
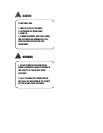
WARNING: After installation is complete check for leaks using a soapy water solution.Tighten fittings as necessary to correct.
NEVER OPERATE THIS APPLIANCE OR ANY OTHER APPLIANCE WITH A GAS LEAK. SERIOUS INJURY OR DEATH MAY OCCUR!
SG5-LABEL-NAT GAS CONVERSION KIT INSTRUCTIONS EPIC MODELS
LP (propane) Gas to Natural Gas
STEP 1 Close valve on LP (propane) tank.
STEP 2 Disconnect and remove the regulator and hose assembly from the LP (propane) tank by
unscrewing counter-clockwise the large black plastic nut.
STEP 3 At the grill, remove on/off knob from gas valve.
STEP 4 Remove the control panel by removing the Phillips head screws.
STEP 5 Using 2 wrenches, loosen and remove the regulator hose from the gas valve inlet. Save for possible future use.
STEP 6 Using a wrench, loosen air shutter jam nut by turning counter-clockwise.
STEP 7 Remove gas valve from burner by turning counter-clockwise.
STEP 8 Remove the No. 55 LP (propane) gas orifice from gas valve. It is the hex shaped fitting located in the end that was screwed into the burner.
STEP 9 Replace the No. 55 LP (propane) gas orifice with the No. 48 Natural gas orifice. Installation is the reverse.
NOTE: Be sure to properly adjust the air shutter before tightening the jam nut. Place conversion sticker in highly visible location.
WARNING: After installation is complete check for leaks using a soapy water solution.Tighten fittings as necessary to correct. NEVER OPERATE THIS
APPLIANCE OR ANY OTHER APPLIANCE WITH A GAS LEAK. SERIOUS INJURY OR DEATH MAY OCCUR!
EPIC GRILL GAS CONVERSION KIT INSTRUCTIONS
Apply included sticker to unit after converting.
Apply included sticker to unit after converting.


