


Special offers from our partners!

Find Replacement BBQ Parts for 20,308 Models. Repair your BBQ today.
www.desatech.com
116526-01B26
OPERATING FIREPLACE
Continued
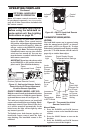
1. Press the POWER and LOCK buttons
together to turn on the hand-held remote
control.
2. Press AUTO button to select this mode.
3. Set the desired room temperature by press-
ing the TEMP + or - buttons.
4. Press the POWER and LOCK buttons
together to turn off the replace
Note: Do not leave the hand-held remote in the
AUTO mode close to the replace. The radiant
heat from the replace will turn off the replace.
Ideally, place the hand-held remote in the center
of the room facing towards the replace.
Note: Do not hold the hand-held remote for
a long time. Body temperature will affect its
operation in the AUTO mode.
Safety Features
When away from home for an extended period
of time or as a child safety feature to prevent
accidental ignition of the replace, the receiver
ON/OFF/REMOTE switch should be in the
OFF position.
Auto Shutoff Feature
1. If the average room temperature exceeds
82 degrees Fahrenheit (28 degrees Centi-
grade), the hand-held remote control will
perform a safety override and shut the
replace off. This feature is not available
in the MANU mode.
2. The receiver continuously receives signals
from the hand-held remote to control the
room temperature. If the hand-held remote
is misplaced, obstructed or for any reason
cannot transmit to the receiver, the receiver
will shut off the replace after 8 minutes.
This feature allows the user to lock/unlock
the keypad on the hand-held remote in the
MANU or AUTO mode to prevent inadvertent
operation (i.e. children operating the hand-held
remote control, etc.). The keypad is locked in
either on or off. Press the POWER and LOCK
buttons together to turn the unit on or off.
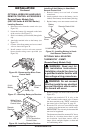
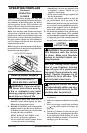
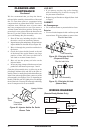
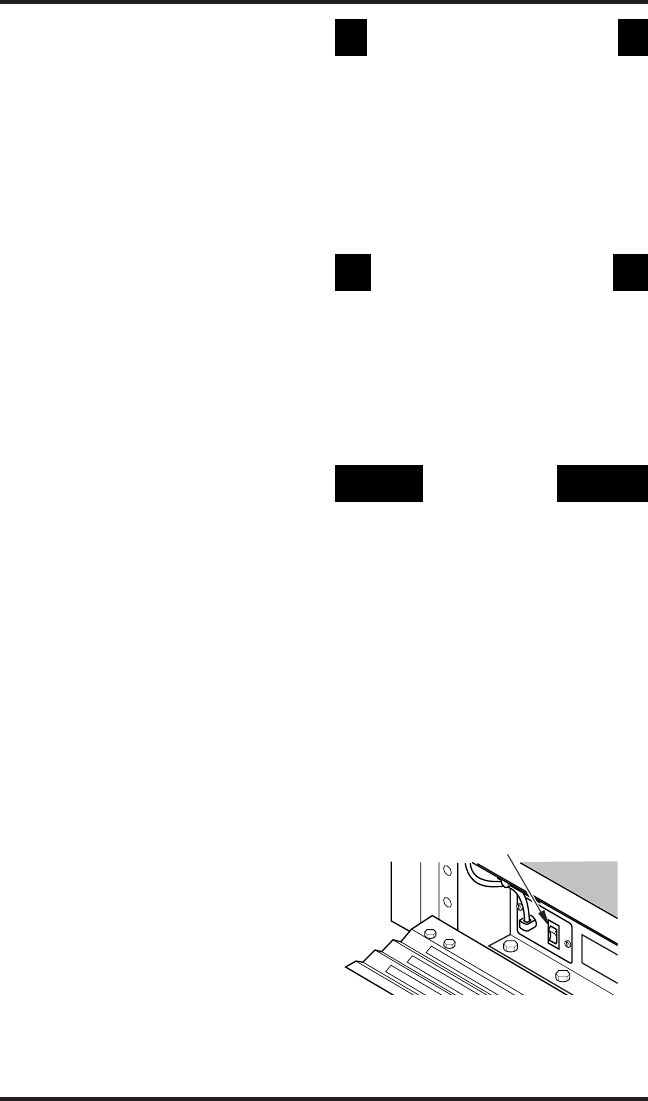
Figure 44 - AUTO/OFF/ON Blower Switch
AUTO/OFF/ON Switch
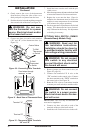
MOUNTED THERMOSTAT
Make sure the heater switch is on AUTO and set
the temperature adjustment on wall thermostat
to the desired setting. The thermostat has been
electronically calibrated at the factory and re-
quires no adjustment or leveling.
Upon installation, the thermostat must be al-
lowed to stabilize at room temperature for a
minimum of 30 minutes for proper operation.
See installation instructions on pages 19 and 20.
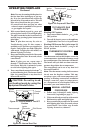
MOUNTED SWITCH
Make sure the heater switch is on AUTO. This wall
switch works just like the conventional light switch.
Flip the switch up for on and down for off.
Note: Make sure that this switch is not in a posi-
tion to be mistaken for a light switch. This may
result in the replace being inadvertently turned
on without the proper precautions being taken.
See installation instructions on page 20.
BLOWER
This blower has three settings: ON, OFF and
AUTO. In the ON position, the blower will oper-
ate constantly. In the OFF position, the blower
will not operate. In the AUTO position, the
blower will start when the thermostat senses a
sufcient increase in rebox temperature.
Note: Your replace and thermostat blower
will not turn on and off at the same time. The
replace may run for several minutes before the
blower turns on. After the heater modulates to
the pilot position, the blower will continue to
run. The blower will shut off after the rebox
temperature decreases.
Note: It is safe to operate replace with blower
turned off. However, the blower helps distribute
heated air from the replace.