


Special offers from our partners!

Find Replacement BBQ Parts for 20,308 Models. Repair your BBQ today.
18
Important!
There are two levels of testing for leaks. (1) Gas supply connection points that are accessible with the grill
installed can be leak tested by the user. (2) Connections that are internal to the grill and therefore require dis-
assembly should only be leak-tested by a licenced gas fitter. The full procedure below is to be performed by a
licenced gas fitter only. Leak testing instructions for the user are in section ‘Care and maintenance’.
GENERAL:
Although all gas connections on the grill are leak tested at the factory prior to shipment, a complete gas tightness
check must be performed at the installation site by a qualified gas fitter due to possible mishandling in shipment,
or excessive pressure unknowingly being applied to the unit. Check the whole system for leaks, or immediately
check if the smell of gas is detected.
Before Testing:
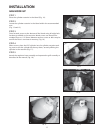
Do not smoke while leak testing. Extinguish all open flames. Never leak test with an open flame. Make a soap
solution of one part liquid detergent and one part water. You will need a spray bottle, brush, or rag to apply the
solution to the fittings. For LPG units, check with a full cylinder. The valve panel must be removed to check the
valves and fittings. Remove the knobs and the safety valve knob, then remove the 2 screws which fasten the
valve panel to the unit (you will need a Philips screw driver for this). Pull the valve panel outward and unplug the
wires from the ignition module and the back of the ignition button. In the back of the unit remove the screws
which hold the service panel in place. Remove the service panel.
To Test:
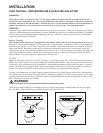
Make sure all control valves are in the “OFF” position. Turn the gas supply “ON”. Check all connections from the
supply line, or LPG cylinder up to and including the manifold pipe assembly. Apply the soap solution around the
connection, valve, tubing and end of the manifold. Soap bubbles will appear where a leak is present. If a leak is
present, immediately turn off gas supply, tighten any leaking connections, turn gas on, and recheck. Check all
the gas connections at the base of the control valves where they screw into the manifold pipe.
To check rotisserie burner and safety valve the burner must be lit, then leak test the connections located behind
the service panel. If you cannot stop a gas leak turn off the gas supply and call your local gas utility, or the dealer
you purchased the appliance from. Only those parts recommended by the manufacturer should be used on the
grill. Substitution can void the warranty.
WARNING!
Do not use the grill until all connections have been checked and do not leak.
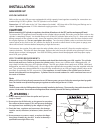
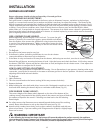
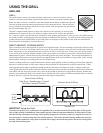
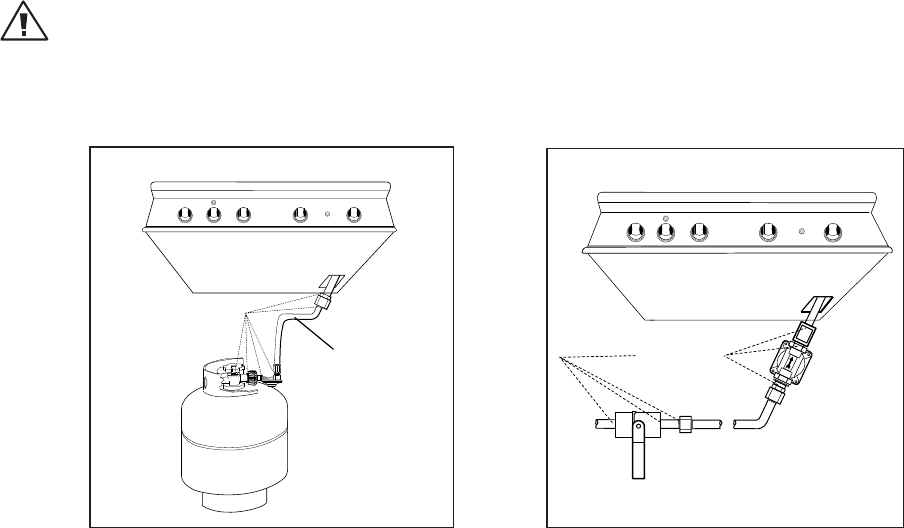
Check all gas supply fittings for leaks before each use. Keep a spray bottle of soapy water near the gas supply
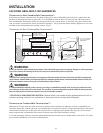
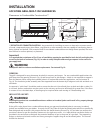
shut-off valve. Spray all the fittings. Bubbles indicate leaks (Fig. 19 & 20).
CHECK HOSE FOR
SIGNS OF ABRASIONS,
CRACKS, OR LEAKS
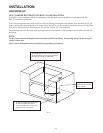
LEAK TEST POINTS
Bottom of unit
LEAK TEST POINTS
INSTALLATION
LEAK TESTING PROCEDURE FOR A QUALIFIED GAS FITTER
FIG. 19 LPG Gas
FIG. 20 Nat. Gas