Special offers from our partners!

Find Replacement BBQ Parts for 20,308 Models. Repair your BBQ today.
19
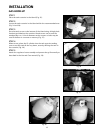
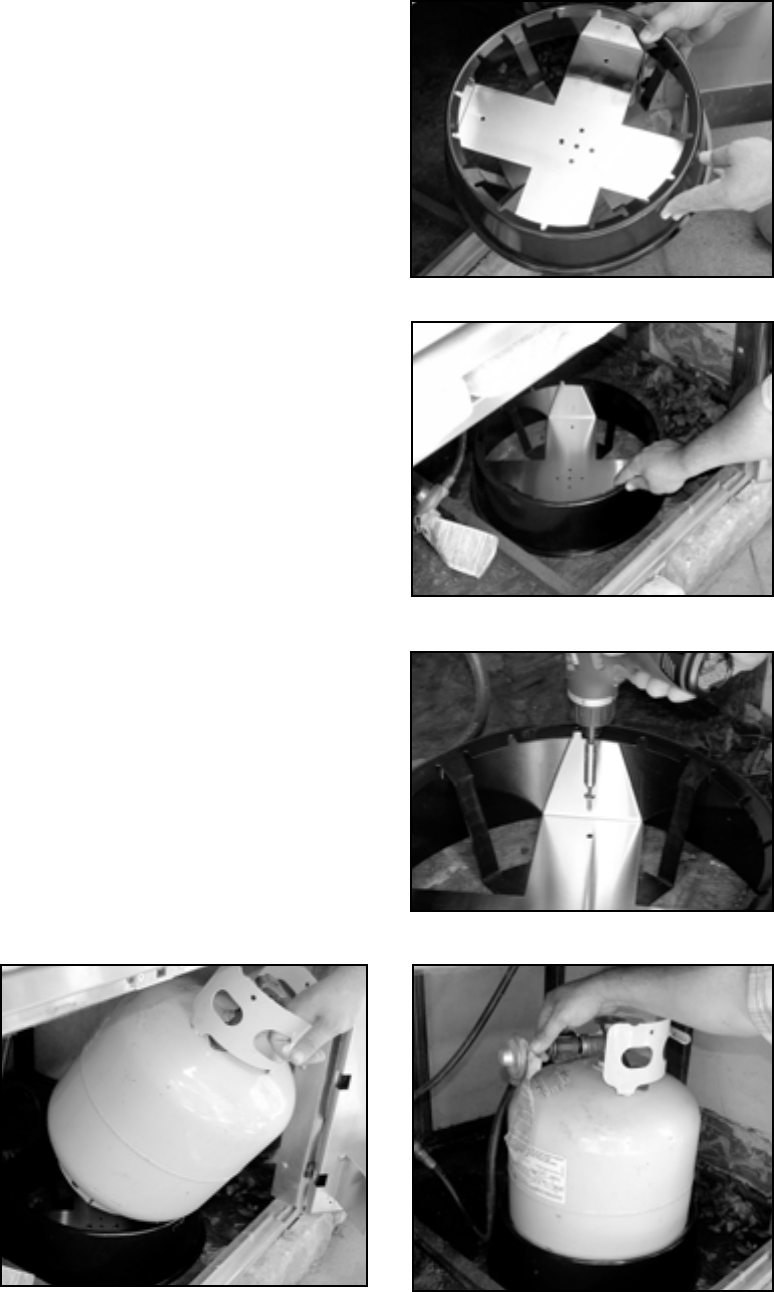
STEP 1
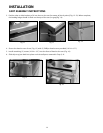
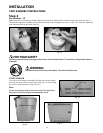
Place the tank restraint in the island (Fig. 25).
STEP 2
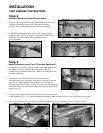
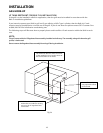
Locate the tank restraint in the island within the recommended area
(Fig. 24 and 26).
STEP 3
Once located, secure to the bottom of the island using all eight hole
locations provided on the restraint. Wood screws can be used for
wooden floors or 1/4 inch diameter anchor screws or bolts may be
used if the floor is concrete or masonry (Fig. 27).
STEP 4
When secure, place the LP cylinder into the tank restraint making
sure to seat the tank all the way down, securely affixing the tank in
the restraint (Fig. 28).
STEP 5
Attach the regulator hose assembly and operate the grill normally as
described in the Use and Care manual (Fig. 29).
INSTALLATION
GAS HOOKUP
Fig. 25
Fig. 26
Fig. 27
Fig. 28
Fig. 29


