Special offers from our partners!

Find Replacement BBQ Parts for 20,308 Models. Repair your BBQ today.
ÖÖ
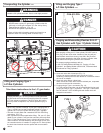
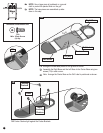
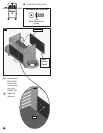
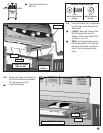
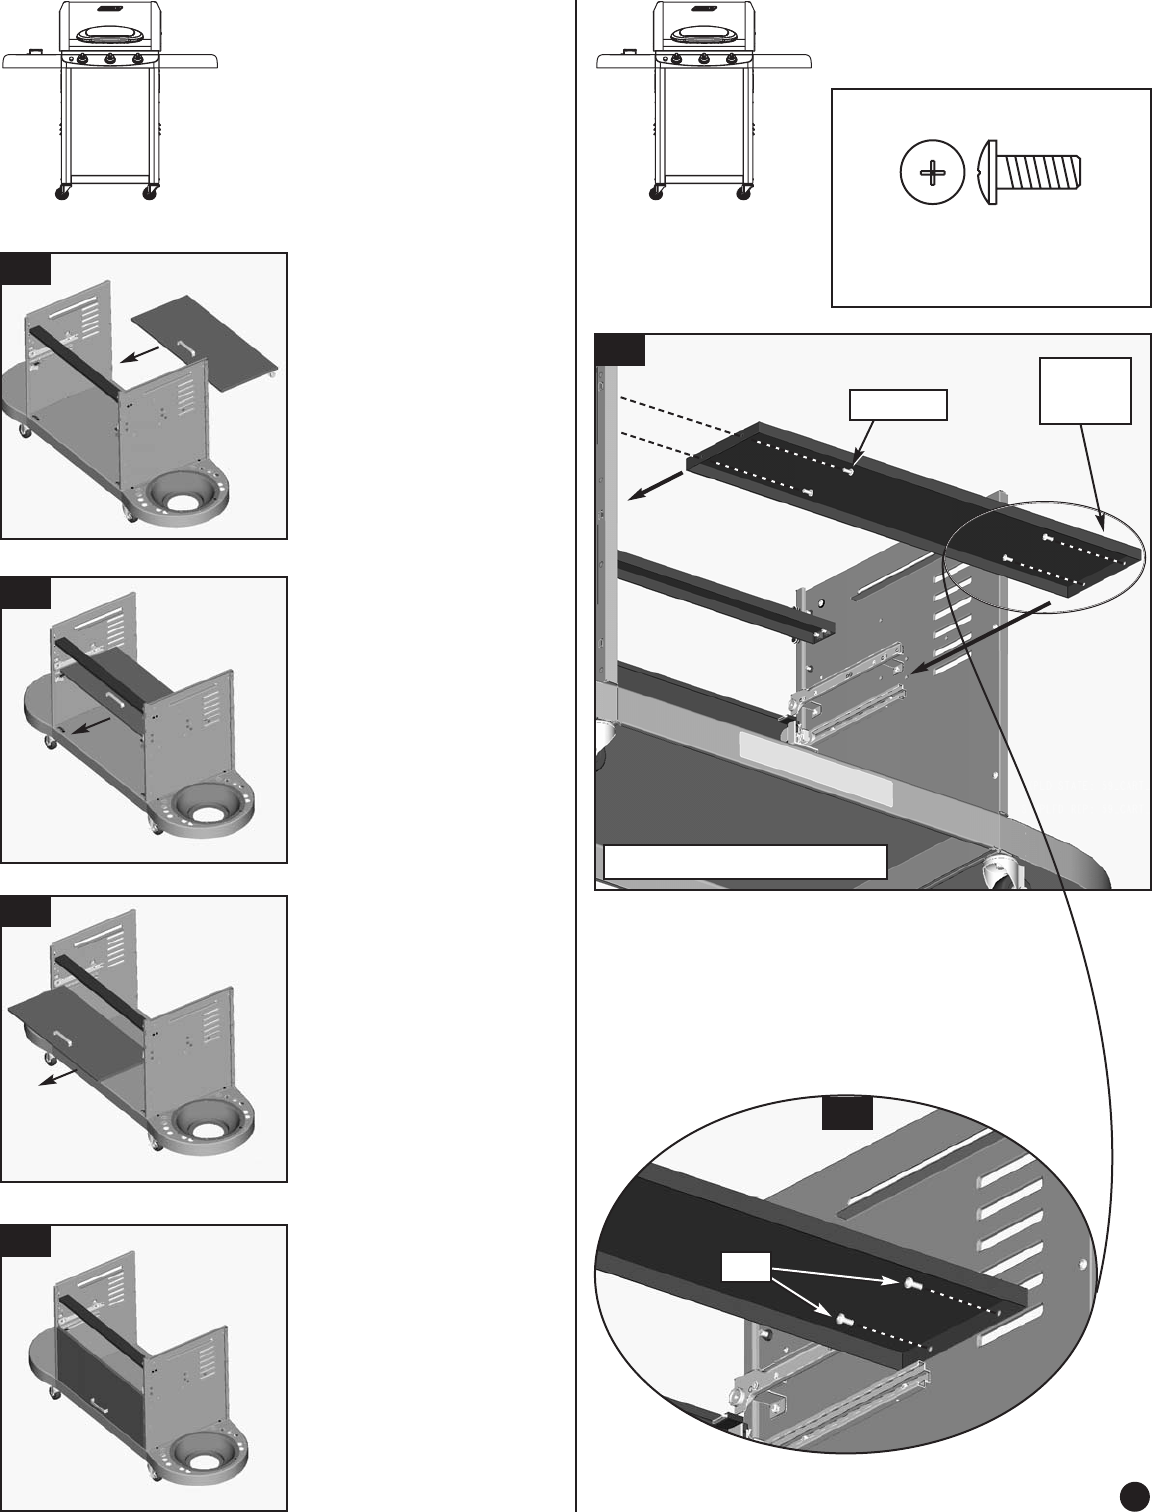
Assemble the Cart Spacer
to the Grill Cart.
Step
8
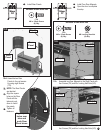
8-A. Assemble one Cart Spacer between the Left
and Right Panels using four Screws (TN).
ÖÖ
NOTE: The Cart Spacer is assembled with
the flange down.
ÖÖ
Tighten all fasteners.
Hardware shown actual size
(TN)
M6 x 15mm Screw
(4) Qty.
8-B
8-B. View of Cart Spacer properly assembled.
11
ÖÖ
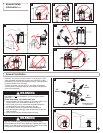
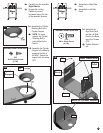
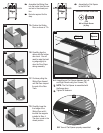
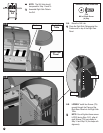
Assemble the Sliding Door
into the tracks from the rear
and set in the closed posi-
tion.
ÖÖ
No tools required for this
step.
Step
7
7-A
7-B
7-C
7-D
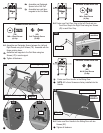
7-A. Position the Sliding
Door as shown in 7-A.
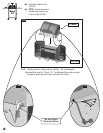
7-B. Carefully align the
rollers with the bottom
door track. You will
need to raise the lead-
ing edge slightly to
clear the Door Stops
during assembly.
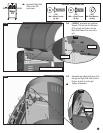
7-C. Continue pulling the
Sliding Door forward
until the Door stops at
the end of the Door
Track.
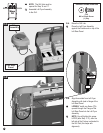
7-D. Carefully lower the
front edge of the
Sliding Door until it
touches the magnets
installed in Step 4.
The door is now in the
closed position.
8-A
View of Grill from Rear
Cart
Spacer
TN (x4)
TN


