


Special offers from our partners!

Find Replacement BBQ Parts for 20,308 Models. Repair your BBQ today.
6
NEW Natural Gas Barbecue
If you are experiencing poor natural gas barbecue performance, including but not limited to low ame, low heat or poor heat
distribution, please review the following information:
• Always consult the Rating Label on the back of the barbecue to conrm that it has already been congured to burn natural gas.
• If experiencing performance issues with a brand new barbecue hooked up to an older natural gas home connection, it is
possible that the natural gas supply line is not able to supply up to the essential 85,000 BTU’s required (depending on the
model). Please contact Centro Customer Care for requirements and then consult with your certied natural gas technician.
• All gas supply plumbing must be carried out by a qualied service agency. The Supply connection shall be carried out in
accordance with provincial authorities having jurisdiction, and in accordance with CAN/CGA 1-B149.1 & 2 installation code
requirements.
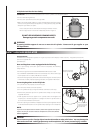
• A shut o valve must be installed between the barbecue and the main supply. For natural gas, use a 3/8” or 1/2” natural gas
supply line capable of an input of up to 85,000 BTU’s (depending on the model).
• When conducting pressure test always isolate the barbecue from the gas supply piping system by disconnecting the
barbecue and closing its individual manual shuto valve. The gas supply piping system should be tested at pressures
which exceed 1/2 psi (3.5kPa).
• All gas supply plumbing must be able to supply 7” water column to the barbecue WITH ALL BURNERS IN OPERATION.
WARNING
ALL Centro BBQ’s are sold either NATURAL GAS or PROPANE READY and are not convertible from one
gas source to another.
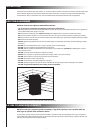
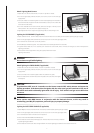
Lighting the Main Burners:
1. Open lid and inspect the barbecue and burners to conrm that all components are properly positioned before lighting the
main burners.
2. Always conrm that all burner control knobs are in the OFF position before opening the gas supply.
3. Turn on the gas supply valve at the tank (1 to 2 turns) or turn on the main natural gas supply valve.
4. Turn the selected burner control knob to the HIGH position by pushing in and turning the knob counter clockwise.
5. Immediately activate the Igniter. The selected burner should light within ve seconds. Light the burners sequentially from
either left to right or right to left.
6. If ignition does NOT occur in 5 seconds, turn the burner controls OFF, wait 5 minutes for the gas to clear and repeat the
lighting procedure.
7. If the burner will not light when using the ignitor, follow the match lighting instructions.
WARNING
Never stand with your head directly over the barbecue when preparing to light the main burners, to
prevent possible bodily injury.
ATTENTION
Once lit, conrm that the burner is properly lit and that the ame pattern is as desired. If the ame
pattern is other than normal, consult the troubleshooting guide for corrective action.
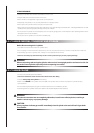
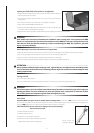
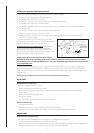
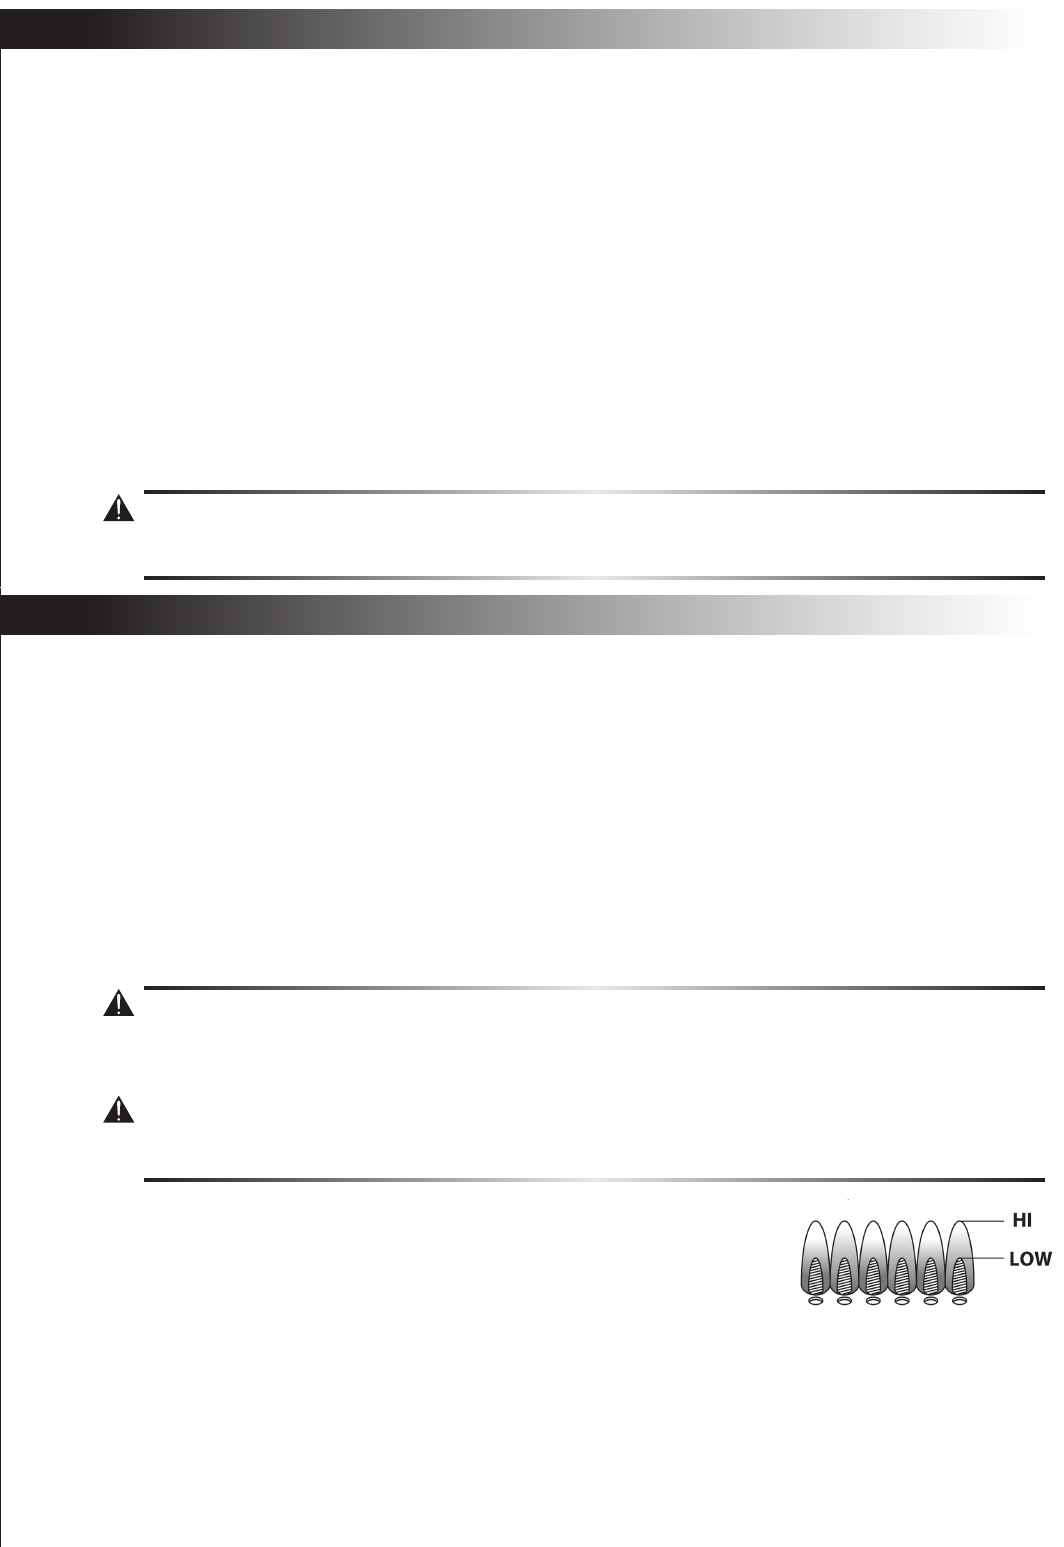
Burner Flame Check
Remove cooking grates. Light burners and rotate control knobs from HI to LOW. You
should see a smaller ame in LOW position than seen on HI. Perform burner ame
check on all burners. Also, always check ame prior to each use.
Turning Grill O
Turn all knobs to OFF position. Turn LP cylinder o by turning hand-wheel clockwise to a full stop.
Ignitor Check
Turn gas o at LP cylinder. Press and hold electronic ignitor button. “Click” should be heard and spark seen each time between
burner and electrode.
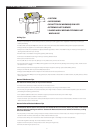
Hose Check
Before each use, check to see if hoses are cut or worn. Replace damaged hoses before using grill. Use only valve/hose/regulator
specied by manufacturer.
NATURAL GAS HOOK-UPS AND WARNINGS
OPERATION — LIGHTING INSTRUCTIONS