


Special offers from our partners!

Find Replacement BBQ Parts for 20,308 Models. Repair your BBQ today.
Buy Weber Grill Parts. It couldn't be easier. Find your Weber parts here.
13
WWW.WEBER.COM
®
13
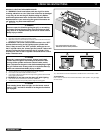
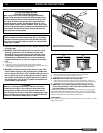
GAS INSTRUCTIONS
GRILLING TIPS & HELPFUL HINTS
• Always preheat the grill before cooking. Set all burners on “HI” heat and close lid;
heat for 10 minutes, or until thermometer registers 500˚-550˚F (260˚-288˚C).
• Sear meats and cook with the lid down for perfectly grilled food every time.
• Grilling times in recipes are based on 70˚F (20˚C) weather and little or no wind. Allow
more cooking time on cold or windy days, or at higher altitudes. Allow less cooking
time in extremely hot weather.
• Grilling times can vary because of the weather, or the amount, size and shape of the
food being grilled.
• The temperature of your Summit
®
gas grill may run hotter than normal for the fi rst few
uses.
• Grilling conditions may require the adjustment of the burner controls to attain the
correct cooking temperatures.
• In general, large pieces of meat will require more cooking time per pound than small
pieces of meat. Foods on a crowded cooking grate will require more cooking time
than just a few foods. Foods grilled in containers, such as baked beans, will require
more time if grilled in a deep casserole rather than a shallow baking pan.
• Trim excess fat from steaks, chops and roasts, leaving no more than a scant ¼ inch
(6.4mm) of fat. Less fat makes cleanup easier, and is a virtual guarantee against
unwanted fl are-ups.
• Foods placed on the cooking grate directly above burners may require turning or
moving to a less hot area.
• Use tongs rather than a fork for turning and handling meats to avoid losing natural
juices. Use two spatulas for handling large whole fi sh.
• If an unwanted fl are-up should occur, turn all burners off and move food to another
area of the cooking grate. Any fl ames will quickly subside. After fl ames subside,
relight the grill. NEVER USE WATER TO EXTINGUISH FLAMES ON A GAS GRILL.
• Some foods, such as a casserole or thin fi sh fi llets, will require a container for grilling.
Disposable foil pans are very convenient, but any metal pan with ovenproof handles
can also be used.
• Always be sure the bottom tray and grease catch pan are clean and free from debris.
• Do not line the funnel-shaped bottom tray with foil. This could prevent the grease
from fl owing into the grease catch pan.
• Using a timer will help to alert you when “well-done” is about to become “over-done.”
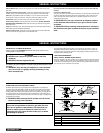
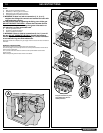
A
B
C
D
E
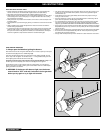
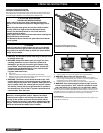
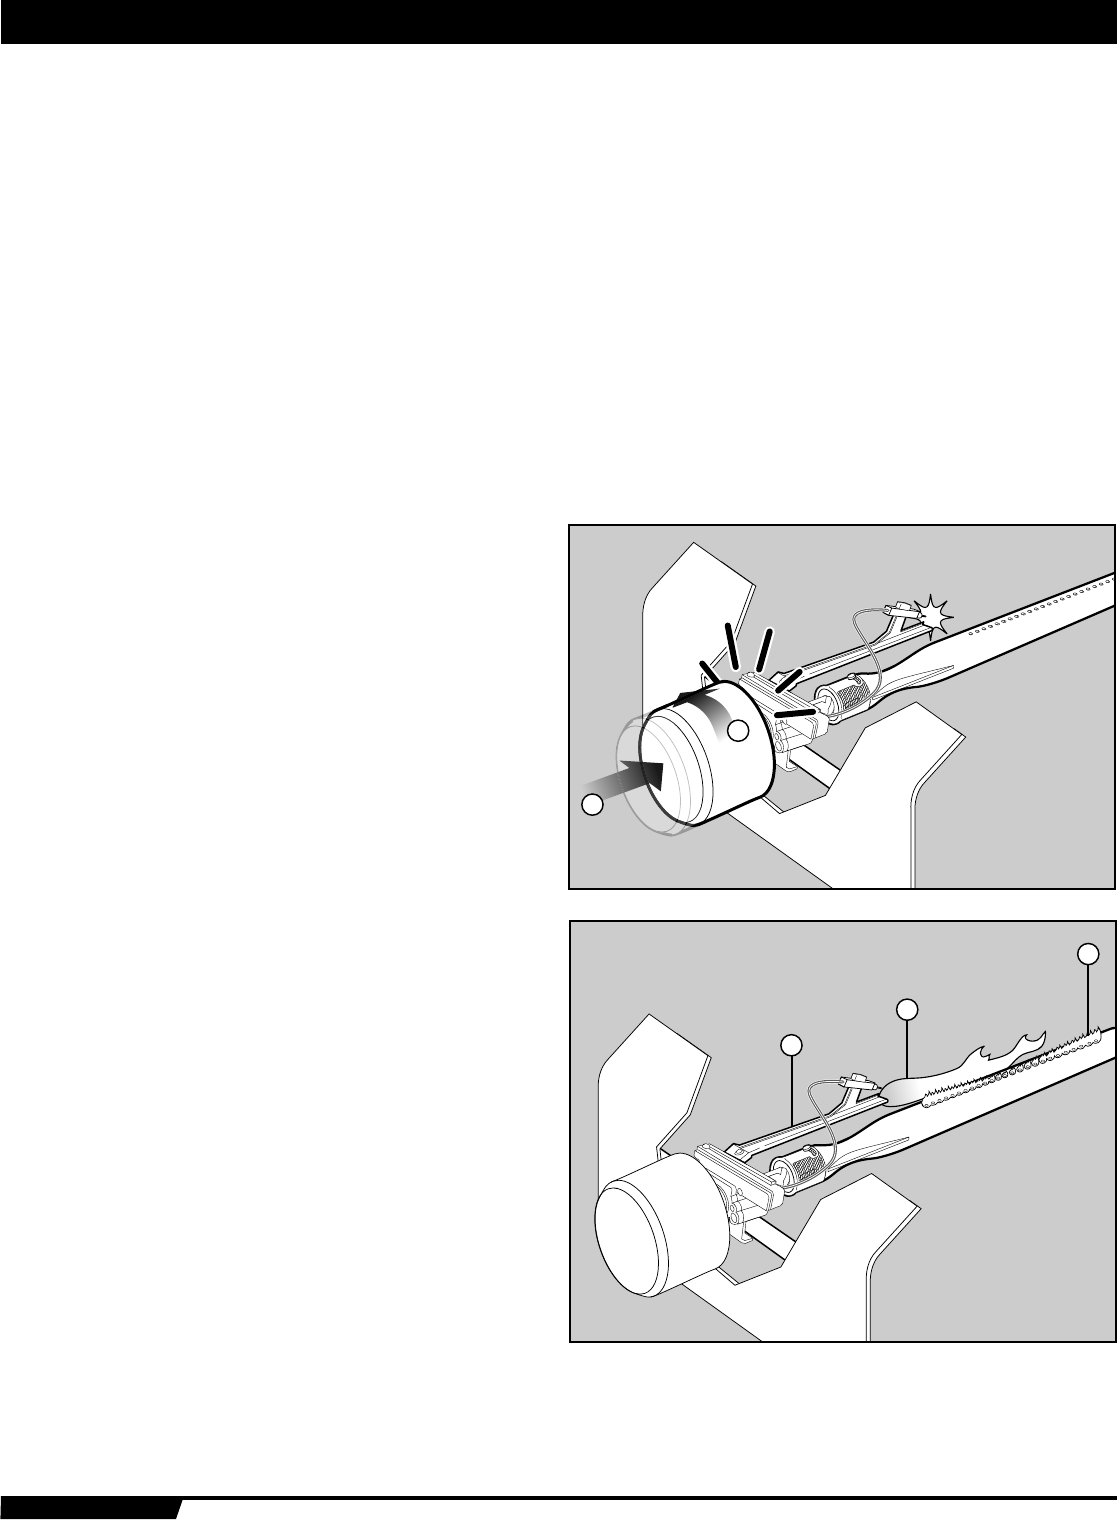
SNAP IGNITION OPERATION
ƽ Always open the lid before igniting the burners
Each control knob has its own igniter electrode built in. To create a spark you must push
the control knob in (A) and turn to “START/High” (B).
This action will generate gas fl ow and a spark to the burner lighting tube (C). You will
hear a “snap” from the igniter. You will also see a 3˝ - 5˝ orange fl ame coming from the
burner lighting tube at the left side of the burner (D).
Continue to hold the burner control knob in for two seconds after the “snap”. This
will allow gas to fl ow completely down the burner tube (E) and insure ignition.
Check that the burner is lit by looking through the cooking grates. You should see a
fl ame. If burner does not light on fi rst try, push control knob in and turn to OFF.Repeat
lighting procedure a second time.
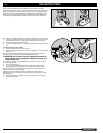
ƽ WARNING: If the burner still does not light, turn the burner
control knob to “OFF” and wait 5 minutes to let the gas clear
before you try again or try to light with a match.