


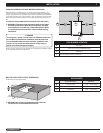


Special offers from our partners!

Find Replacement BBQ Parts for 20,308 Models. Repair your BBQ today.
Buy Weber Grill Parts. It couldn't be easier. Find your Weber parts here.
WWW.WEBER.COM
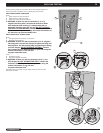
®
15
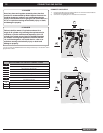
6 7
4
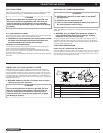
5
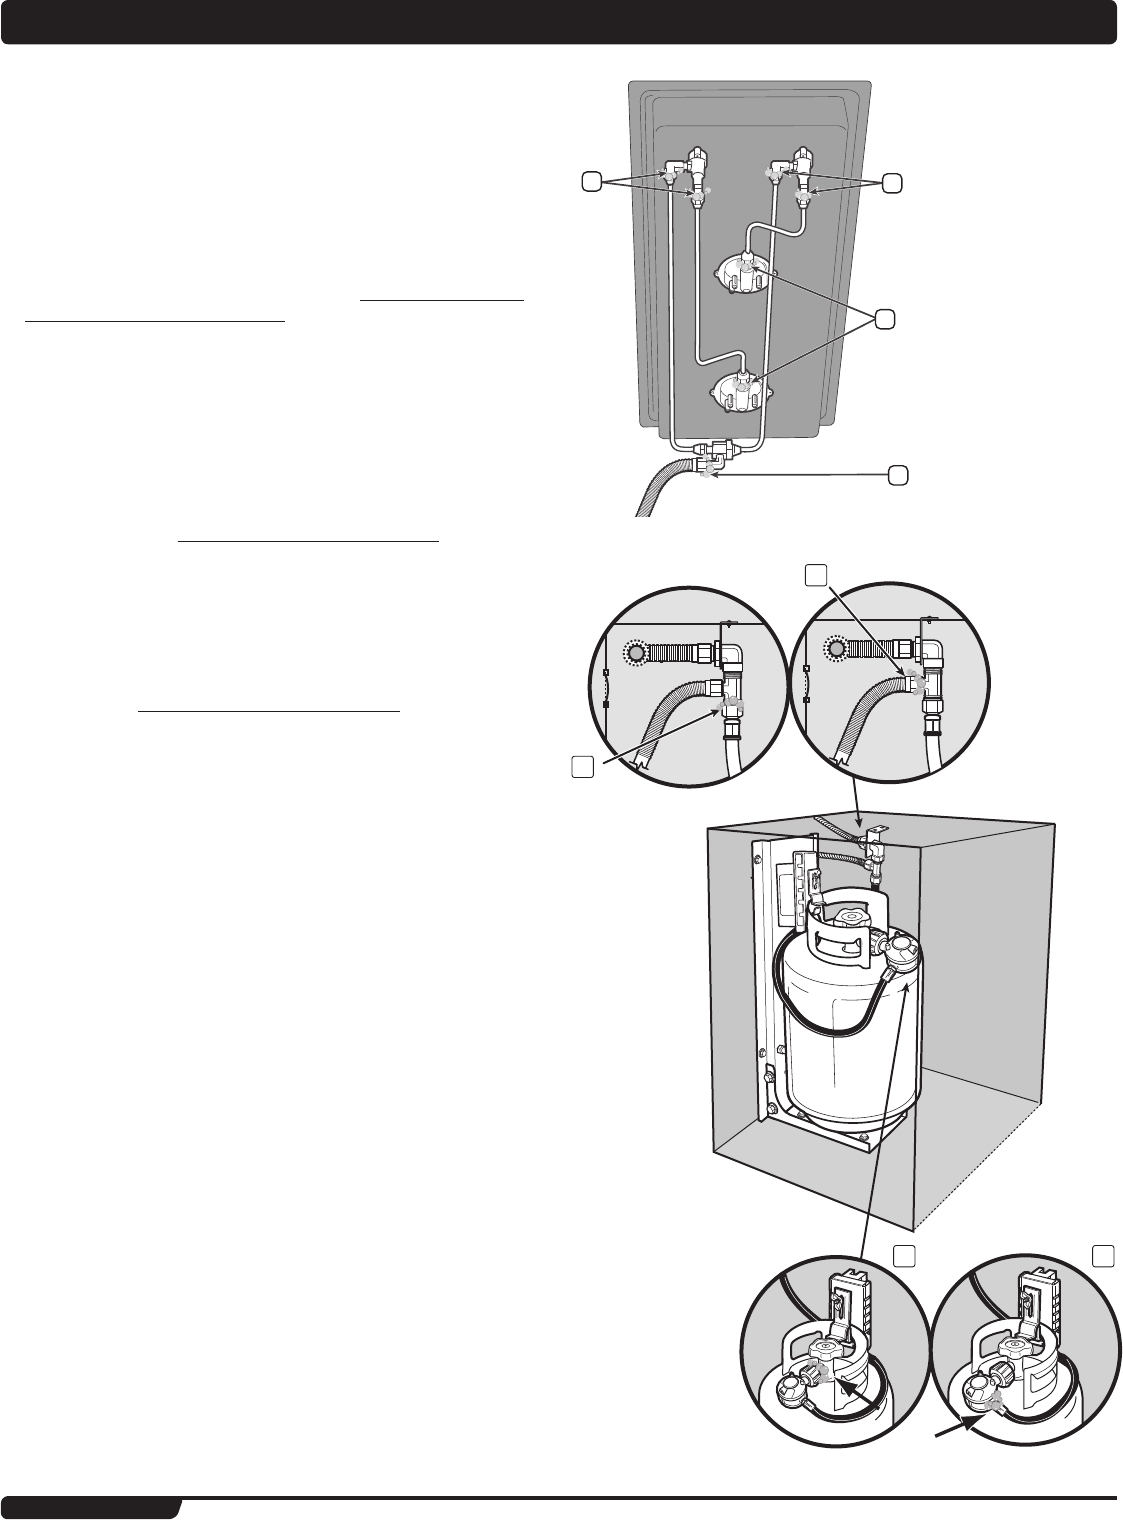
Check for leaks by wetting the connections with the soap and water solution and
watching for bubbles. If bubbles form or if a bubble grows, there is a leak.
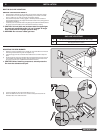
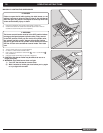
CHECK SIDE BURNER COMPONENT
Check:
1) Side burner lines to valve connections.
2) Side burner line to side burner orifice.
3) Side burner hose to side burner bulkhead.
ƽ WARNING: If there is a leak at connection (1, 2 or 3),
retighten the fitting with a wrench and recheck for leaks
with soap and water solution. If a leak persists after re-
tightening the fitting, turn OFF the gas. DO NOT OPERATE
THE GRILL OR SIDE BURNER. Contact the Customer Service
Representative in your area using the contact information on
our web site. Log onto www.weber.com
®
.
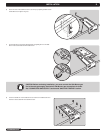
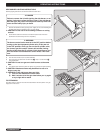
CHECK GAS SUPPLY CONNECTIONS
Check:
4) Corrugated gas line-to-Accessory “T” Connection.
5) Regulator hose to bulkhead.
ƽ WARNING: If there is a leak at connection (4 or 5), retighten
the fitting with a wrench and recheck for leaks with soap and
water solution. If a leak persists after re-tightening the fitting,
turn OFF the gas. DO NOT OPERATE THE GRILL. Contact
the Customer Service Representative in your area using the
contact information on our web site.
Log onto www.weber.com
®
.
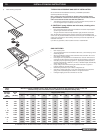
Check:
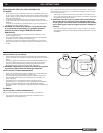
6) Regulator to cylinder.
7) The hose-to-Regulator connection.
ƽ WARNING: If there is a leak at connections (6 or 7), turn
OFF the gas. DO NOT OPERATE THE GRILL. Contact the
Customer Service Representative in your area using the
contact information on our web site.
Log onto www.weber.com
®
.
When leak checks are complete, turn gas supply OFF at the source and rinse
connections with water.
GAS LEAK TESTING
1
1
2
3