Special offers from our partners!

Find Replacement BBQ Parts for 20,308 Models. Repair your BBQ today.

Buy Weber Grill Parts. It couldn't be easier. Find your Weber parts here.
1010
GAS INSTRUCTIONS
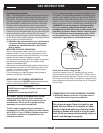
DOT 4BA240
00/02
(1)
(
2
)
• Be sure the regulator is mounted with the small vent
hole pointed downward so that it will not collect water.
This vent should be free of dirt, grease, bugs etc.
• The LP cylinder and connections supplied with your
Weber
®
gas barbecue have been designed and tested
to meet government, American Gas Association, and
Underwriters Laboratories requirements.
Liquid Propane Cylinder requirements
• Replacement LP cylinders supplied by Weber satisfy
the above requirements. Check to be sure other cylin-
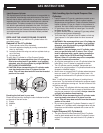
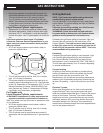
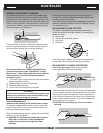
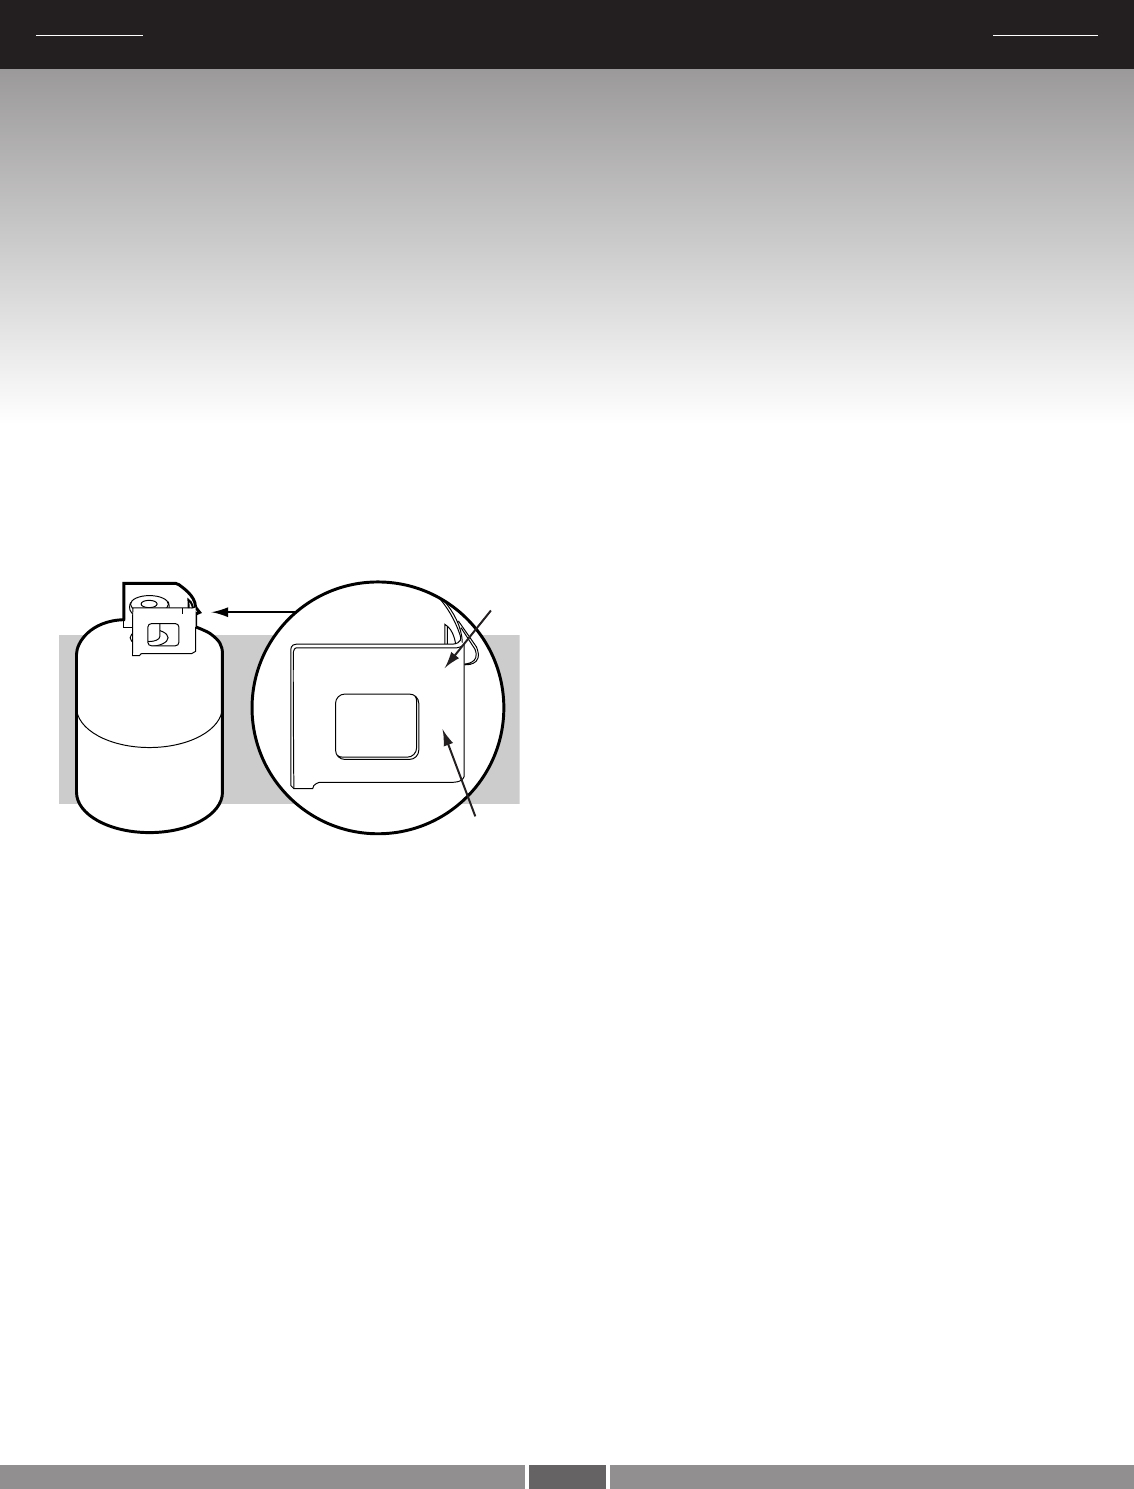
ders have a D.O.T. certifi cation(1), and date tested(2)
is within fi ve years. Your LP gas supplier can do this for
you.
If you have questions about spare LP cylinders
contact the Customer Service Representative in your
region using the contact information sheet provided
with your manual.
• All LP tank supply systems must include a collar to
protect the cylinder valve.
• The LP cylinder must be a 20-lb. size (18 1/4 inches
high, 12 1/4 inches in diameter).
• The cylinder should be constructed and marked in ac-
cordance with the Specifi cations for LP - Gas Cylinders
of the U.S. Department of Transportation (D.O.T.) or the
National Standard of Canada, CAN/CSA-B339, Cylin-
ders, Spheres and Tubes or Transportation of Danger-
ous Goods; and Commission, as applicable.
For Canada only
Liquid Propane Cylinder requirements
ƽ WARNING: Replacement LP tanks must match the
regulator connection supplied with this barbecue.
Note: Your retailer can help you match a replacement tank
to your barbecue
• All LP tank supply systems must include a collar to
protect the cylinder valve.
• The LP cylinder must be a 20-lb. size (18 1/4 inches
high, 12 1/4 inches in diameter).
• The LP cylinder must be constructed and marked in
accordance with the specifi cations for LP gas cylinders,
T.C.
Grilling Methods
NOTE: If grill looses heat while cooking refer to the
troubleshooting section of this manual.
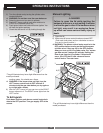
You can adjust the Left and Right burners in each burner
set as desired. The control settings are High (H), Medium
(M), Low (L), or Off (O).
If burners go out during cooking, turn off all burners
and wait 5 minutes before relighting.
ƽWARNING: Check the bottom tray and catch pan
for grease build-up before each use. Remove excess
grease to avoid a grease fi re in the bottom tray.
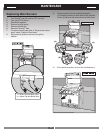
Preheating the grill before grilling is important. Light your
Summit
®
gas grill according to the instructions in this
Owner’s Manual. Turn both burners in each burner set
to High (HH), close the lid, and preheat grill with the lid
down until grill thermometer reaches 550ºF. This is the
recommended broiling temperature.
Preheating
Preheating the grill before grilling is very important. Light
your Summit
®
gas grill according to the instructions in
your Owner’s Manual. Close the lid and wait until the
thermometer in your lid reaches 500˚-550˚F (260˚-288˚C).
This will take approximately 10 to 15 minutes, depending
on outside temperatures.
Covered cooking
All grilling is done with the lid down to provide uniform,
evenly circulated heat. With the lid closed, the Summit
®
gas grill cooks much like a convection oven. The
thermometer in the lid indicates the cooking temperature
inside the grill. All preheating and grilling is done with the
lid down. No peeking — heat is lost every time you lift the
lid.
Flavorizer
®
system
When meat juices drip from the food onto the specially
angled Flavorizer
®
bars, they create smoke that gives
foods an irresistible barbecued fl avor. Thanks to the unique
design of the burners, Flavorizer
®
bars and the fl exible
temperature controls, uncontrolled fl are-ups are virtually
eliminated, because YOU control the fl ames. Because of
the special design of the Flavorizer
®
bars and burners,
excess fats are directed through the funnel-shaped bottom
tray into the grease catch pan.


