


Special offers from our partners!

Find Replacement BBQ Parts for 20,308 Models. Repair your BBQ today.
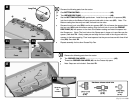
(Pg. 8) 1141-1986BX
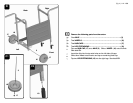
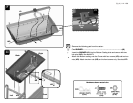
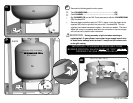
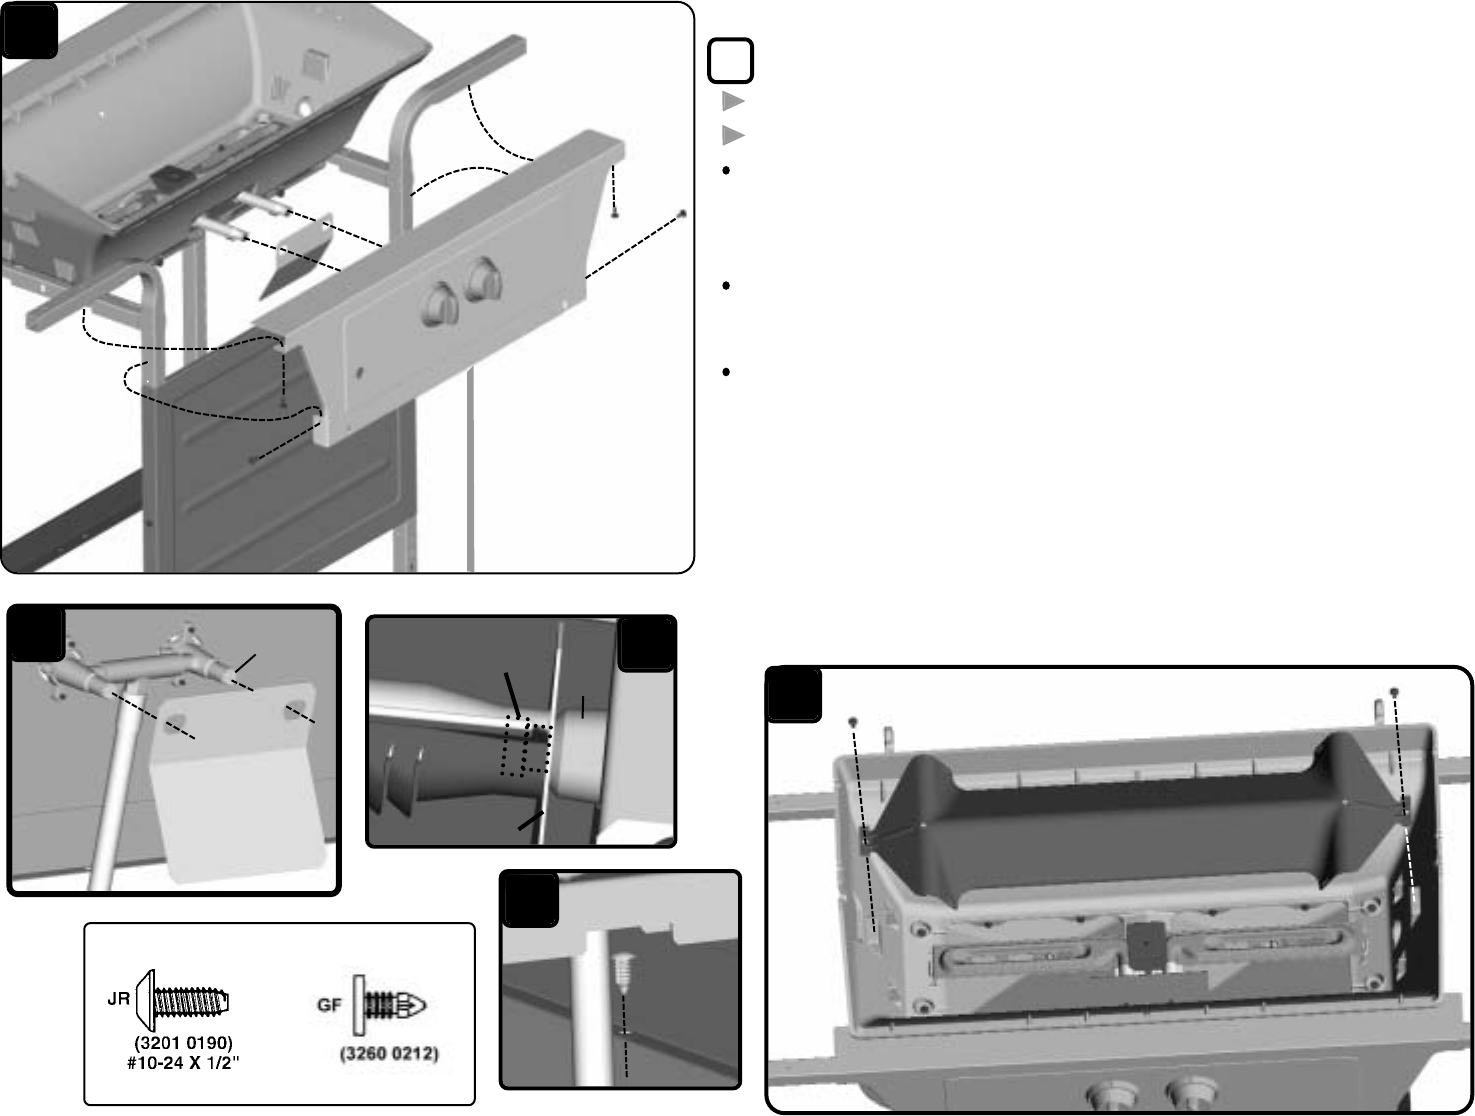
H Remove the following parts from the carton:
One HEAT SHIELD . . . . . . . . . . . . . . . . . . . . . . . . . . . . . . . . . . . . . . . . . . . . . . . . . . . . . . . . . .(47a)
One “I” TENT . . . . . . . . . . . . . . . . . . . . . . . . . . . . . . . . . . . . . . . . . . . . . . . . . . . . . . . . . . . . . . . . .(61)
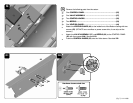
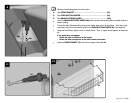
Slide the HEAT SHIELD (47a) over the the Valve. See detail H1. Place the
Control Panel on the frame (place the HVR hose inside the front panel) insert
the orifices on the valve inside of the Burners’ venturi tubes. IMPORTANT: The
orifices must be inside the venturi tube. See detail H2.
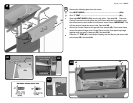
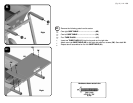
Secure the Control Panel to the legs with four screws (JR). From inside frame
secure the bottom flange of the Control Panel and the Front panel top flange
together with one push in fastener (GF). See detail H3.
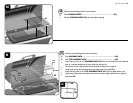
Place the “I” TENT (61) in the Bottom Casting over the Burner and secure with
two screws (JR). See detail H4.
Hardware shown actual size
(6) Qty.
(1) Qty.
GF
H1
47a
Inside
61
H4
JR
JR
H2
H3
Orifices inside of
venturi tubes
Valve
Orifice
heat shield
JR
JR
JR
JR
47a
H