


Special offers from our partners!

Find Replacement BBQ Parts for 20,308 Models. Repair your BBQ today.
7
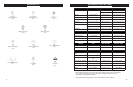
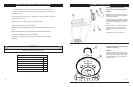
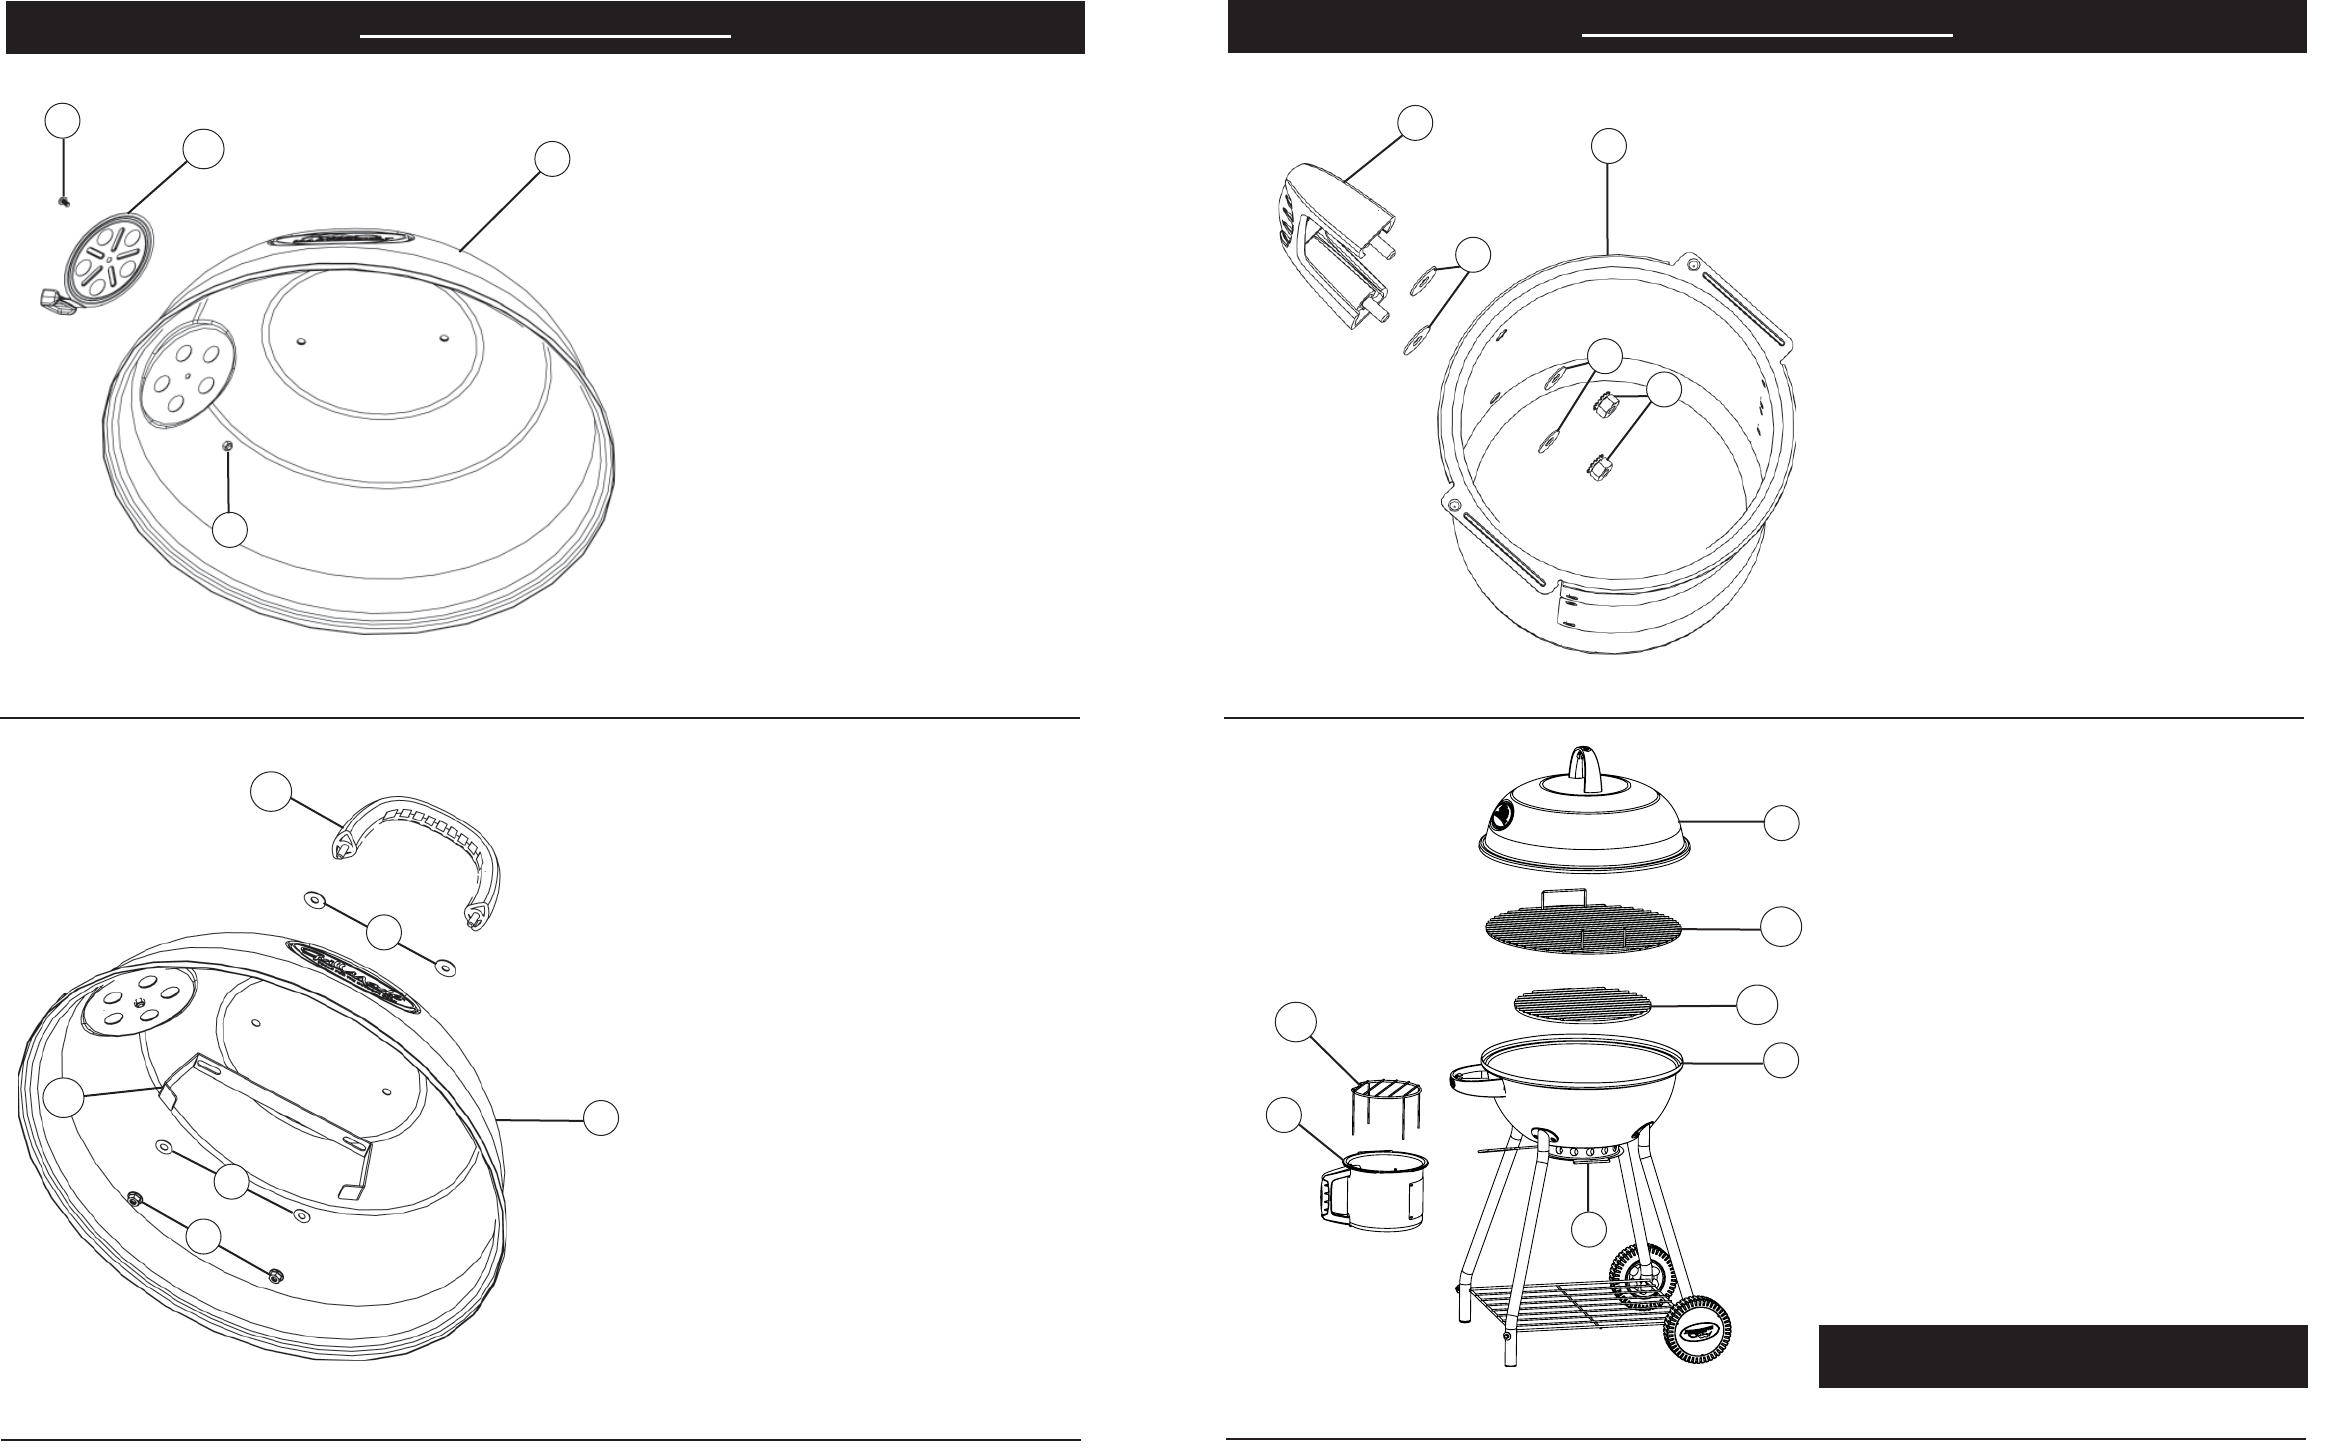
STEP 7.
Place heat insulations washers (H) on ash can
handle as shown. Insert handle (6) into ash can
(5) and secure using aluminum flat washers (F)
and hex nuts (D).
6
STEP 6.
Place heat insulation washers (H) on lid
handle (10) as shown. Insert screws on lid
handle (10) into holes in kettle lid (1). Add lid
hook (12) then aluminum flat washers (F) and
secure with hex nuts (D).
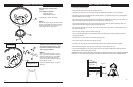
STEP 5.
Note: Do not over tighten. Damper should
move freely.
Attach air damper (13) to kettle lid (1) using
phillips head screw (B) and hex lock nut (C).
B
C
1
H
F
D
1
5
H
F
D
8
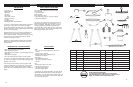
ASSEMBLY INSTRUCTIONS
ASSEMBLY INSTRUCTIONS
1
7
2
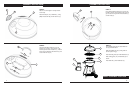
STEP 8.
Insert lighting grate (18) into assembled ash
can (5) as shown below.
Slide assembled ash can (5) onto guides of
ash can spacer ring (7).
Place charcoal grate (16) inside kettle base (2).
Rest cooking grate (15) on kettle base (2) as
shown.
Place kettle lid (1) onto kettle base (2).
GRILL IS READY FOR USE
13
10
12
18
15
16
5