


Special offers from our partners!

Find Replacement BBQ Parts for 20,308 Models. Repair your BBQ today.
12
103296
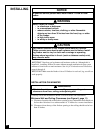
INSTALLING
Continued
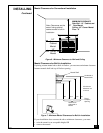
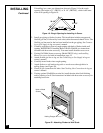
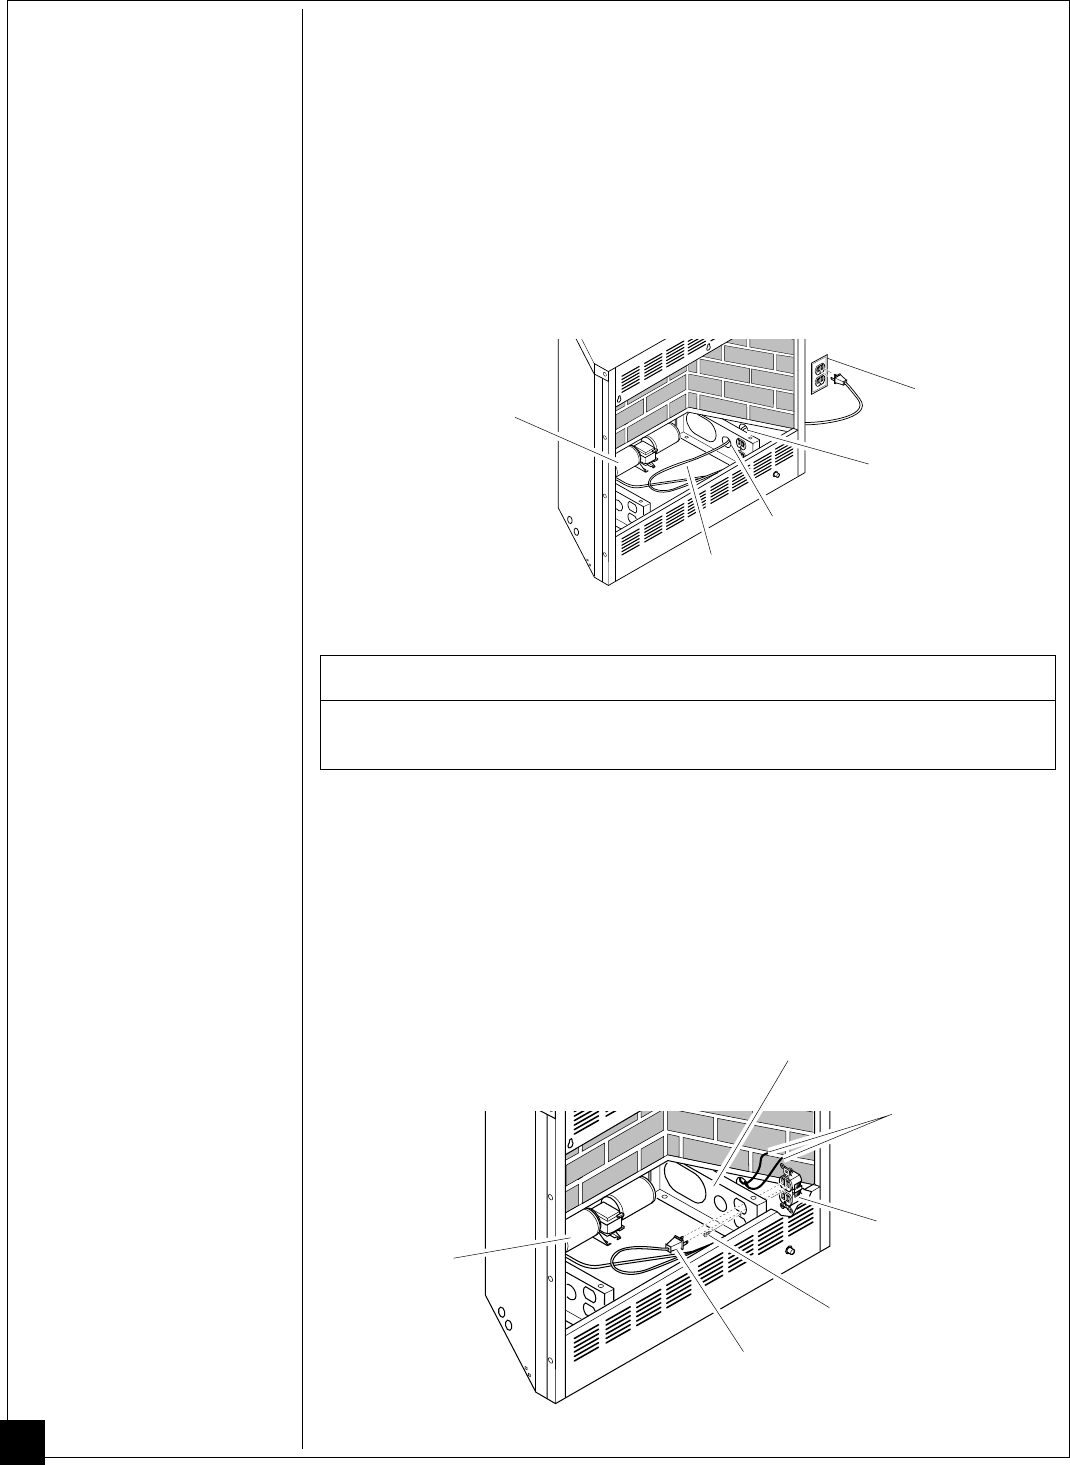
Built-In Installation of Blower Accessory
1. Install blower assembly per instruction sheet included.
2. Before replacing bottom of firebox, remove screw holding duplex outlet to the
support bracket in the bottom of firebox. Remove duplex outlet.
3. Clamp electrical cable into firebox through smallest hole using strain relief provided.
4. Route wires from electrical box through hole in side of heater and hole in
support bracket (see Figure 9).
5. Connect wires from the electrical box to duplex outlet. Match wire colors to
those indicated on duplex outlet. Be sure to connect ground wire.
6. Replace duplex outlet with screw.
7. Plug blower power cord into duplex outlet.
8. Replace bottom of firebox.
NOTICE
A certified electrician must connect electrical wiring to duplex
outlet for built-in installation. Follow all local codes.
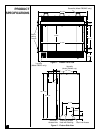
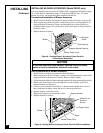
Figure 9 - Routing Blower Accessory Power Cord for Built-In Installation
Cables From
Electrical
Source
Duplex Outlet
Screw
Blower Power Cord
Blower
Support bracket
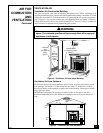
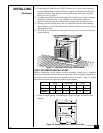
INSTALLING BLOWER ACCESSORY (Model FB32C only)
You may install blower accessory GA3500A with conventional installation (page
15) or with built-in installation (page 17) with model FB32C only. To install
blower accessory, see instruction sheet included with the kit.
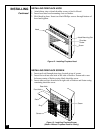
Conventional Installation of Blower Accessory
1. Install blower assembly per instruction sheet included in blower accessory kit.
2. Before replacing bottom of firebox, route blower power cord through hole in
support bracket in bottom of firebox and through hole in side of firebox to
grounded, three-prong 120 volt electrical outlet (see Figure 8). Plug electrical
cord into outlet.
3. Replace bottom of firebox.
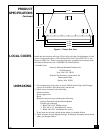
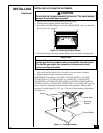
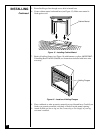
Figure 8 - Routing Blower Accessory Power Cord for
Conventional Installation
Electrical
Outlet
Side Opening
Support Bracket Opening
Blower Power Cord
Blower