


Special offers from our partners!

Find Replacement BBQ Parts for 20,308 Models. Repair your BBQ today.
8
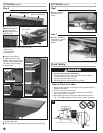
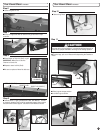
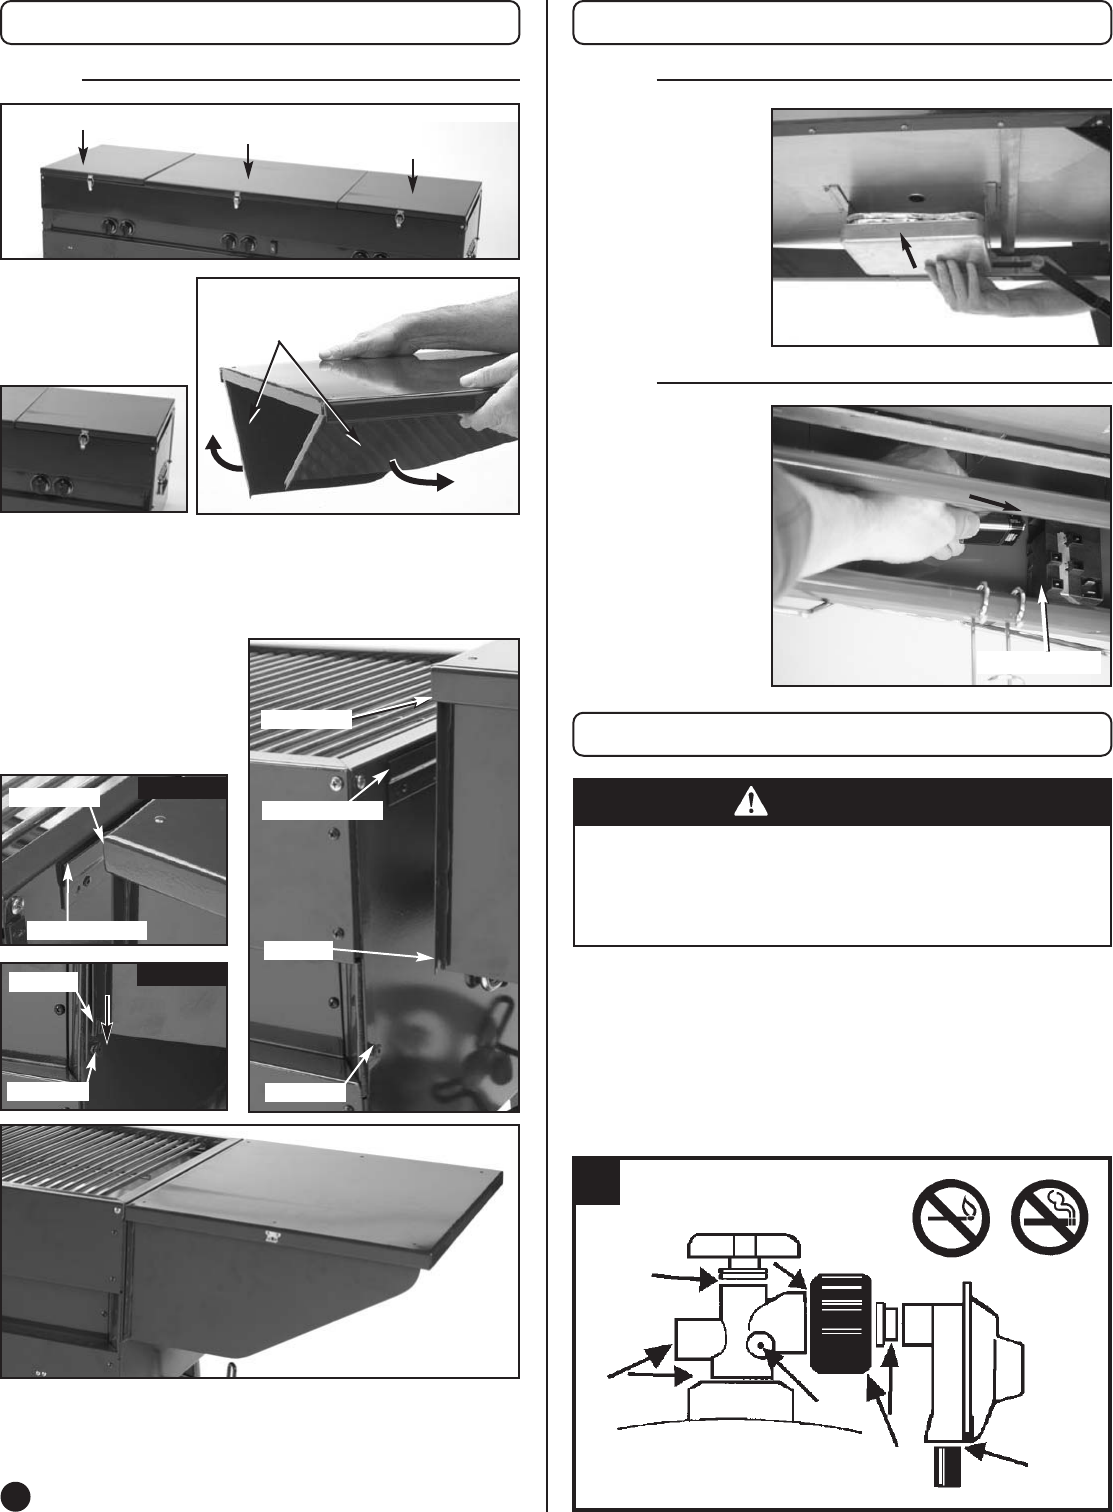
■ Carefully insert Shelf Lip
on Right Side Shelf into Top
Channel, while at the same time
making sure the Notches on the
side Flaps fit into the Flanges
on the grill body.
TOP CHANNEL
NOTCH
FLANGE
SHELF LIP
NOTCH
FLANGE
TOP CHANNEL
SHELF LIP
DETAIL “A”
DETAIL “B”
■ Repeat the same order for attaching the Left Side Shelf as you did
on the Right Side Shelf.
■ Remove Center Lid and set aside until ready for storage of the grill.
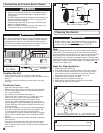
Step7
■ Install two Grease
Pans from front as
shown.
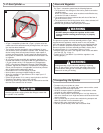
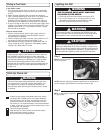
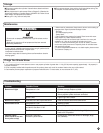
How to Check for Leaks
1. Make a soapy solution of equal parts mild liquid dishwashing
detergent and water.
2. Turn off all burner control knobs.
3. Turn on fuel supply. Turn cylinder valve knob counterclock-
wise (right to left) one rotation.
4. Apply soap solution to connections indicated with arrows in
Fig. 15. If bubbles appear at these areas, a leak is indicated.
DANGER
T
O PREVENT FIRE OR EXPLOSION HAZARD:
• NO SMOKING. DO NOT use or permit sources of ignition
in the area while doing a leak test.
• Perform leak tests outdoors only.
• NEVER perform a leak test with fire or flame.
15
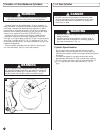
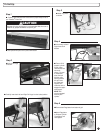
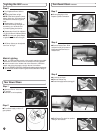
Step 6
CENTER LID
LEFT LID (SHELF)
RIGHT LID (SHELF)
■ Unlock Right Side Lid.
NOTE: Undo latches on
front and back of lid.
■ Release flaps to form
Right Side Shelf.
LID FLAPS
IMPORTANT: Always remove Lids in this order:
•
Right Lid first.
•
Left Lid second.
•
Center Lid last.
Step 7
■ Install 9-Volt Battery
with positive (+) terminal
as shown on Igniter
Module.
Igniter Module
To Set Up continued To Set Up continued
Leak Testing