Special offers from our partners!

Find Replacement BBQ Parts for 20,308 Models. Repair your BBQ today.
English - 6
1. Make a soapy solution of equal parts mild liquid
dishwashing detergent and water.
2. Turn off the burner control knob.
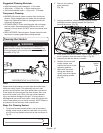
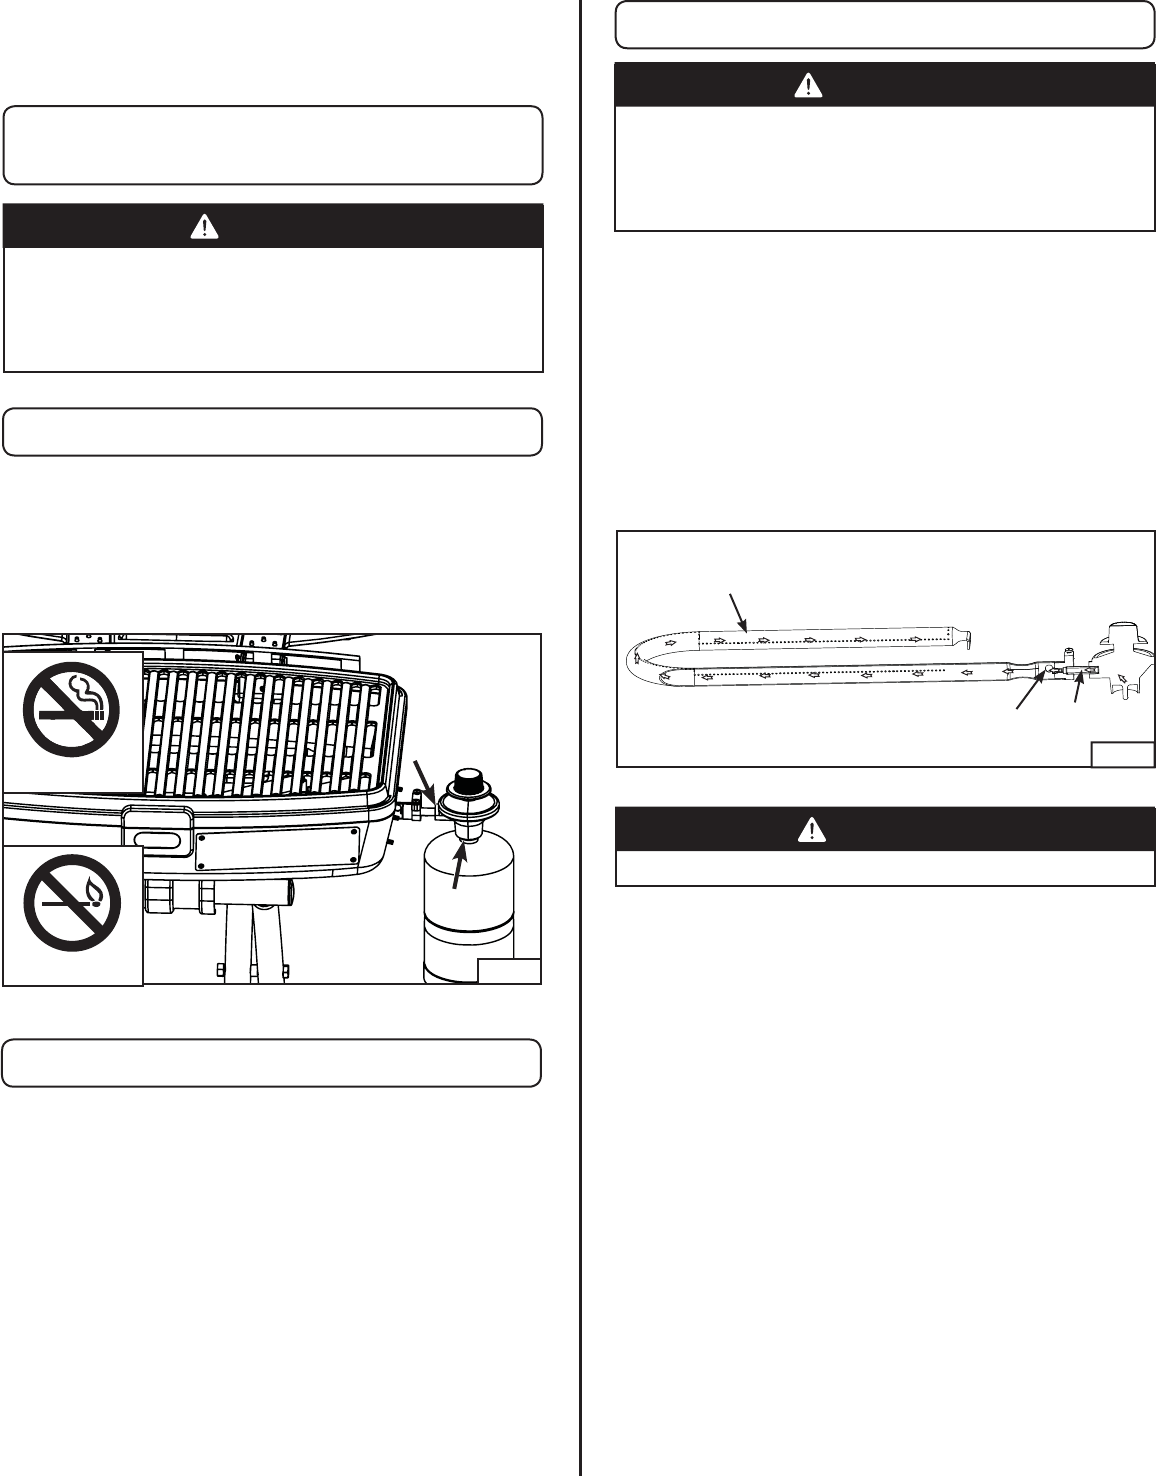
3. Apply a soap solution to the connections indicated with
the arrows. (Fig. 23) If bubbles appear at these areas, a
leak is indicated.
If you detect a leak:
1. Stop a leak by tightening the loose joint, or by replacing
the faulty part with a replacement part recommended
by Coleman. DO NOT attempt to repair the cylinder
if it should become damaged; the cylinder MUST be
replaced.
2. If you are unable to stop a leak, remove the cylinder from
the grill. DO NOT use the grill until the leak is corrected.
1. Regularly check the burner venturi tube for blockage
from an insect nest. Read “Cleaning the Venturi” in the
section titled “Care, Maintenance, and Cleaning”, and
also the section titled “Troubleshooting”.
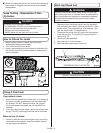
2. Check that the burner tube [A] is set over the regulator
outlet [B] correctly. The orifice [C] must be inside the
venturi. (Fig. 24)
3. Use only the gas specified.
4. Keep the grill on a level surface.
5. Keep the grease pan empty at start up.
How to Check for Leaks
Fixing A Fuel Leak
Start-Up Check List
When to test for leaks:
1. Perform a leak test each time the gas supply cylinder is
connected to the regulator. Leak test anytime a part of
the gas system is replaced.
Failure to follow these safety steps before using the grill
each time could result in a re that could be hazardous to
you, your appliance or property. It is especially important
to observe these steps after the grill has been stored,
moved or cleaned.
WARNING
DO NOT add charcoal or lighting uid!
CAUTION
■ Check and clean the burner/venturi tubes for insects and
insect nests. A clogged tube can lead to a re beneath
the appliance.
Leak Testing - Disposable LP Gas
Cylinders
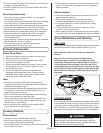
To Prevent Fire or Explosion Hazard:
rNO SMOKING. DO NOT use or permit sources of
ignition in the area while doing a leak test.
rPerform leak tests outdoors only.
rNEVER perform a leak test with fire or flame.
DANGER
A
C
B
Fig. 24
REPRESENTATIVE ILLUSTRATION
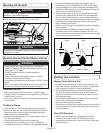
Fig. 23
No Smoking
No Flame


