Special offers from our partners!

Find Replacement BBQ Parts for 20,308 Models. Repair your BBQ today.
8
CAUTION
If ignition does NOT occur in 5 seconds, turn the
burner controls OFF, wait 5 minutes and repeat the
lighting procedure. If the burner does not ignite with
the valve open, gas will continue to flow out of the
burner and could accidently ignite with risk of injury.
Turn controls and gas source or tank OFF when not
in use.
WARNING
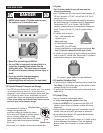
Side Burner Lighting Instructions:
s Do not lean over grill while lighting.
1. Turn OFF all gas burner control valves.
2. Turn ON gas source or tank.
3. Open lid during lighting.
4. Push in and turn AUTO-CLEAN™ valve to GRILL position.
5. To ignite SIDEBURNER, turn sideburner knob to the
position.
6. Push and hold the ELECTRONIC IGNITOR button untill the
sideburner lights.
7. Once burner has ignited, turn knob to desired setting.
8. If ignition does not occur in 5 seconds, turn the burner control
to OFF, wait 5 minutes, and repeat the lighting procedure.
Sideburner Match Lighting
1.
2. Open sideburner lid. Turn on
gas at LP cylinder.
3. Place lit match near burner.
4. Turn sideburner knob to
HIGH . Be sure burner
lights and stays lit.
Turn OFF all burner control valves.
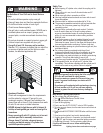
Match-Lighting
s Do not lean over grill while lighting.
1.
2. Turn ON gas at LP cylinder.
3.
Push in and turn AUTO-CLEAN™ valve to GRILL position.
5.
6. Push in and turn far right or far left burner knob to the
position, depending on match light hole selected. Be sure
burner lights and stays lit.
7. Light adjacent burners in sequence by pushing knobs in and
turning to the position.
Turn OFF all burner control valves.
Open lid during lighting.
4.
Place match into match holder (hanging from side panel of
grill). Light match; then light burner by placing match through
the match light hole on right or left side of grill.
•
•
•
•
•
•
•
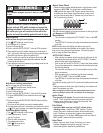
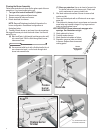
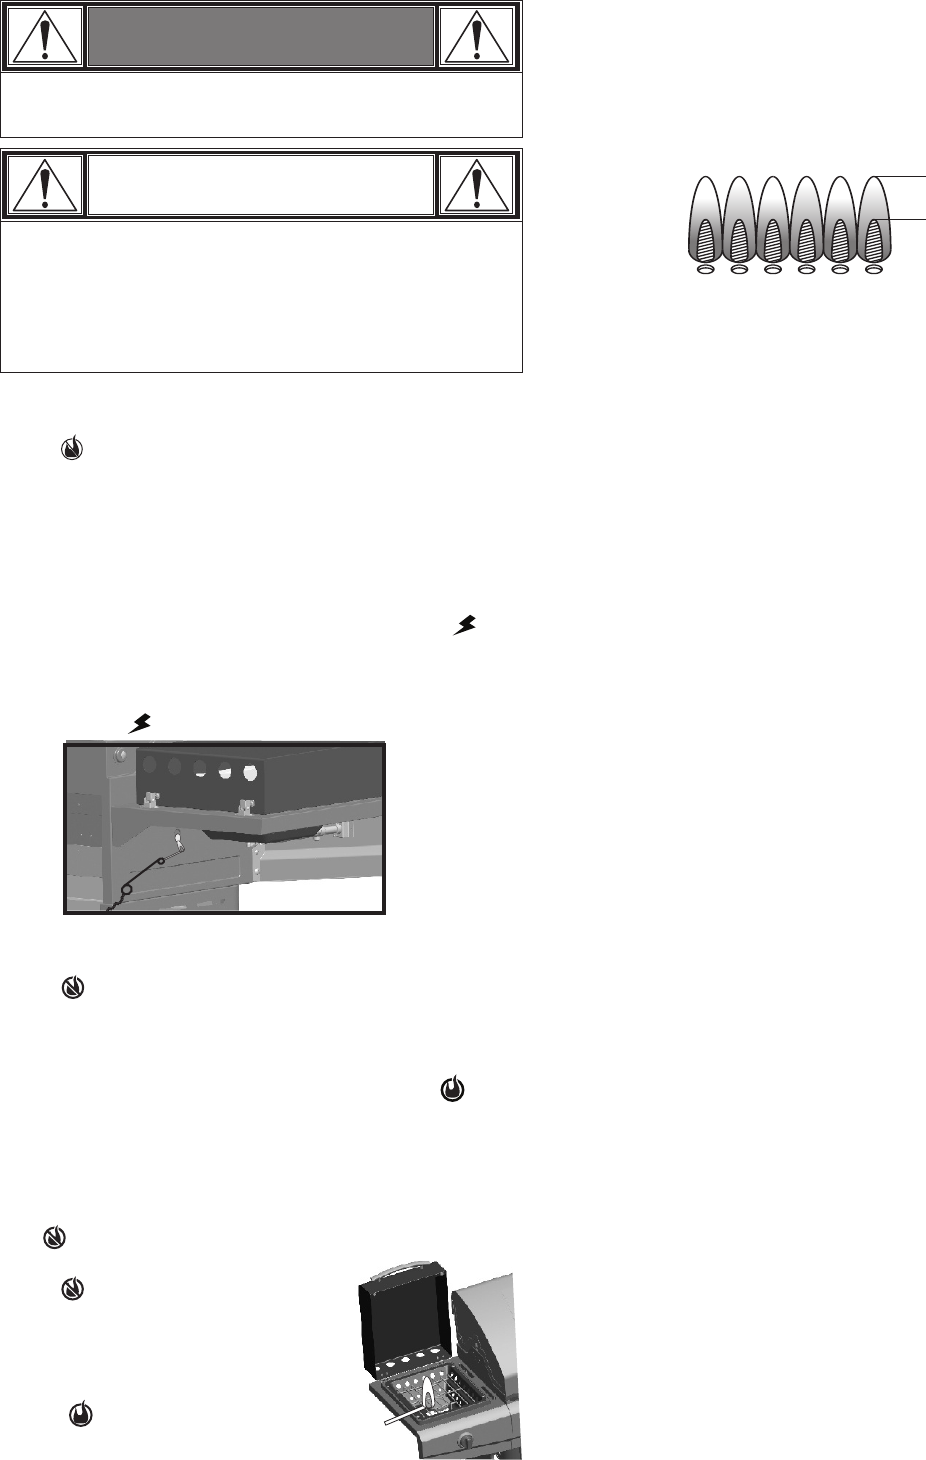
Burner Flame Check
• Remove cooking grates and flame tamers. Light burners, rotate
knobs from HI to LOW. You should see a smaller flame in
LOW position than seen on HI. Perform burner flame check
on sideburner, also. Always check flame prior to each use. If
only low flame is seen refer to "Sudden drop or low flame" in
the Troubleshooting Section.
HI
LOW
Turning the Grill OFF with AUTO-CLEAN™
With the Autoclean feature you have two choices for turning off your
grill; Manual and AUTO-CLEAN™
Manual Method
Turn all knobs, including the AUTO-CLEAN™ valve, to the OFF
position.
Turn OFF the LP cylinder by turning the handwheel clockwise to
a full stop.
AUTO-CLEAN™ Method
•
After cooking is complete, set all main burner grill knobs to the
high setting and close the grill lid. (AUTO-CLEAN™ shutdown
should not be used on the sideburner.)
Push in and turn the AUTO-CLEAN™ knob to the clean position.
Once at the clean position, release the knob and the green light
should begin blinking.
The valve will now stay on for 15 minutes before turning off the
gas to the burners.
After the clean cycle is complete, turn all knobs including
the AUTO-CLEAN™ valve to the OFF position.
Turn OFF the LP cylinder by turning the handwheel clockwise to
a full stop.
For safety in storing a grill, the LP cylinder should always be turned
OFF
If red light comes on while green light is flashing, the batteries will
need to be replaced very soon.
Ignitor Check
• Turn gas off at LP cylinder. Press and hold electronic ignitor
button. "Click" should be heard and spark seen each time
between each collector box or burner and electrode. See
"Troubleshooting" if no click or spark.
Valve Check
• Important: Make sure gas is off at LP cylinder before
checking valves. Knobs lock in position. To check
valves, first push in knobs and release, knobs should spring
back. If knobs do not spring back, replace valve assembly
before using grill. Turn knobs to LOW position then turn back to
position. Valves should turn smoothly.
Hose Check
• Before each use, check to see if hoses are cut or worn.
Replace damaged hoses before using grill. Use only
valve/hose/regulator specified by manufacturer.
OFF
OFF
When changing the batteries, please replace both batteries at the
same time. Always replace with new batteries of the same type.
NOTE: Always follow the lighting instructions found in the
instruction manual and also located on the inside of the cabinet
door prior to using the Auto-Clean feature. Grill must be ignited
prior to using the Auto-Clean feature.


