Special offers from our partners!

Find Replacement BBQ Parts for 20,308 Models. Repair your BBQ today.
4
PRIOR TO USING
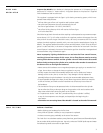
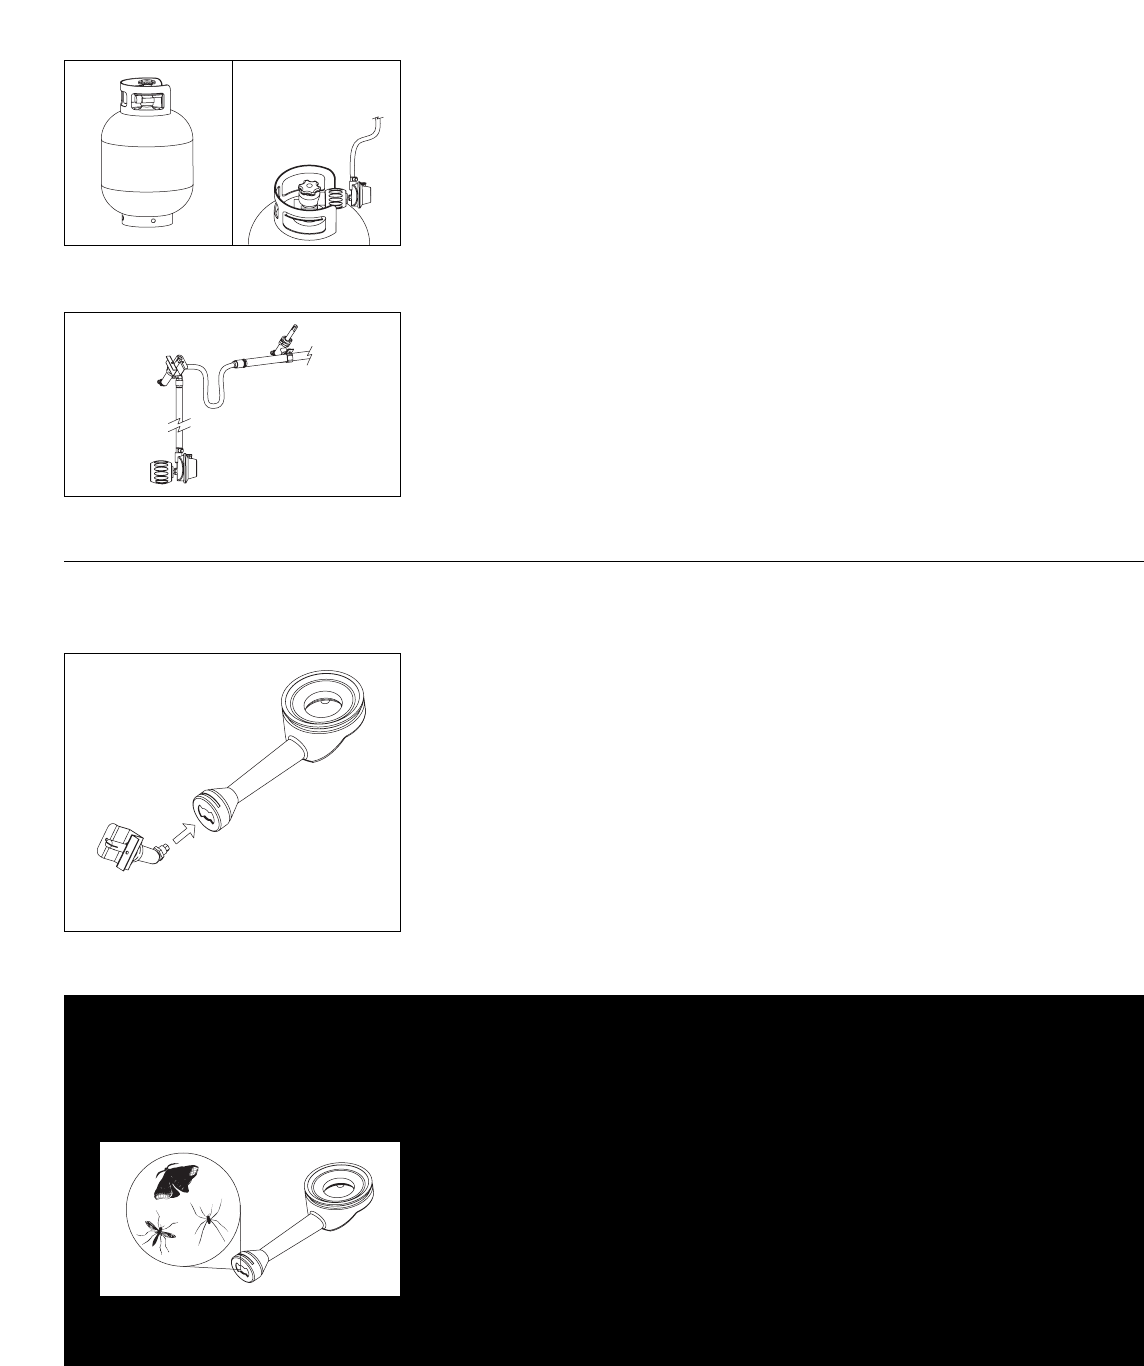
Drawing E
Drawing F
WARNING
Natural Hazards
Insects and Spiders
Do not use your barbecue until you have carefully read and fully understand all the information
in this manual. Please ensure the following:
•
Your barbecue is properly assembled.
•
There are no leaks in the system (see “Leak Test”).
•
The burner is properly assembled, with the Venturi tubes seated over the
valve outlets (drawing E) and that there is nothing blocking the Venturi
tubes (drawing F).
•
Ensure that all power cords and/or gas supply hoses will not touch or be
near the surfaces that will get hot.
•
The barbecue is in a safe location (see installation).
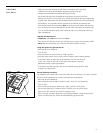
Ensure that the valve outlets (orifices) are assembled into the Venturi tubes approximately
6 mm (1/4˝) and that the valve outlets and Venturi tubes are approximately parallel to the
bottom of the lower body.
During shipment or storage, it’s possible that small insects like spiders could find
their way into the Venturi tubes and nest or make webs. This could block the flow
of gas through the Venturi tube causing a smoky yellowish flame, or prevent a
burner from lighting. It could even cause the gas to burn outside the Venturi tube,
which could seriously damage your barbecue. If these occur, turn off the gas flow
and wait for the barbecue to cool down. When the barbecue has cooled, remove the
burner and clean out the Venturi tubes with a brush or pipe cleaner. Replace the
burner and ensure that the Venturi tubes are seated over the orifice located on the
gas valves. Cleaning the Venturi tubes should be conducted periodically, especially
at the start of the season.
Note: Damage resulting from blocked Venturi tubes is not covered under the warranty.
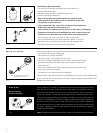
Insert valve outlets into Venturi tubes
approximately 6mm (1/4”)
Drawing B Drawing C
The Following Must be Checked
•
The tank valve including the threads into the tank (drawing C).
•
All tank welds (drawing B).
•
Regulator fittings and tank connections (drawing C).
•
All hose connections (drawing D).
•
With a newly filled and tested propane tank attached to the
barbecue and all the barbecue controls turned OFF, slowly open
the cylinder valve one full turn.
•
Using a brush and soap, soak all the connections and components
listed above and shown in drawings B, C, D.
•
Look carefully for bubbles forming, which is an indication of leaking gas.
•
Tighten the connections at the bubbled areas until re-testing shows no
indication of any leaks (shut off cylinder while correcting any leaks).
•
Shut off the cylinder valve and ensure all control valves are off.
•
Do not use the barbecue if any leaks cannot be stopped. Turn off the
gas cylinder valve, remove the gas cylinder and seek assistance from
a qualified gas appliance service mechanic or gas dealer.
Drawing D


