Special offers from our partners!

Find Replacement BBQ Parts for 20,308 Models. Repair your BBQ today.
B101586-7-1012Page 10
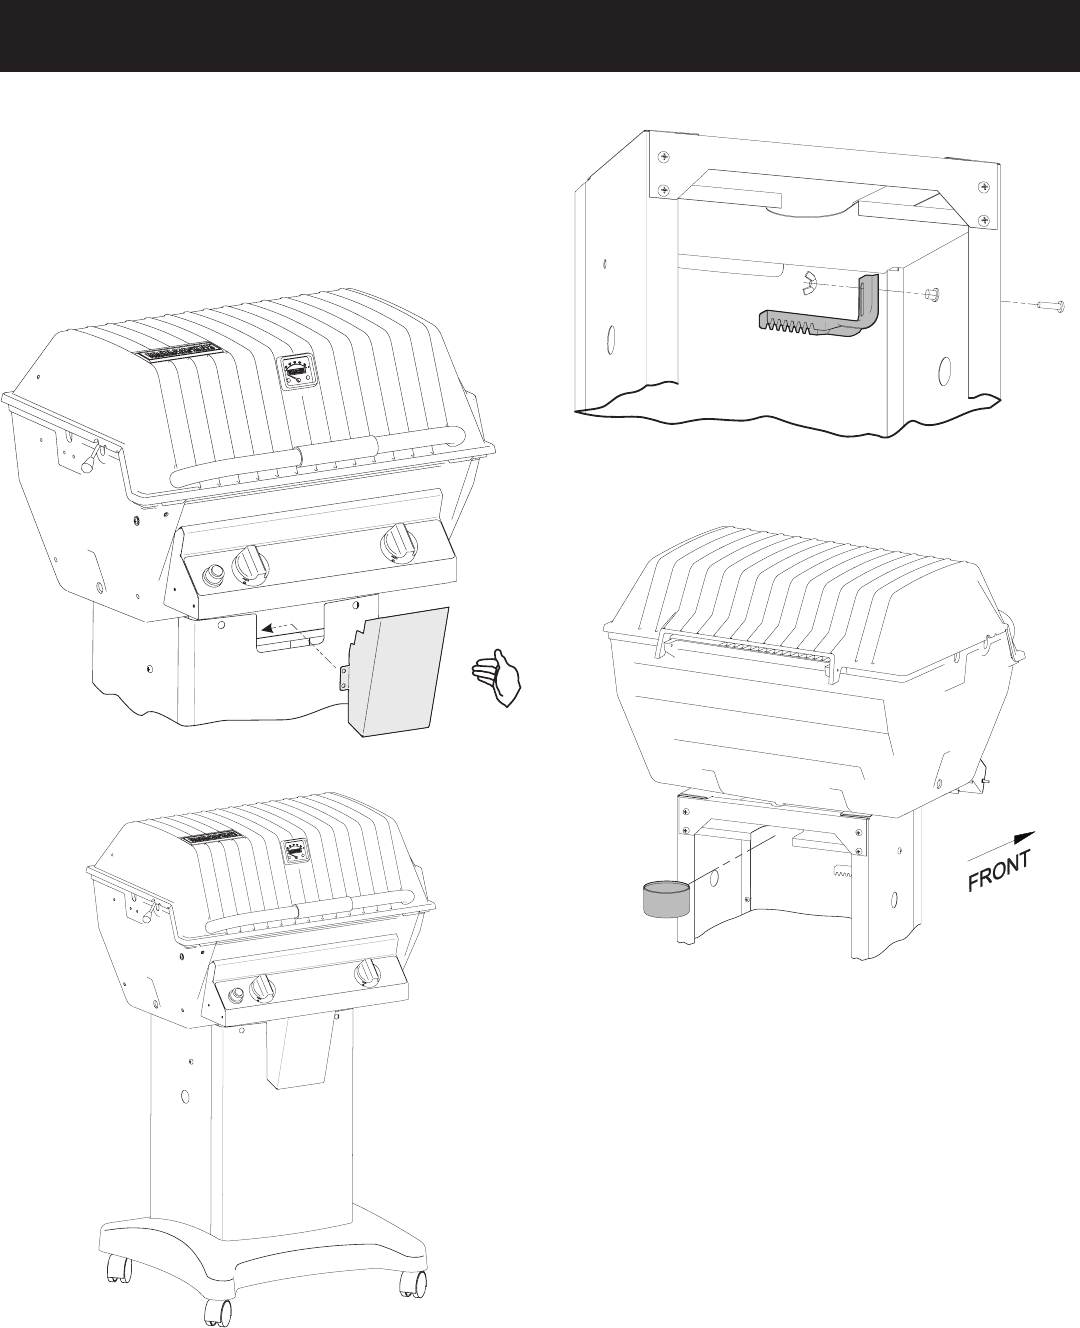
9. For Grill Heads other than R3 Series, continue on to Step 10.
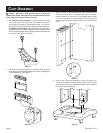
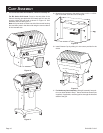
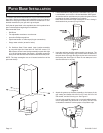
For R3 Series Grill Heads: Press in the two sides of the
Control Housing (provided with Grill Head) and t it into the
opening under the grill head as shown in Figure 10. Grill
Assembly will look like Figure 11.
Note: It may be easier to insert one side of the control housing
rst, and then press in the other side using the cart as a brace
for the inserted side.
Figure 10
Figure 11
CArt ASSEmbly
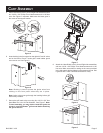
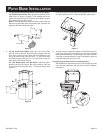
10. Mount the tank retainer to the cart by using 1/4-20 x 1 1/4 Phil-
lips Truss Head screw and 1/4-20 wing nut.
Figure 12
10. Install Grease Cup by sliding it in the cutout provided in the
shield.
Figure 13
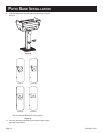
11. For Stationary Cart Assembly: Slide grill assembly into posi-
tion over holes drilled in Step 1. Secure with three screws (not
supplied). If applicable, route the gas line through the hole and
attach to the grill.


