Special offers from our partners!

Find Replacement BBQ Parts for 20,308 Models. Repair your BBQ today.
CAUTION: Some parts may
contain sharp edges. Wear
protective gloves if necessary.
WARNING: Only use the specific
orifice designated for your grill
model. Always double check the
millimeter size on the side of the
orifice tip prior to installation. Use
of any other orifice could lead to
personal injury, property damage
and void your grill warranty.
Note: Make sure all control
knobs are in the off
position, LP tank valve is
closed and tank is
disconnected from
regulator and removed
from grill.
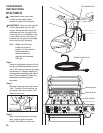
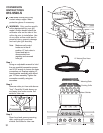
Step 1
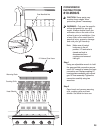
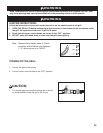
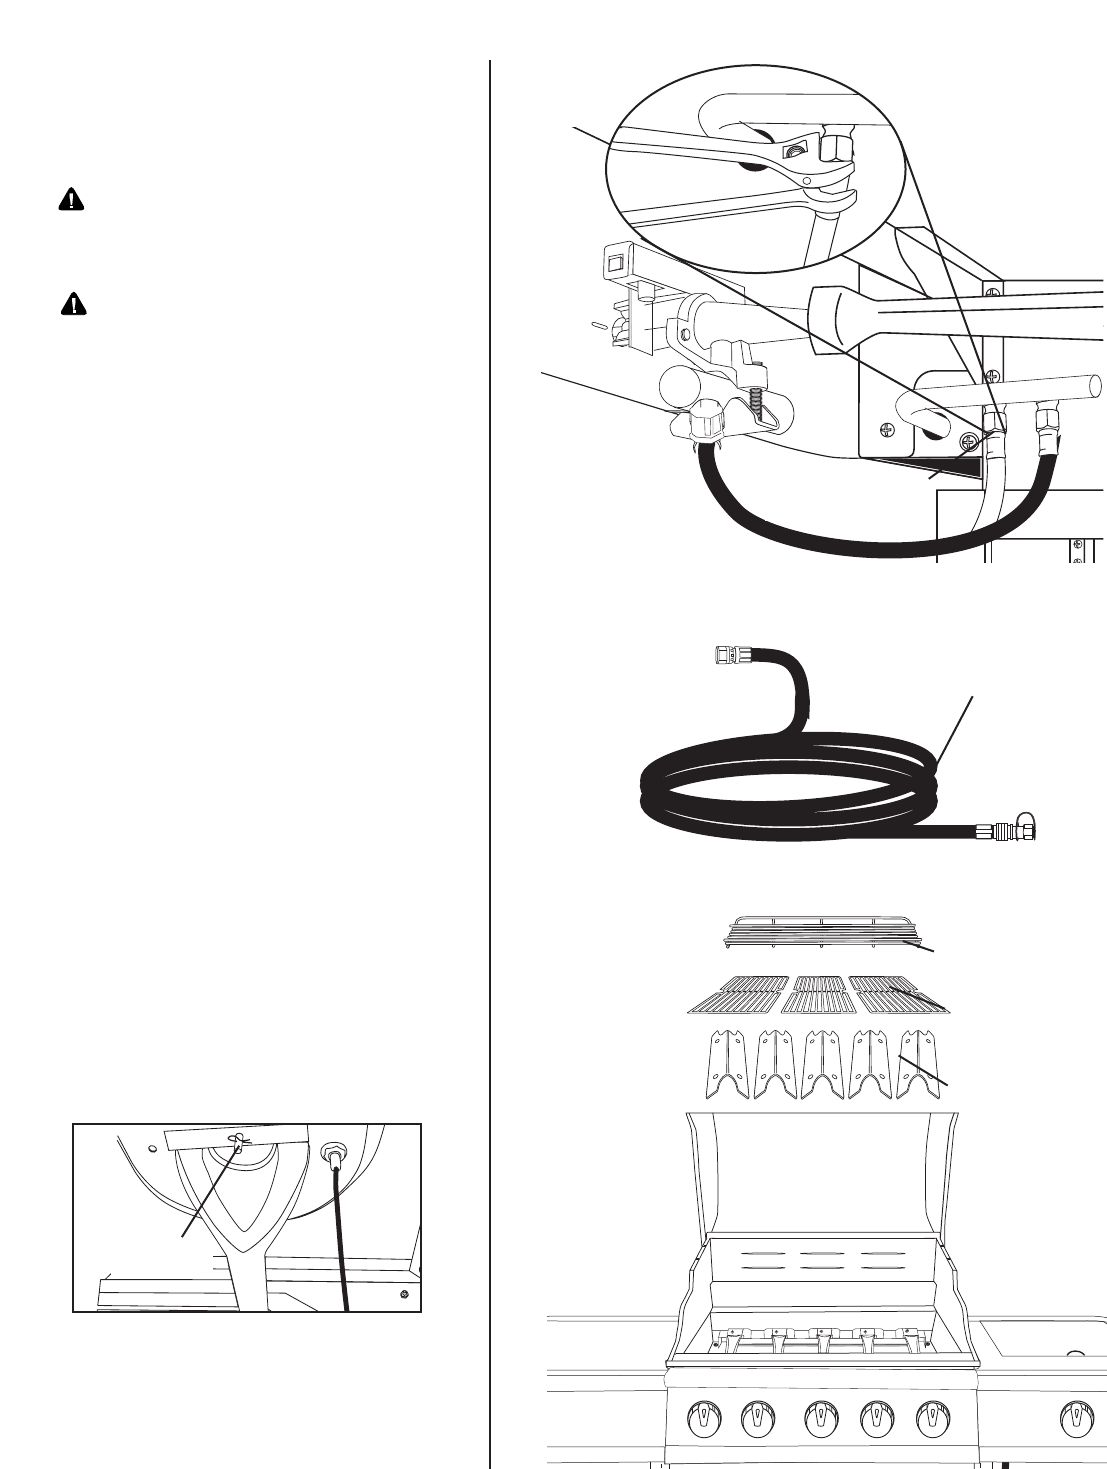
Using an adjustable wrench to hold
the gas manifold connection secure,
use a 3/4” wrench to loosen the hose
connection nut. Replace existing LP
hose/regulator assembly with natural
gas 10’ hose assembly. Tighten the
connection carefully using two
wrenches.
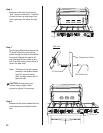
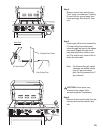
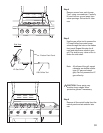
Step 2
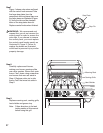
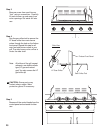
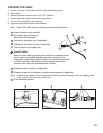
Remove cotter pin from side burner
"foot". Carefully lift side burner up
and away from valve nozzle. Set
aside for later use.
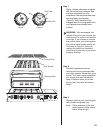
Step 3
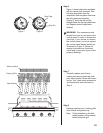
Open hood and remove warming
rack, cooking grills and heat
shields. Set aside for later use.
CONVERSION
INSTRUCTIONS
810-9520-S
Cotter Pin
Warming Rack
Cooking Grills
Heat Shields
10’ Natural Gas Hose
Gas Manifold Nut
31


