


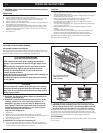

Special offers from our partners!

Find Replacement BBQ Parts for 20,308 Models. Repair your BBQ today.
Buy Weber Grill Parts. It couldn't be easier. Find your Weber parts here.
16
WWW.WEBER.COM
®
OPERATING INSTRUCTIONS
ƽ WARNING: Setup up the rotisserie with food before lighting
rotisserie burner.
OPERATING
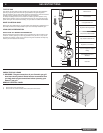
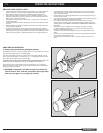
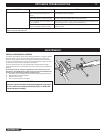
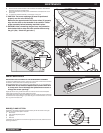
1) Remove rotisserie shaft from grill. Remove one spit fork.
2) Push the rotisserie shaft through the center of the food.
3) Slide the spit fork onto the shaft. Insert the tines of both spit forks into the food.
The food should be centered on the shaft. Tighten the spit fork screws
4) Place the motor in the bracket, slide to lock.
5) Insert the pointed end of the rotisserie shaft into the motor. Place the handle end
of the rotisserie onto the support rollers.
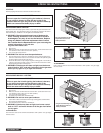
6) The rotisserie shaft should rotate so that the heavy side of the meat or poultry
rotates down to the bottom. Large cuts may require the removal of the cooking
grates and warming rack to allow full rotation of the shaft. Remount the food if
necessary for better balance.
7) Turn the motor on.
COOKING
• Meats (except poultry and ground meat) should be brought to room temperature
before cooking. (20 to 30 minutes should be adequate for most foods. If frozen
defrost completely before cooking.)
• Tie meat or poultry with a string, if necessary, to make the shape as uniform as
possible before putting it on the spit.
• Remove cooking grates and warming rack to allow food to turn freely.
• Follow lighting instructions for rotisserie burner on next page.
• Set rotisserie burner on medium-high based on outside air temperatures.
• Place food within area of burner.
• If you wish to save drippings for gravy, place a drip pan directly under the food
on top of the Flavorizer
®
bars.
• Food preparation steps are the same for rotisserie cooking as for regular
cooking.
• All cooking is done with the lid closed.
• If foods are too heavy or are irregular shapes, they may not rotate well and
should be cooked by the Indirect Method without using the rotisserie.
• Smoker can be used in conjunction with rotisserie for more smoke flavor.
Note: When using the rotisserie burner, grill thermometer will not reflect the
temperature inside the cooking box.
LIGHTING THE ROTISSERIE BURNER
ROTISSERIE BURNER SNAP IGNITION
Note: Each control knob snap igniter creates a spark from the igniter electrode to the
burner lighting tube. You generate the energy for the spark by pushing in the control
knob and turning to “START/HI”. This will ignite each individual burner.
ƽ ATTENTION: READ BEFORE
LIGHTING ROTISSERIE BURNER
After a period of non-use, before lighting the Rotisserie
Burner, a few seconds must pass for the gas supply line to
fill.
When using the snap igniter you will see a flash of flames
moving from left to right across the Rotisserie Burner
surface, the Rotisserie Burner is not lit until the entire
ceramic surface is aflame.
At this point, start a count of 20 seconds before releasing the
Rotisserie Burner control knob.
The Rotisserie Burner surface will glow red once the burner
is fully ignited.
ƽ CAUTION: The Rotisserie Burner flame may be difficult to
see on a bright sunny day.
ƽ WARNING: Check hose before each use of grill for nicks,
cracking, abrasions or cuts. If the hose is found to be
damaged in any way, do not use the grill. Replace using
only a Weber
®
authorized replacement hose. Contact the
Customer Service Representative in your area using the
contact information on our web site.
Log onto www.weber.com
®
.
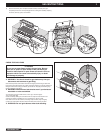
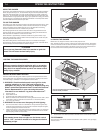
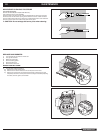
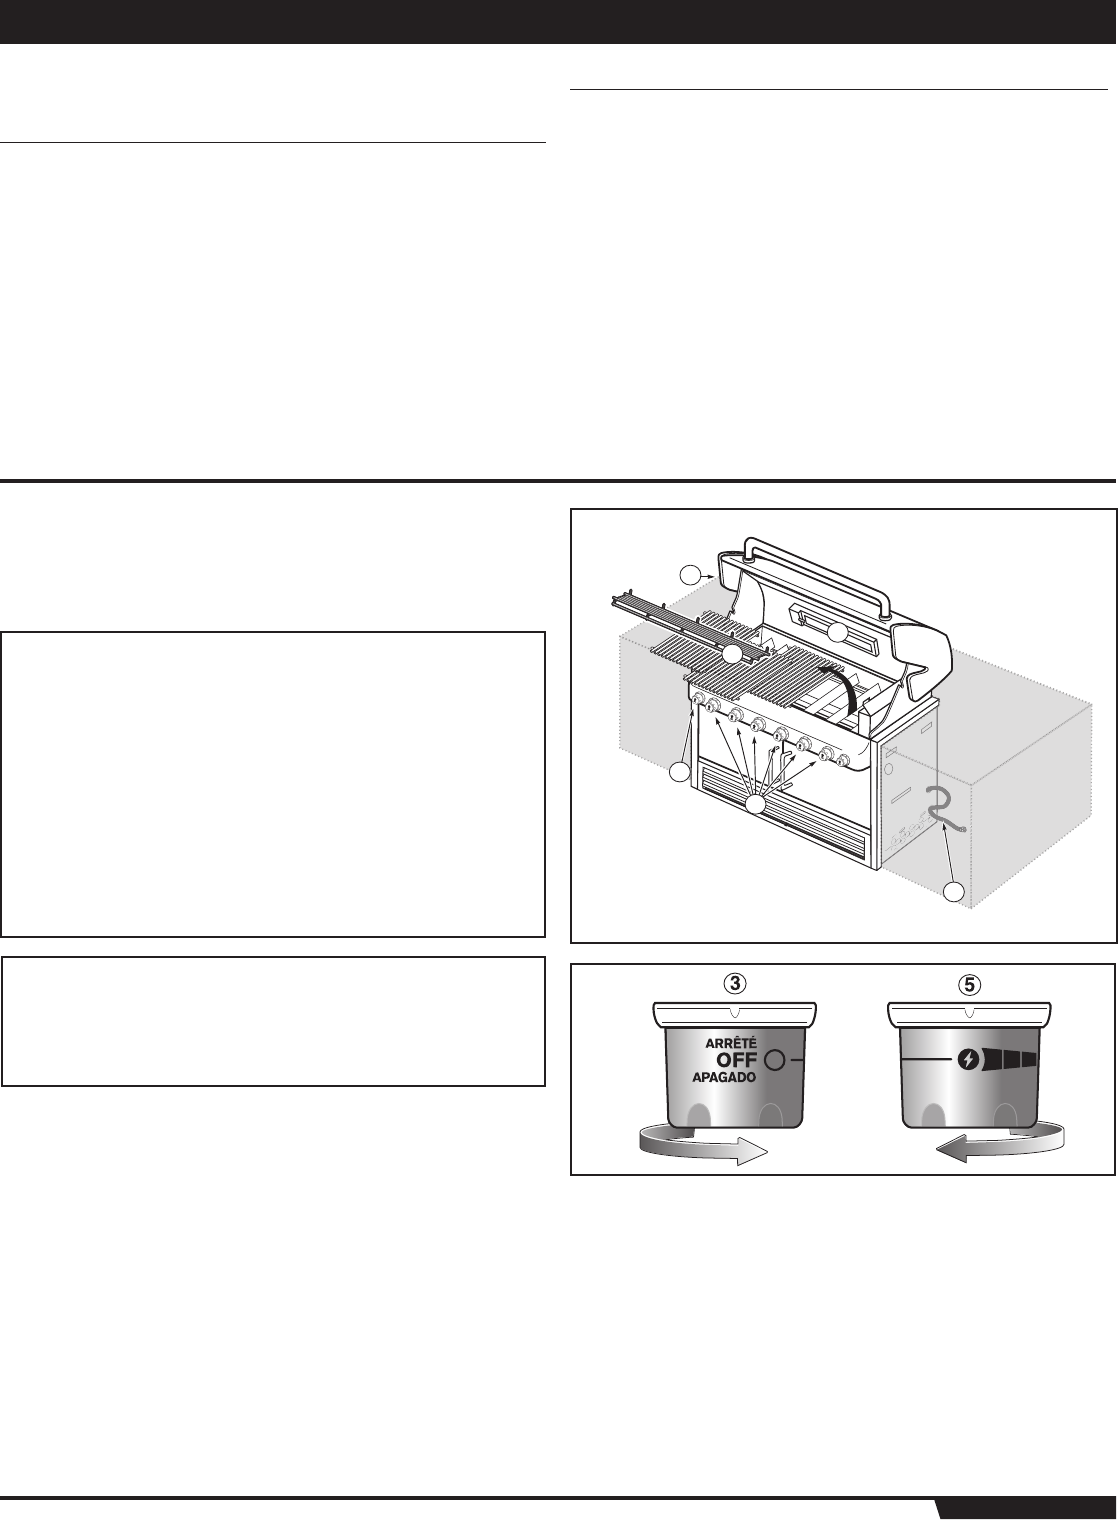
1) Open the lid.
2) Remove the warming rack and the cooking grates from the cookbox.
3) Make sure all burner control knobs are turned to “OFF”. (Push control knob in and
turn clockwise to ensure that it is in the “OFF” position.)
4) Turn on the gas at source.
ƽ WARNING: Do not lean over the open grill.
5) Push the control knob in and turn to “START/HI”. This action will spark the
igniter and light the Rotisserie Burner. Continue to use the snap igniter until the
Rotisserie Burner has ignited. Release the control knob.
4
1
5
3
6
2
* The grill illustrated may have
slight differences than the
model purchased.
6) Check that the burner is lit by looking for the rotisserie burner to glow red.
ƽ WARNING: If the rotisserie burner does not light, turn the
burner control knob to “OFF” and wait 5 minutes to let the
gas clear before you try again or try to light with a match.
Note: When using the rotisserie with the lid closed, only light two of the main burners
on each side of the food (See Grilling Methods-Indirect Cooking). Check your food
periodically to prevent over cooking on the outside. Turn off the rotisserie burner once
the food has browned to the desired color. Finish cooking on Indirect heat.
TO EXTINGUISH
Push in and turn each burner control knob clockwise to “OFF” position. Turn gas supply
off at the source.
ƽ DANGER
Failure to open the lid while igniting the grill, or not waiting
5 minutes to allow the gas to clear if the grill does not light,
may result in an explosive flare-up which can cause serious
bodily injury or death.