Special offers from our partners!

Find Replacement BBQ Parts for 20,308 Models. Repair your BBQ today.

Buy Weber Grill Parts. It couldn't be easier. Find your Weber parts here.
10
WWW.WEBER.COM
®
DOT 4BA240
00/06
2
1
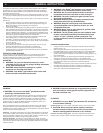
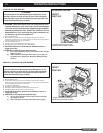
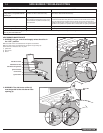
1) Open the lid.
2) Make sure all burner control knobs are turned to OFF. (Push control knob down and
turn clockwise to ensure that it is in the OFF position.)
ƽ WARNING: The burner control knobs must be in the OFF
position before turning on the liquid propane cylinder tank
valve. If they are not in the OFF position, when you turn on
the LP cylinder valve, the “excess gas fl ow control” feature
will activate, limiting the fl ow of gas from the LP cylinder. If
this should occur, turn off the LP cylinder valve and burner
control knobs. Then start over.
ƽ DANGER
When the “excess gas fl ow control” feature is activated,
a small amount of gas is still fl owing to the burners. After
turning OFF the cylinder valve, wait at least 5 minutes for the
gas to clear before attempting to light the barbecue. Failure
to do so may result in an explosive fl ame-up, which can
cause serious bodily injury or death.
ƽ CAUTION: Place dust cap on cylinder valve outlet whenever
the cylinder is not in use. Only install the type of dust cap
on the cylinder valve outlet that is provided with the cylinder
valve. Other types of caps or plugs may result in leakage of
propane.
• Do not use a damaged LP cylinder. Dented or rusty LP cylinders or LP cylinders
with a damaged valve may be hazardous and should be replaced with a new one
immediately.
Liquid Propane (LP) Cylinder(s)
• The joint where the hose connects to the LP cylinder must be leak tested each
time the LP cylinder is reconnected. For example, test each time the LP cylinder is
refi lled.
• Be sure the regulator is mounted with the small vent hole pointed downward so that
it will not collect water. This vent should be free of dirt, grease, bugs etc.
• The gas connections supplied with your Weber
®
gas barbecue have been designed
and tested to meet 100% CSA and ANSI requirements.
ƽ WARNING: Replacement LP tanks must match the regulator
connection supplied with this barbecue.
Liquid Propane Cylinder requirements
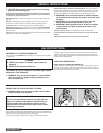
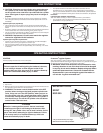
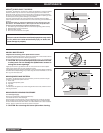
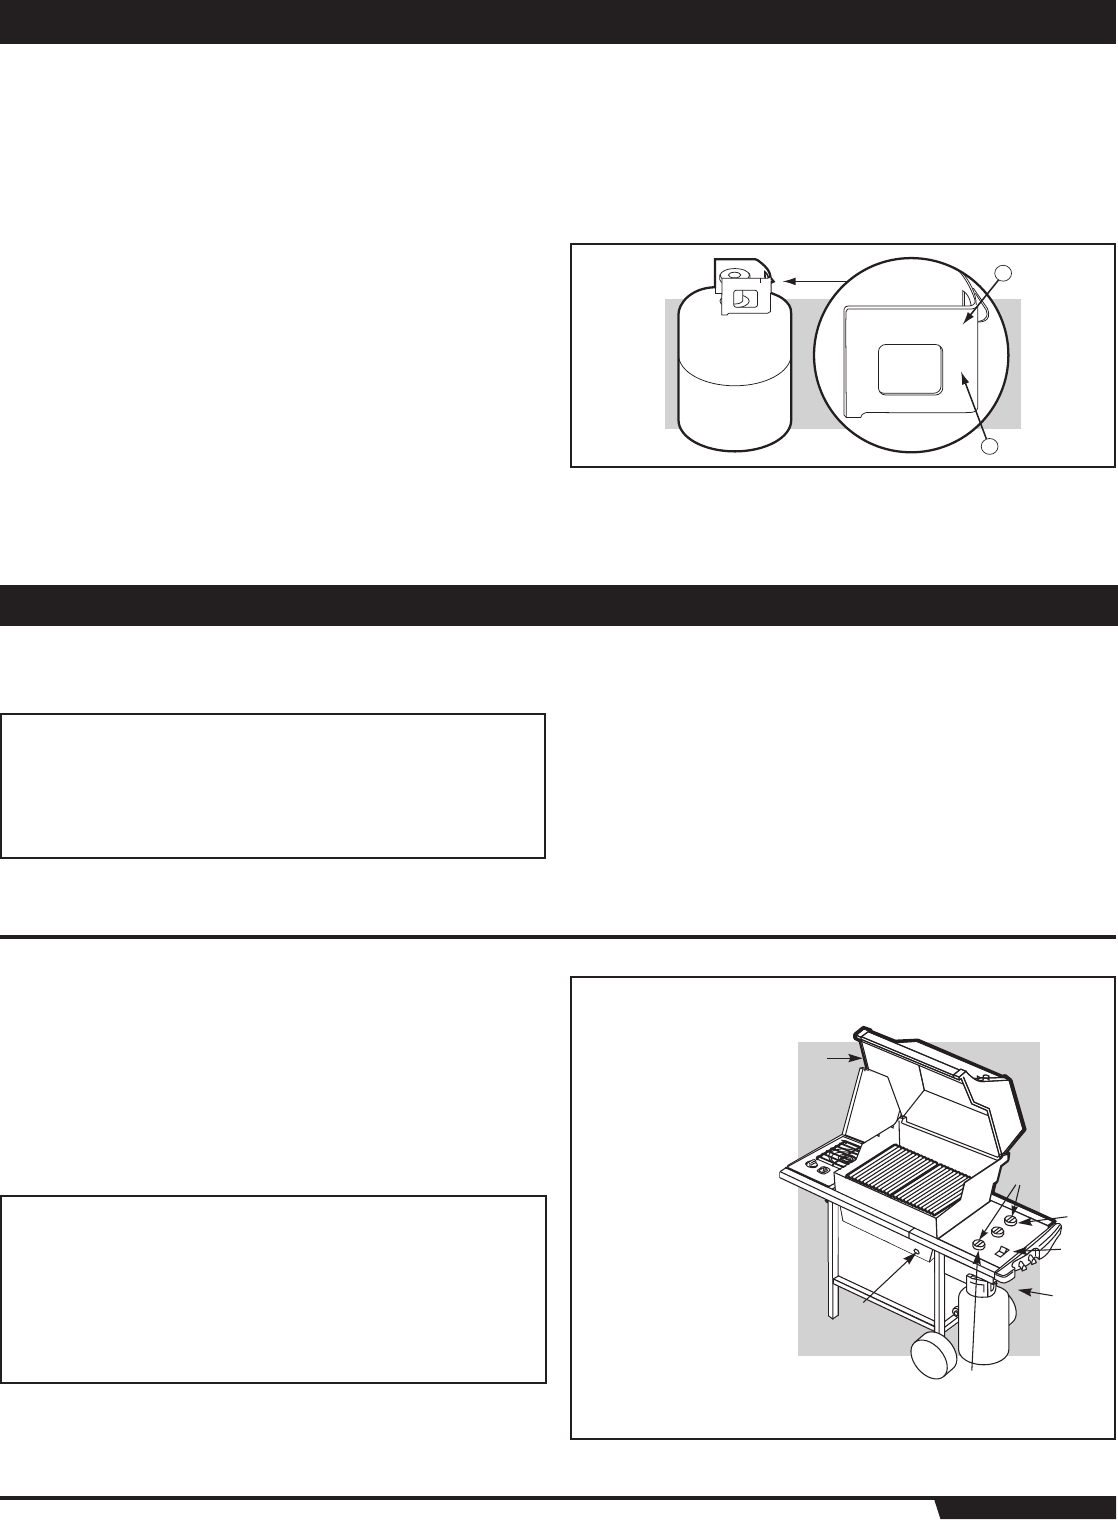
• Check to be sure cylinders have a D.O.T. certifi cation (1), and date tested (2) is
within fi ve years. Your LP gas supplier can do this for you.
• All LP tank supply systems must include a collar to protect the cylinder valve.
• The LP cylinder must be a 20-lb. size approximately (18¼ inches high, 12¼ inches
in diameter).
• The cylinder should be constructed and marked in accordance with the
Specifi cations for LP - Gas Cylinders of the U.S. Department of Transportation
(D.O.T.) or the National Standard of Canada, CAN/CSA-B339, Cylinders, Spheres
and Tubes or Transportation of Dangerous Goods; and Commission, as applicable.
In Canada
Liquid Propane Cylinder requirements
Note: Your retailer can help you match a replacement tank to your barbecue.
• The LP cylinder must be constructed and marked in accordance with the
specifi cations for LP gas cylinders, T.C.
LIGHTING
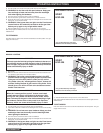
Summary lighting instructions are on the control panel.
ƽ DANGER
Failure to open the lid while igniting the barbecue’s burners,
or not waiting 5 minutes to allow the gas to clear if the
barbecue does not light, may result in an explosive fl ame-up
which can cause serious bodily injury or death.
Crossover
®
Ignition System
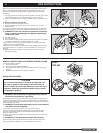
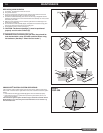
Note: The Crossover
®
ignition system ignites the Front burner with a spark from the
igniter electrode inside the Gas Catcher™ ignition chamber. You generate the energy for
the spark by pushing the Crossover
®
ignition button until it clicks.
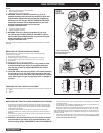
ƽ WARNING: Check hose before each use of barbecue for nicks,
cracking, abrasions or cuts. If the hose is found to be damaged
in any way, do not use the barbecue. Replace using only Weber
®
authorized replacement hose. Contact the Customer Service
Representative in your area using the contact information on
our web site. Log onto www.weber.com
®
.
1
2
3
5
7
6
4
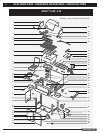
SPIRIT
E/SP-320
*The grill illustrated may have slight
differences than the model purchased.
MAIN BURNER LIGHTING
GAS INSTRUCTIONS
OPERATING INSTRUCTIONS


