Special offers from our partners!

Find Replacement BBQ Parts for 20,308 Models. Repair your BBQ today.
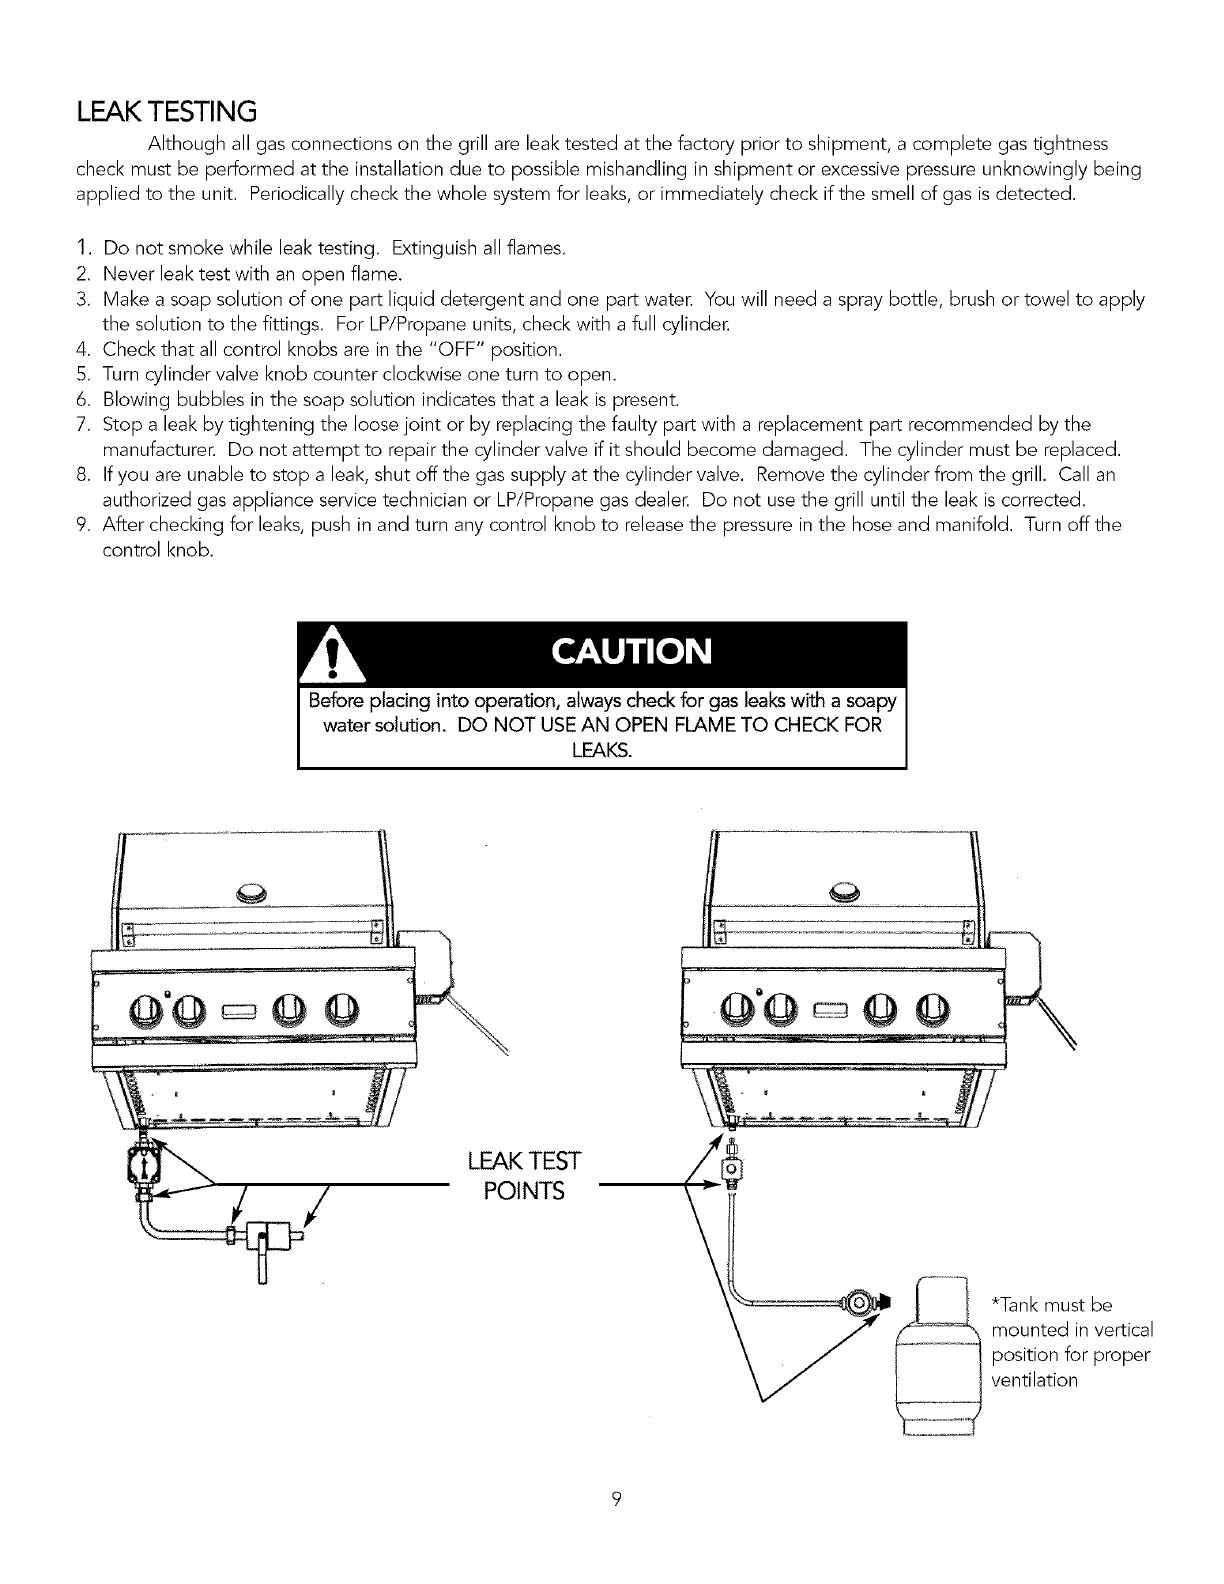
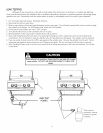
LEAK TESTING
Although all gas connections on the grill are leak tested at the factory prior to shipment, a complete gas tightness
check must be performed at the installation clue to possible mishandling in shipment or excessive pressure unknowingly being
applied to the unit. Periodically check the whole system for leaks, or immediately check if the smell of gas is detected.
1. Do not smoke while leak testing. Extinguish all flames.
2. Never leak test with an open flame.
3. Make a soap solution of one part liquid detergent and one part water. You will need a spray bottle, brush or towel to apply
the solution to the fittings. For LP/Propane units, check with a full cylinder.
4. Check that all control knobs are in the "OFF" position.
5. Turn cylinder valve knob counter clockwise one turn to open.
6. Blowing bubbles in the soap solution indicates that a leak is present.
7. Stop a leak by tightening the loose joint or by replacing the faulty part with a replacement part recommended by the
manufacturer. Do not attempt to repair the cylinder valve if it should become damaged. The cylinder must be replaced.
8. If you are unable to stop a leak, shut off the gas supply at the cylinder valve. Remove the cylinder from the grill. Call an
authorized gas appliance service technician or LP/Propane gas dealer. Do not use the grill until the leak is corrected.
9. After checking for leaks, push in and turn any control knob to release the pressure in the hose and manifold. Turn off the
control knob.
Before placing into operation, always check for gas leaks with a soapy
water solution. DO NOT USE AN OPEN FLAME TO CHECK FOR
LEAKS.
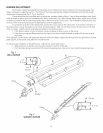
LEAK TEST
POINTS
*Tank must be
mounted in vertical
position for proper
ventilation


