Special offers from our partners!

Find Replacement BBQ Parts for 20,308 Models. Repair your BBQ today.
OUTDOOR—COOKING
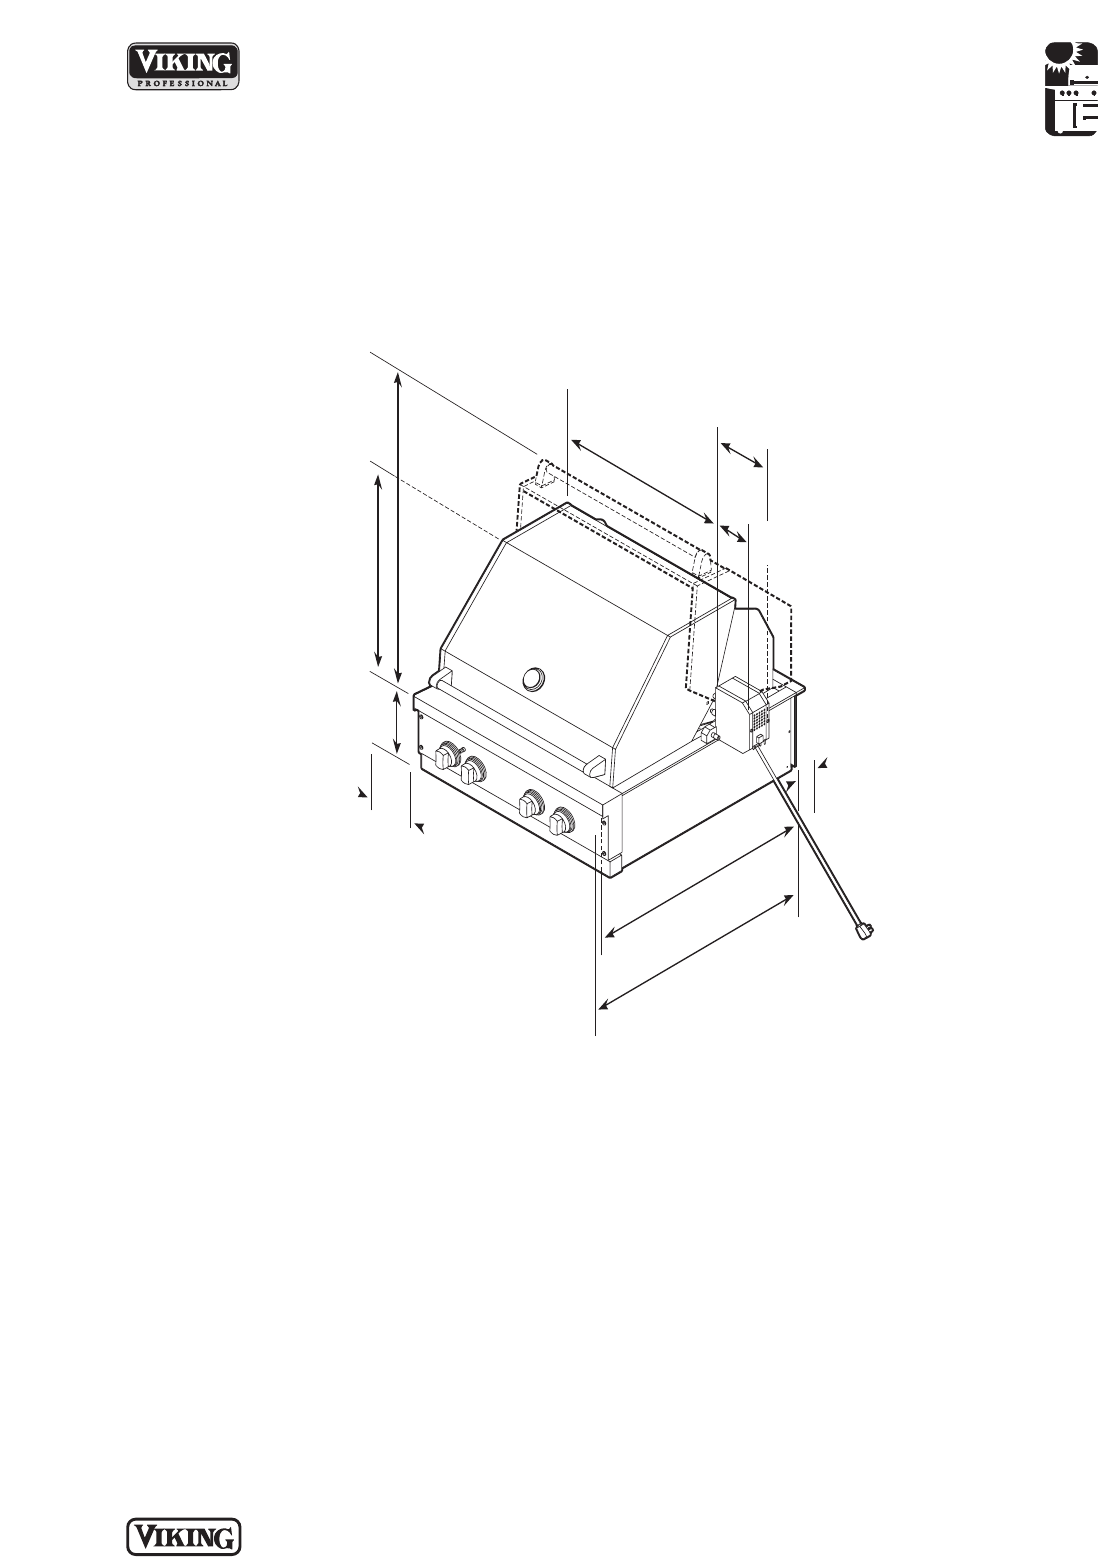
30”W. Premium T-Series & Ultra-Premium
T-Series/E-Series Gas Grill
PLANNING AND DESIGN GUIDE
VIKINGRANGE.COM • 1-888-VIKING1
RELEASED 12/1/07
©2007 VRC—INFORMATION SUBJECT TO CHANGE
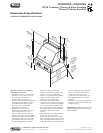
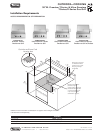
22-15/16”
(58.3 cm)
16-5/8”
(42.2 cm)
10-1/4”
(26.0 cm)
29-1/2”
(74.9 cm)
8”
(20.3 cm)*
5-3/8”
(13.7 cm)
32-3/4”
(83.2 cm)
31-9/16”
(80.2 cm)
3” min.
(7.6 cm) to non-
combustable
surface
24” min.
(61.0 cm) to
combustable
surface
6”
(15.2 cm)
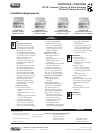
Minimum clearances from adjacent
combustible construction
1. Maintain a min. of 6” (15.2 cm) from
the sides, or a min. of 8” (20.3 cm)
from the right side if there is a
rotisserie motor, and a min. of
24” (61.0 cm) from the back above the
cooking surface to adjacent vertical
combustible construction. Do not
place grill under unprotected
combustible construction.
2. Maintain a min. of 3” (7.6 cm)
clearance from the back of the grill
with a canopy and a min. of 6”
(15.2 cm) from the back of the grill
without a canopy to non-combustible
construction to allow the lid to open
fully and for proper ventilation. (The
grill exhausts combustion products
and cooking greases to the back.)
Never place the grill where the
exhaust is directed at a window, less
than 2’ (61.0 cm) to combustible
material, or any surface that is difficult
to clean. Allow at least 6” side
clearance to non-combustible
construction above the cooking
surface for counter space. If using the
rotisserie option, the space is essential
for motor and skewer clearance. The
grill can be placed directly adjacent to
combustible and/or non-combustible
construction below the cooking
surface.
3. When determining a suitable location
for the grill, take into account
exposure to wind, proximity to traffic
paths, and keeping gas supply lines as
short as possible. Place the grill only in
a well-ventilated area. Never place the
grill in a building, garage, breezeway,
shed, or other fully enclosed areas.
During heavy use, the grill will
produce a lot of smoke; ensure you
have adequate room for smoke to
dissipate.
4. If using a rear wall, place the electrical
service on the right-hand side for the
rotisserie motor.
IMPORTANT: Gas fittings, regulator, and
installer-supplied shut-off valve must be
easily accessible.
Dimensions & Specifications
CLEARANCE DIMENSIONS & HOOD SWING


