Special offers from our partners!

Find Replacement BBQ Parts for 20,308 Models. Repair your BBQ today.
IGNITION LIGHTING THE LANTERN
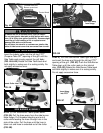
1. Check to make sure lantern parts are intact and not
disrupted and cylinder is properly connected.
2. Important: Make sure Lantern Control Knob is turned
“Off” first.
3. Turn the Control Knob to the ‘On” position until it
stops. (FIG. 15A)
4. Push the Ignitor button in several times to light. Listen
for the spark ignition and look to make sure the burner
is lit. If no spark, refer to the T
roubleshooting
Section.
5. If Lantern fails to light, repeat Steps 3 and 4.
If Lantern fails to light after three or four attempts
following Steps 3-4, turn control knob to the “Off”
position. Wait five minutes; then repeat the lighting
procedure. Note: If the burner still fails to light, refer to
the T
roubleshooting Section. The burner can also be lit
manually, see Manual Lighting Lantern.
6. After ignition, turn the control knob to adjust the
amount of light that is desired.
If the lantern burner goes out during operation, turn
control knob to the “Off” position. Wait five minutes
before attempting to relight the grill. If it does not
relight, turn control knob to the “Off” position. Make
sure there are no open flames in the grill, side burner
or nearby; then disconnect the cylinder and see if it is
empty.
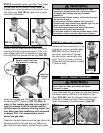
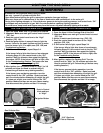
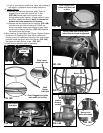
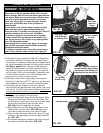
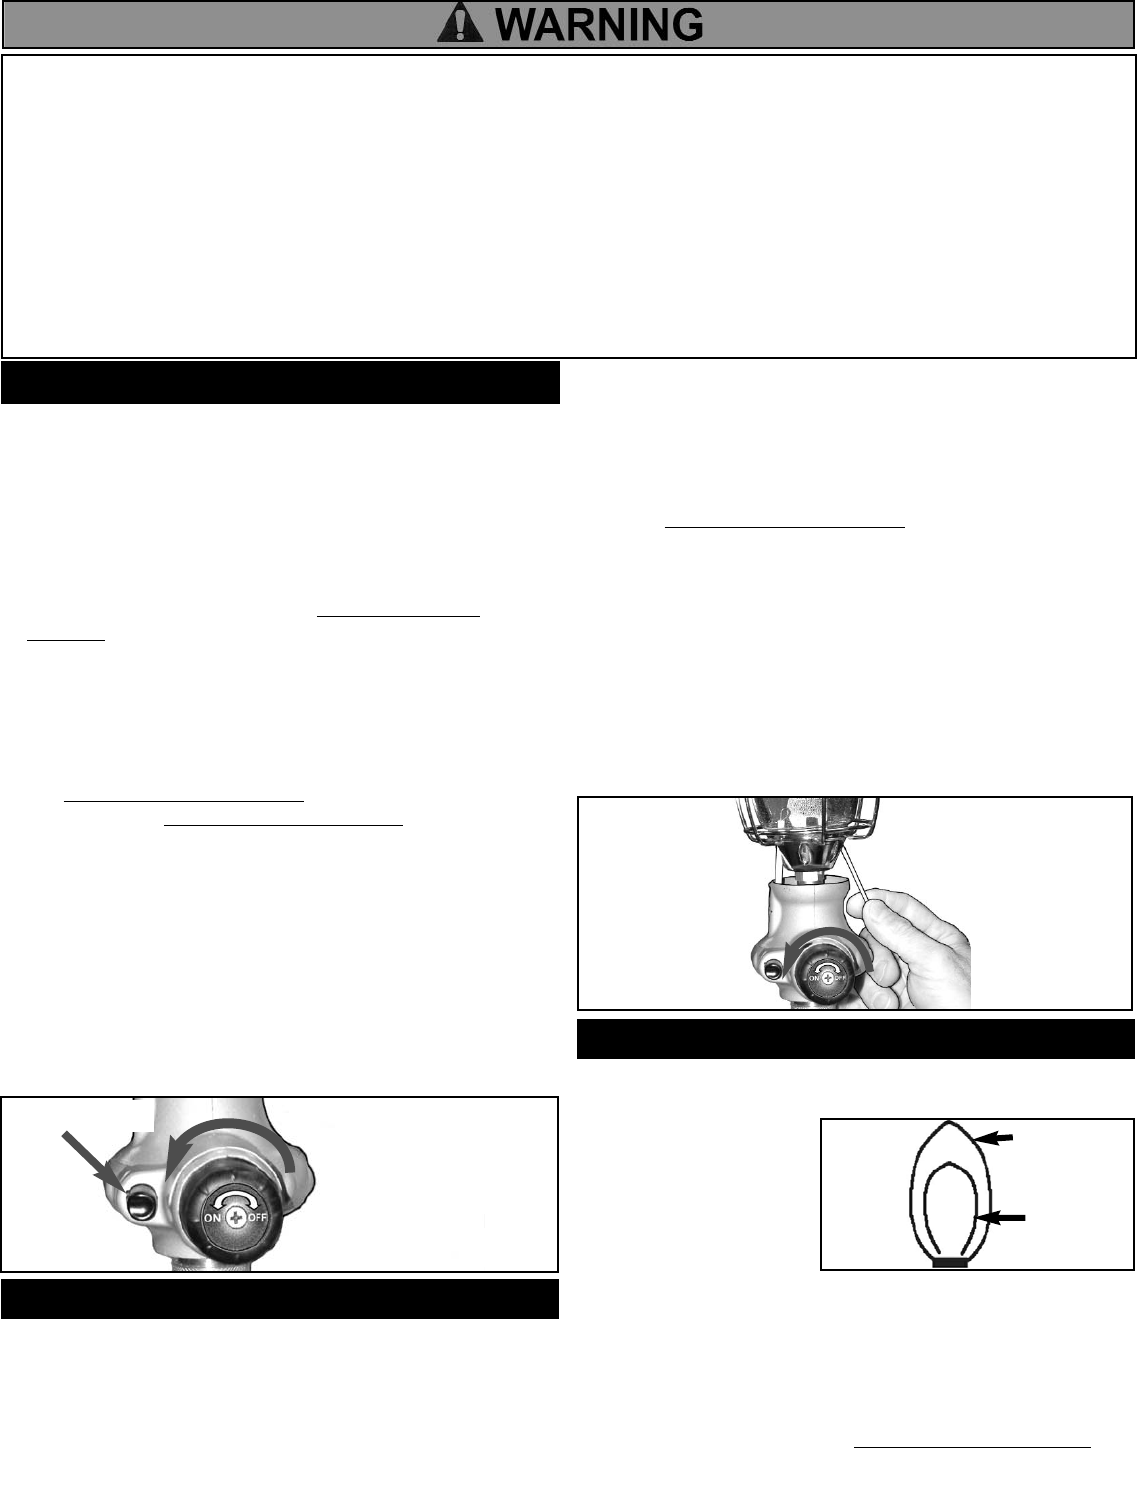
Ignitor Button
Turn Control
knob to “On”
position.
FIG. 15A
4. If Lantern Burner fails to light, repeat Steps 2 and 3.
If burner fails to light after three or four attempts
following Steps 2-3, turn control knob to the the “Off”
position. Wait five minutes; then repeat the lighting
procedure. NOTE: If the burner still fails to light, refer
to the T
roubleshooting Section.
5. After ignition, turn the control knob to the desired
setting for use.
If the Lantern goes out during operation, turn the
control knob to the “Off” position. Wait five minutes
before attempting to relight the grill. If it does not
relight, turn control knob to the “Off” position. Make
sure there are no open flames in the grill, side burner
or nearby; then disconnect the cylinder and see if it is
empty.
MANUAL LIGHTING THE LANTERN
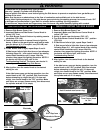
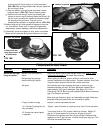
FIG. 15B
Hold lit match
near burner.
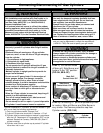
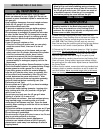
Your burners have been preset by the manufacturer for
optimal flame performance. A blue flame, possibly with a
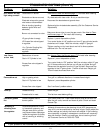
CHECK YOUR FLAME
Yellow Tip
Primarily
Blue
Flame
15
FIG. 16
Turn Control
knob to “On”
position.
Check the flame before each cooking session and throughout
the grilling season. Always check especially after long periods
of storing the grill. If the flame is significantly yellow in color,
the appropriate amount of LP gas in the air/LP gas mixture is
not correct. This could be due to a blocked burner from
grease drippings or from insects building a nest inside the
burner or burner opening. See How to Clean the Burners.
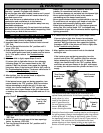
To reduce the risk of serious bodily injury or death:
· Use only 1 pound LP cylinder with Lantern.
· Do not use gas tube with Portable Lantern and 1 pound
LP cylinder. It is unstable and will cause lantern to tip
over and cause a fire.
· Make sure there are no obstructions to the flow of
combustion and ventilation air to the Lantern.
· Always burn lantern in upright position away from any
flammable substances.
· Use lantern for lighting only. Do not touch hot surfaces.
· Hold the lantern by the cylinder when transporting. Hold
it away from you and do not run with it.
· Always light and use lantern outdoors. Never use
indoors, on recreational vehicles, or boats.
· To avoid eye damage, do not stare into the intense light.
· Never operate lantern with a hole in the mantle or
overheating and fire hazard could result.
· Never operate lantern without a globe shield or top cap.
· To avoid burns, do not place your head or body over
the lantern when manually lighting with a match.
· When lighting attempts fail, or i f the Lantern goes out
during use, turn control knob “Off” to dissipate any
accumulation of gas. Wait five minutes before repeating
lighting procedure.
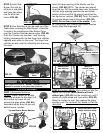
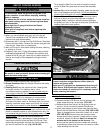
1. Important: Make sure Lantern control knob is turned
“Off” first.
2. Hold a lit match through one of the base openings
below the burner. (FIG. 15B)
3. Turn the Control Knob to the ‘On” position until it
stops. (FIG. 15A)
small yellow tip, is the
result of the optimal air
and LP gas mixture for
the main burner and side
burner. (FIG. 16)The
lantern should glow white.


