


Special offers from our partners!

Find Replacement BBQ Parts for 20,308 Models. Repair your BBQ today.
16
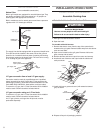
Lighting the rotisserie burner
1. Do not lean over the grill.
2. Push in the rotisserie burner knob and turn the knob to
“LITE/HI”. You will hear the “snapping” sound of the spark.
3. When the rotisserie burner lights, continue to hold the knob in
for another 10 seconds, then release the knob and burner will
stay lit. You will hear the “snapping” sound of the spark until the
knob is released.
IMPORTANT: If the rotisserie burner does not light immediately,
turn the burner knob to “OFF”, wait 5 minutes before relighting.
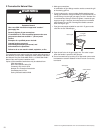
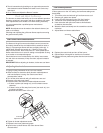
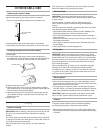
Manually lighting the rotisserie burner
1. Do not lean over the grill
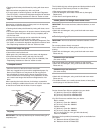
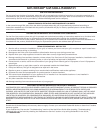
2. Remove the manual lighting extension from inside the drip tray.
3. Attach a match to the clip.
4. Strike the match to light it.
5. Gently hold the lit match close to the rotisserie burner.
6. Push in and turn the rotisserie burner control knob to “LITE/HI”.
Hold this knob in for 10 seconds after the burner is lit. You will
hear the “snapping” sound of the spark until after the knob is
released.
IMPORTANT: If the rotisserie burner does not light immediately,
turn the rotisserie burner control knob to “OFF” and wait 5 minutes
before relighting.
light
7. Remove the match and replace the manual lighting extension
inside the drip tray.
To avoid product damage when not using the rotisserie, remove
motor and store indoors. Remove spit rod and forks. Store out of
reach of children.
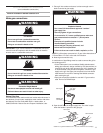
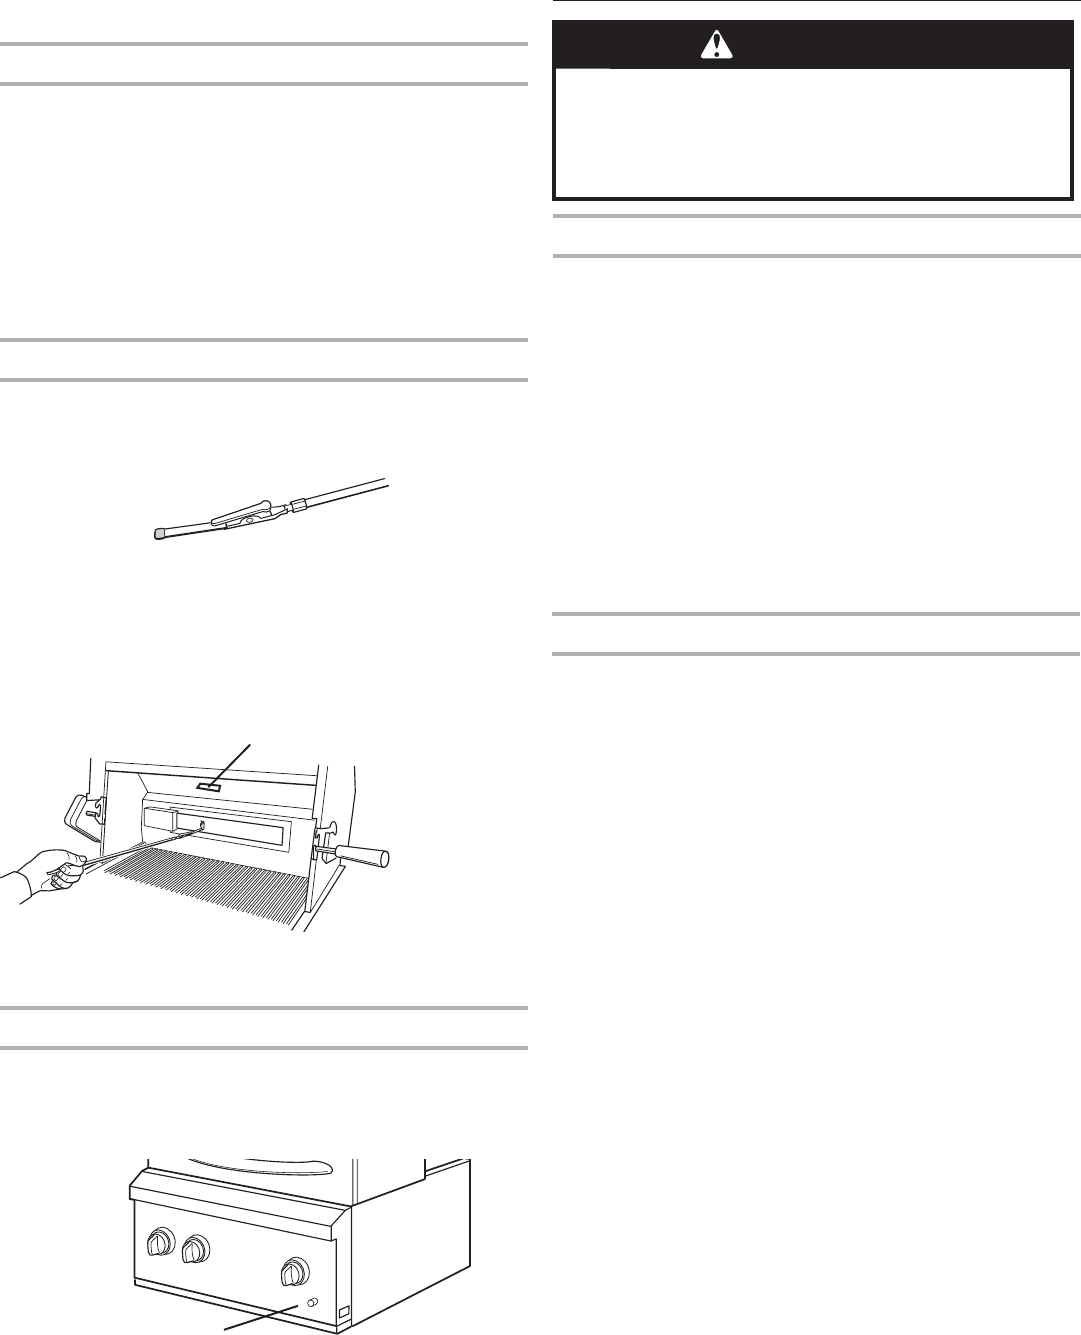
Using the grill light (on some models)
1. The power transformer must be plugged in per the instructions
in the “Plug in Grill Light” section.
2. Press the light button on the control panel to turn “on” or “off.”
light
button
OUTDOOR GRILLING TIPS
WARNING
Food Poisoning Hazard
Do not let food sit on grill for more than one hour
before or after cooking.
Doing so can result in food poisoning or sickness.
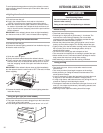
Before Grilling
• Thaw food items before grilling.
• Preheat grill on high (use all grill burners) 7-10 minutes. The
hood must be closed during preheating. Do not use back
rotisserie burner for preheating. Preheating provides the high
heat needed to brown and seal the juices.
• Shorten the preheat time when grilling high-fat cuts of meat or
poultry, such as chicken thighs. This will help reduce fl are-ups.
• Lightly oil the grill or the food when cooking low-fat cuts of meat,
fi sh or poultry, such as lean hamburger patties, shrimp or
skinless chicken breasts.
• Too much oil can cause gray ash to deposit on food.
• Trim excess fat from meats prior to cooking to prevent fl are-ups.
• Make vertical cuts at 2” intervals around the fat edge of meat to
help prevent the meat from curling while cooking.
• Add seasoning or salt only after the cooking is fi nished.
During Grilling
• Turn foods only once. Juices are lost when meat is turned
several times.
• Turn meat just when juices begin to appear on the surface.
• Avoid puncturing or cutting the meats to test doneness. This
allows juices to escape.
• It may be necessary to lower the heat setting for foods that cook
a long time or are marinated or basted in a sugary sauce.
• If using a high fl ame, add barbecue sauce only during the last 10
minutes of cooking to avoid burning the sauce.
• The degree of doneness is infl uenced by the type of meat, cut of
meat (i.e. size, shape and thickness), heat setting selected, and
length of time on the grill.
• With the grill cover open the cooking time will be longer.