


Special offers from our partners!

Find Replacement BBQ Parts for 20,308 Models. Repair your BBQ today.
13
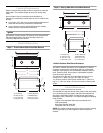
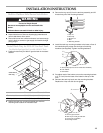
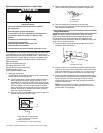
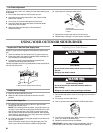
INSTALLATION INSTRUCTIONS
Built-in Outdoor Side Burner Installation
■ Unpack side burner. Remove all packaging materials and
remove side burner from carton.
■ Place side burner into outdoor enclosure, but leave enough
room in back to connect to gas supply and electrical single
prong plug-in.
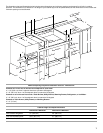
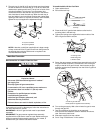
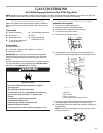
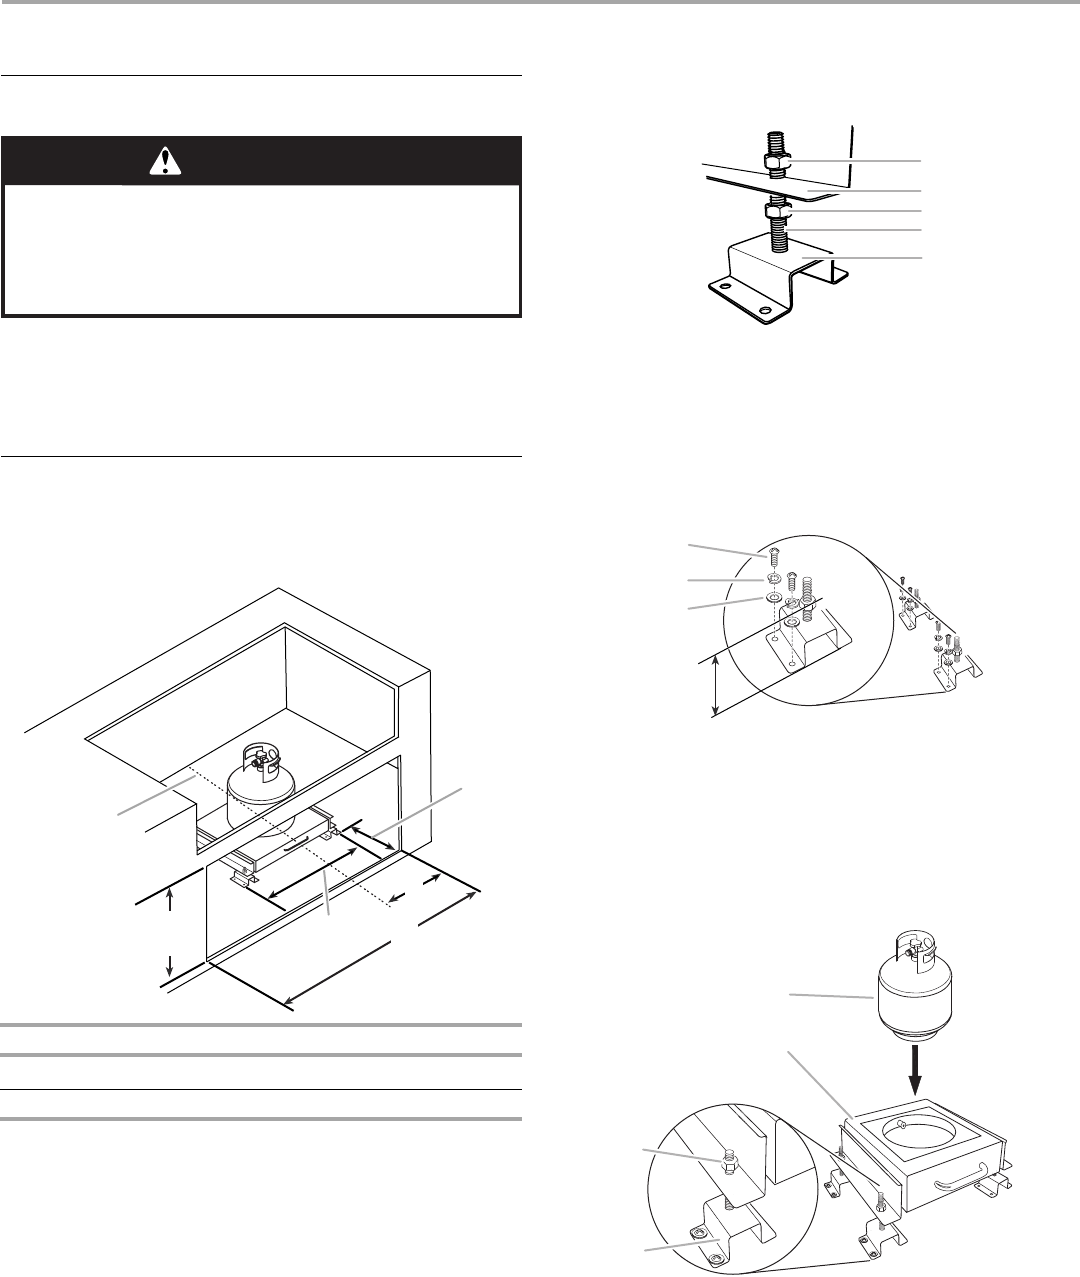
Install Tank Tray for 20 lb LP Gas Fuel Tank
For Models Equipped for Use with a 20 lb LP Tank
1. Position the tank tray for 20lb LP gas fuel tank in the island
cabinet.
2. Square the tank tray mounting brackets and mark the
mounting hole locations in the island base.
3. Remove the top nuts (4) from the tank tray assembly and lift
the tank tray off of the mounting brackets.
4. Install the tank tray mounting brackets to the base or floor of
the island using the proper size and type of mounting
hardware (not supplied). Tighten mounting hardware.
5. Pre-adjust each of the bottom nuts on the mounting brackets
to 3" (7.6 cm) from the base of the island to the top of the
nuts.
6. Remount the tank tray back onto the mounting brackets.
Replace the 4 top nuts but do not tighten.
Dimension A Dimension B
Front to back burner 8³⁄₃₂" (20.6 cm) 16³⁄₁₆" (41.1 cm)
Side by side burner 12⁹⁄₁₆" (31.9 cm) 25¹⁄₈" (63.8 cm)
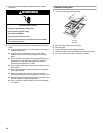
WARNING
Excessive Weight Hazard
Use two or more people to move and install side
burner.
Failure to do so can result in back or other injury.
B
2¹⁄₄"
(5.7 cm)
18³⁄₈"
(46.7 cm)
20⁵⁄₈"
(52.4 cm)
A
centerline of
tank tray
A.Top nut
B.Tank tray
C.Bottom nut
D.Bolt
E.Mounting bracket
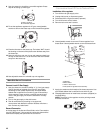
A.Screw (Use proper screw for island floor material.)
B.Lock washer
C.Flat washer
A.20 lb LP gas fuel tank
B.Tank tray for 20 lb gas fuel tank
C.Top nut (do not tighten)
D.Mounting bracket
A
B
C
D
E
A
B
C
3"
(7.6 cm)
A
D
C
B