


Special offers from our partners!

Find Replacement BBQ Parts for 20,308 Models. Repair your BBQ today.
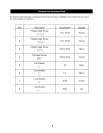
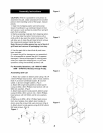
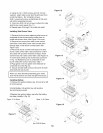
4. Using (2) 1/4 x 10mm screws and (2) 1/4 lock
washers, attach side burner shelf to grill head from
inside the firebox. Do not tighten screws.
Note: Leaving all screws un-tightened at this point
wilt aid the assembly process.
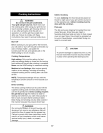
5. Insert one 5/32 x 8 mm screws to attach the side
shelf to the control panel (Fig 11).
6. Repeat steps 2 through 5 to install side shelf.
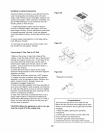
Installing Side Burner Valve
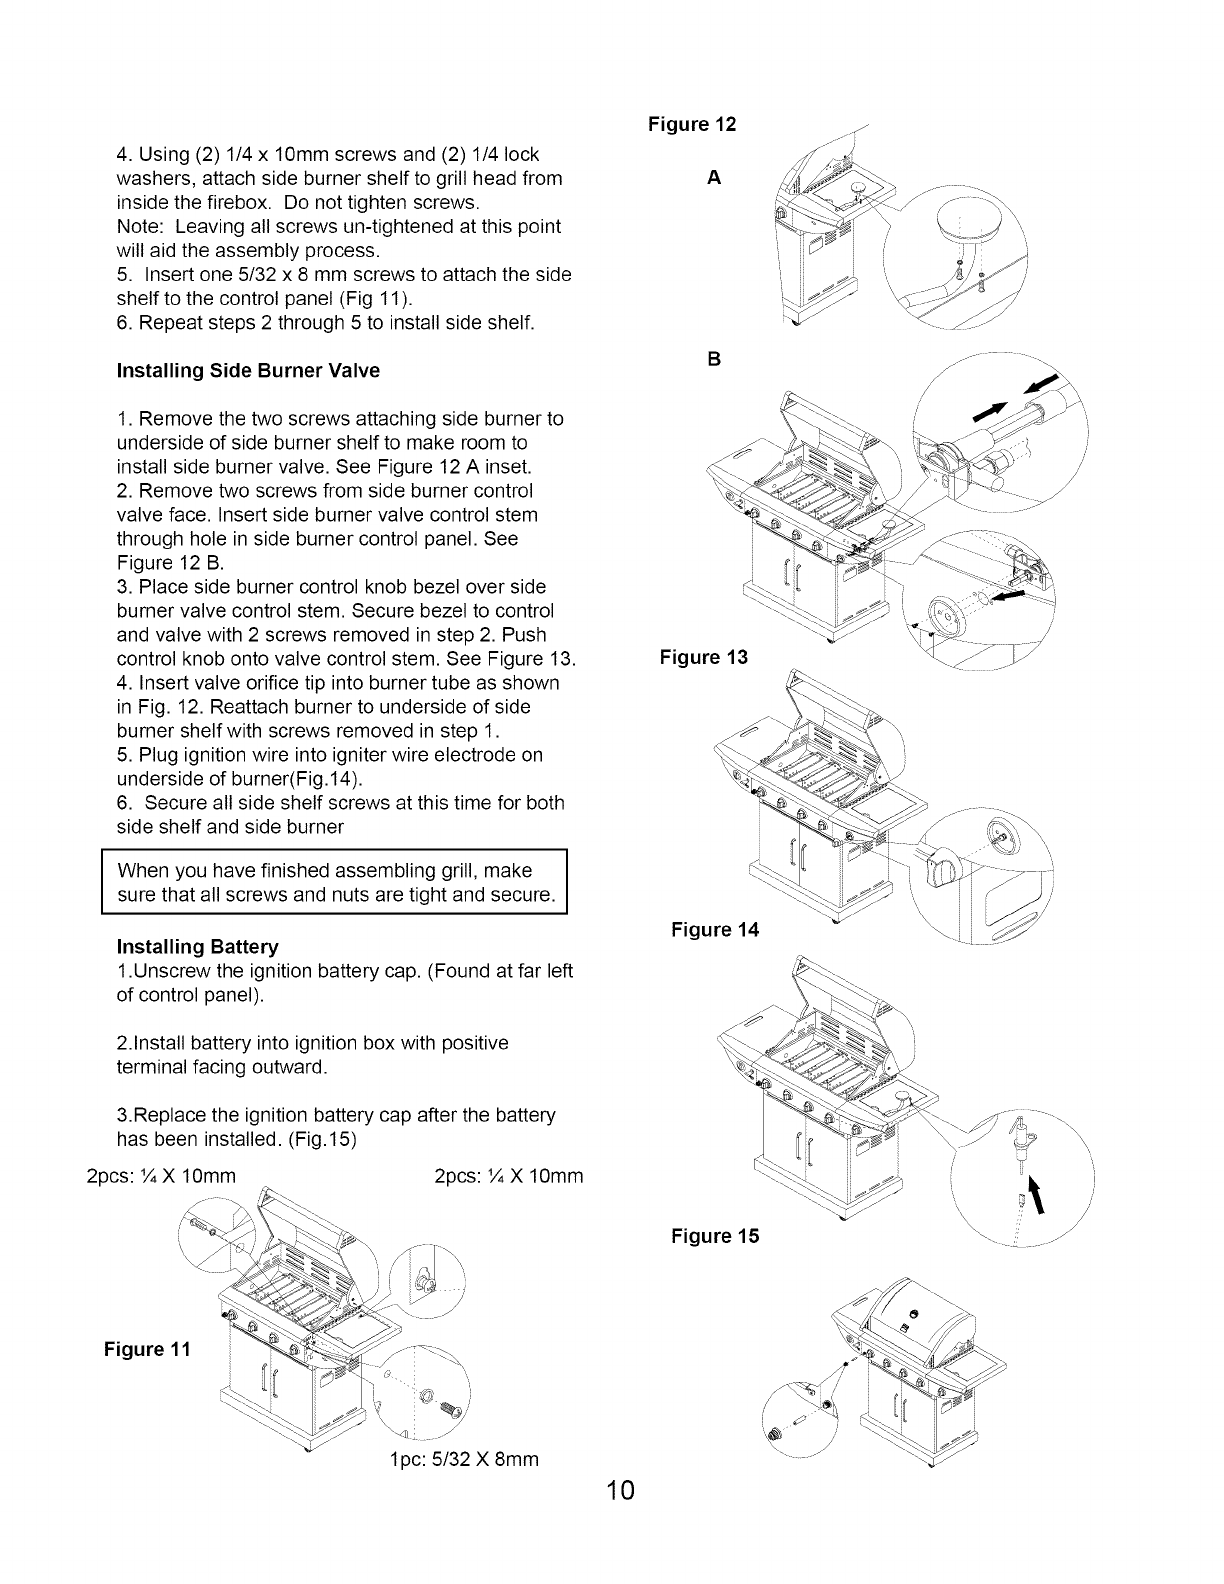
1. Remove the two screws attaching side burner to
underside of side burner shelf to make room to
install side burner valve. See Figure 12 A inset.
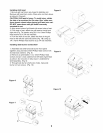
2. Remove two screws from side burner control
valve face. Insert side burner valve control stem
through hole in side burner control panel. See
Figure 12 B.
3. Place side burner control knob bezel over side
burner valve control stem. Secure bezel to control
and valve with 2 screws removed in step 2. Push
control knob onto valve control stem. See Figure 13.
4. Insert valve orifice tip into burner tube as shown
in Fig. 12. Reattach burner to underside of side
burner shelf with screws removed in step 1.
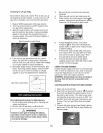
5. Plug ignition wire into igniter wire electrode on
underside of burner(Fig. 14).
6. Secure all side shelf screws at this time for both
side shelf and side burner
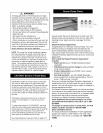
When you have finished assembling grill, make
sure that all screws and nuts are tight and secure.
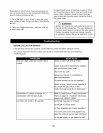
Installing Battery
1.Unscrew the ignition battery cap. (Found at far left
of control panel).
2.Install battery into ignition box with positive
terminal facing outward.
3.Replace the ignition battery cap after the battery
has been installed. (Fig. 15)
2pcs: ¼ X lOmm 2pcs: ¼ X lOmm
Figure 12
A
B
Figure 13
Figure 14
Figure 15
J
.-<
.J
/
\'\\\\ {;
/
Figure 11
/
1pc: 5/32 X 8mm
10