


Special offers from our partners!

Find Replacement BBQ Parts for 20,308 Models. Repair your BBQ today.
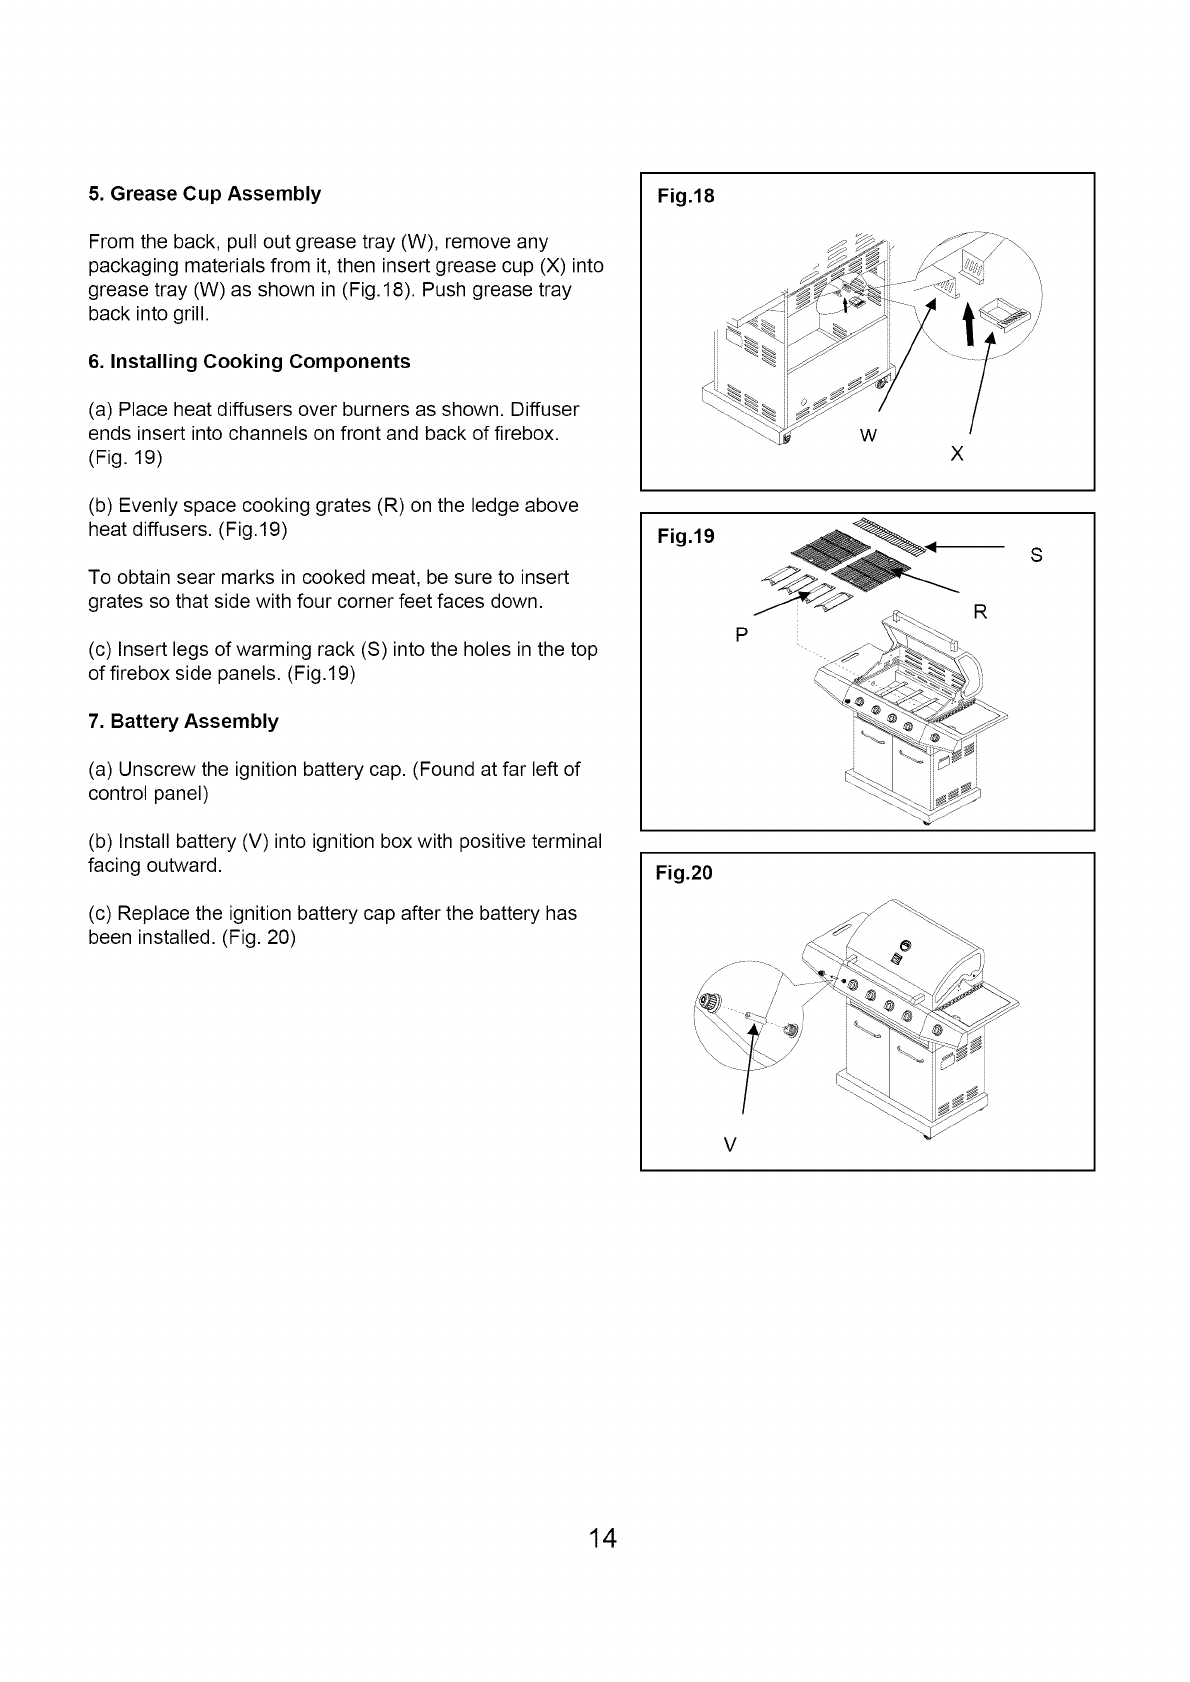
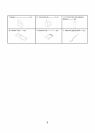
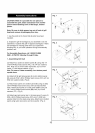
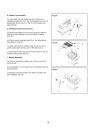
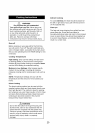
5. Grease Cup Assembly
From the back, pull out grease tray (W), remove any
packaging materials from it, then insert grease cup (X) into
grease tray (W) as shown in (Fig. 18). Push grease tray
back into grill.
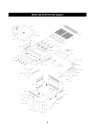
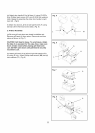
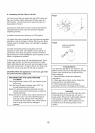
6. Installing Cooking Components
(a) Place heat diffusers over burners as shown. Diffuser
ends insert into channels on front and back of firebox.
(Fig. 19)
(b) Evenly space cooking grates (R) on the ledge above
heat diffusers. (Fig. 19)
To obtain sear marks in cooked meat, be sure to insert
grates so that side with four corner feet faces down.
(c) Insert legs of warming rack (S)into the holes in the top
of firebox side panels. (Fig. 19)
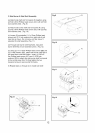
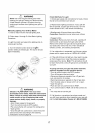
7. Battery Assembly
(a) Unscrew the ignition battery cap. (Found at far left of
control panel)
(b) Install battery (V) into ignition box with positive terminal
facing outward.
(c) Replace the ignition battery cap after the battery has
been installed. (Fig. 20)
Fig.18
Fig.19
Fig.20
W
X
P
V
S
R
14