Special offers from our partners!

Find Replacement BBQ Parts for 20,308 Models. Repair your BBQ today.
6
7
How to Use
This product is for household use only.
GETTING STARTED
• Remove all packing material and any stickers.
• Remove and save literature.
• Please go to www.prodprotect.com/applica to register your warranty.
• Wash all removable parts and/or accessories as instructed in CARE AND CLEANING
section of this manual.
• Select location where unit is to be used, leaving enough space between back of unit
and wall to allow heat to flow without damage to cabinets and walls.
ATTACHING THE GRILL PLATES
Important: This appliance should always be used with 2 plates securely attached.
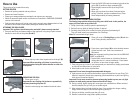
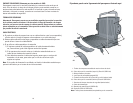
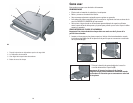
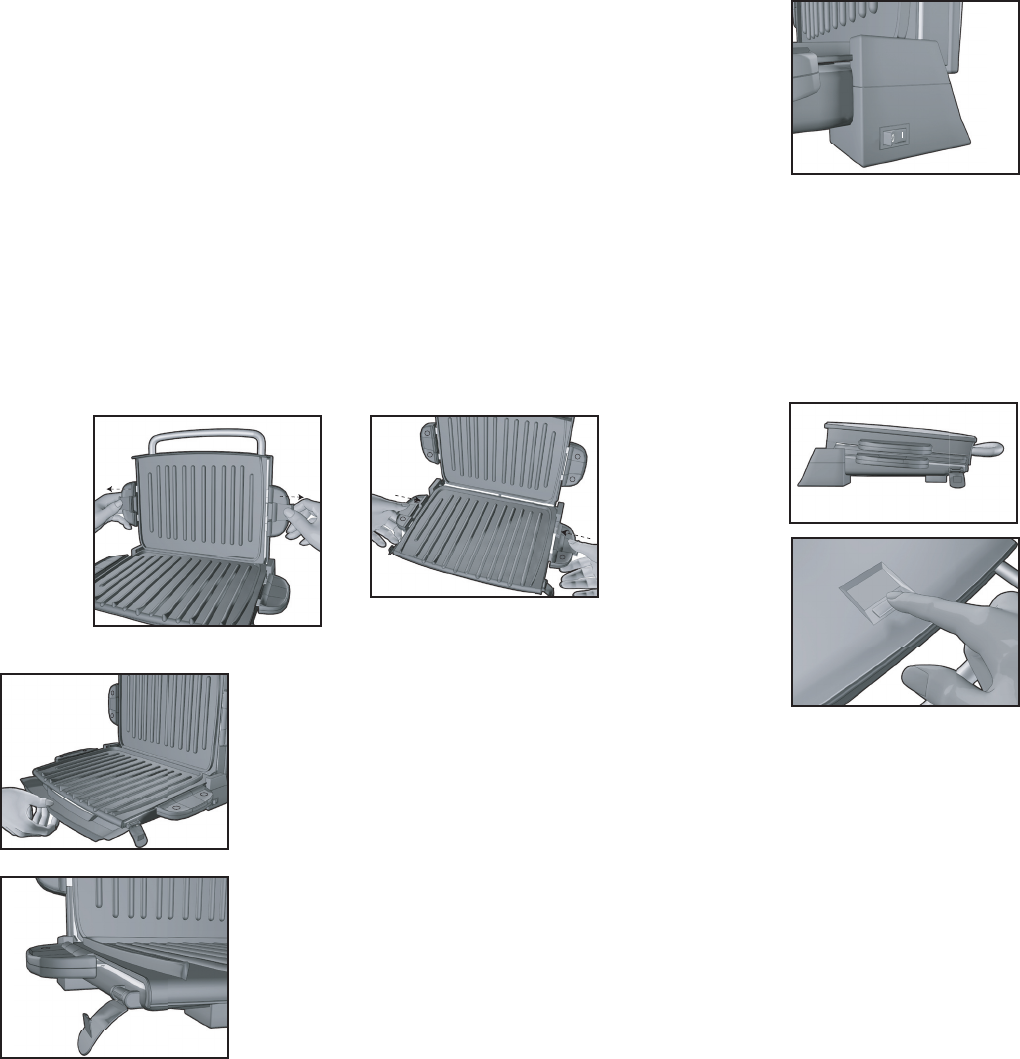
1. Securely attach top and bottom plates of the appliance using the grill plate release
handles on each side of the plates (B and C).
2. Place drip tray under front sloped section of the grill (D).
Important: When attaching grill plates, be sure they are
securely attached using the release handles on each side
of the plates.
PREHEATING THE GRILL
1. Close cover on grill.
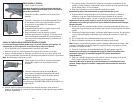
Important: Be sure locking side latches are opened fully
and away from the grill plates (E).
2. Unwind cord and plug into standard electrical outlet.
3. Press the On/Off (I/O) switch on bottom right side of the
grill to ON (I) position to begin preheating (F).
4. Digital display located on the top of the grill will
show “on”.
5. Allow grill to preheat for at least 5 minutes before
grilling. If desired, use the countdown timer. (Timer
works independently of heating elements.)
GRILLING IN THE FLOATING HINGE POSITION
The floating hinge position allows for grilling extra thick foods. In this position, the
upper grill plate rests on top of the food.
1. Using a pot holder, carefully open the preheated grill.
2. Before first use, lightly oil both grill plates, if desired.
3. Carefully place foods to be cooked on lower grill plate of preheated grill.
This grill model usually accommodates 2 to 4 servings.
Note: Do not overload the grill plate.
4. Close grill cover in Floating Hinge position (G) with the
cover closing directly onto the food.
5. Press timer control button (H) to select desired amount
of time food will cook. Timer has a maximum of
20 minutes.
Note: Use suggested cooking times found in the GRILLING
CHART on pages 8-10.
6. Tap the timer control button on right side of button to
change the time in 1-minute increments. Press button
on left side to have timer change rapidly.
7. Timer only goes up in time. If you have passed your desired time, simply press button
on left side and allow timer to cycle back.
8. Allow food to cook for the selected time.
Important: Do not leave the appliance unattended during use.
9. Light pressure can be used on the handle to press and heat food to your liking. This
feature is especially handy when preparing grilled sandwiches or panini and grilling
thick pieces of meat and poultry.
Important: Do not exert excessive pressure when using handle to press; use only light
pressure to avoid putting extreme stress on float & lock hinge.
10. During cooking, digital display will count down your selected time. When selected
time has elapsed, the grill will give an audible signal.
11. After selected time, the food should be done. If you would prefer longer cooking,
simply follow the steps in this section beginning at step 4.
12. Using a pot holder, carefully open the grill cover.
13. Remove cooked food using plastic spatula provided.
B
C
D
E
F
G
H


