


Special offers from our partners!

Find Replacement BBQ Parts for 20,308 Models. Repair your BBQ today.
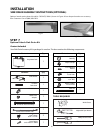
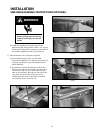
15
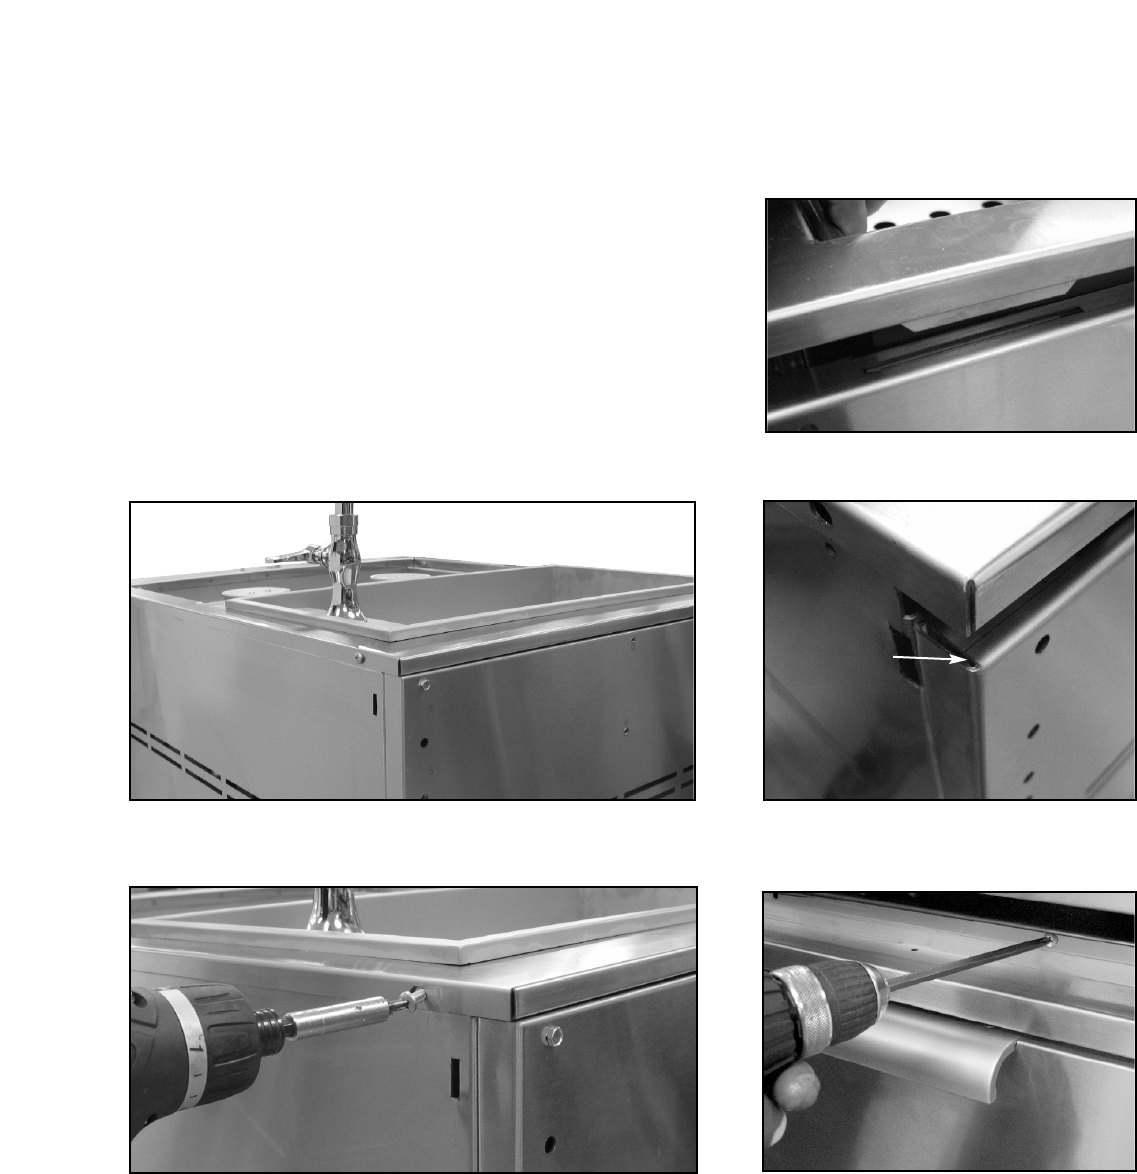
Fig. 48
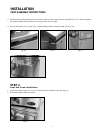
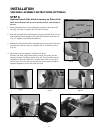
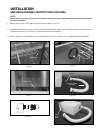
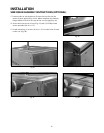
C. Position tabs on side bracket to fit into slots on the cart (be
aware of pinch points)(Fig. 44-45). When complete, the landing
ledge should sit flush on the top of the cart (no gap)(Fig. 46).
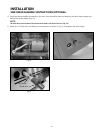
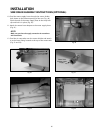
D. Secure the head to rear of cart (Fig. 47) with (2) Phillips-head
screws provided (10-24 x 1/2”).
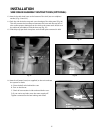
E. Install remaining (3) screws (10-24 x 1/2”) into the front of head
to the cart (Fig. 48).
Fig. 45
PINCH POINT
Fig. 47
Fig. 44
Fig. 46
INSTALLATION
SINK DRAIN ASSEMBLY INSTRUCTIONS (OPTIONAL)