Special offers from our partners!

Find Replacement BBQ Parts for 20,308 Models. Repair your BBQ today.
20 www.ducane.com
TYPE OF GAS
Yournaturalgasgrillisfactorybuilttooperateusingnaturalgasonly.Neverattemptto
operate your grill on gases other than the type specified on the grill rating plates.
Yourgrilloperatesat7"ofwatercolumnpressure.Ifreplacementofthehosebecomes
necessary, factory specified parts are required. See your local dealer.
For safety and design reasons, the conversion of a Ducane
®
grill from operation using
Natural gas to operation using LP gas requires the change out of the entire gas supply
system of the grill. If this becomes necessary, see your dealer for additional information.
WHAT IS NATURAL GAS?
Natural gas, often called methane, is a safe modern fuel. Natural gas is supplied by your
local utility and should be readily available if your house is already heated with gas.
PORTABLE INSTALLATION
Limited portability can be afforded to the grill head when mounted on the portable cart.
All grill heads mounted on this portable cart and cabinet model grills so equipped can be
moved about 10 feet away from the main gas supply. Ducane recommends moving the
grill at least two (2) feet from the gas supply and any combustible surfaces.
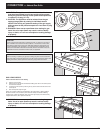
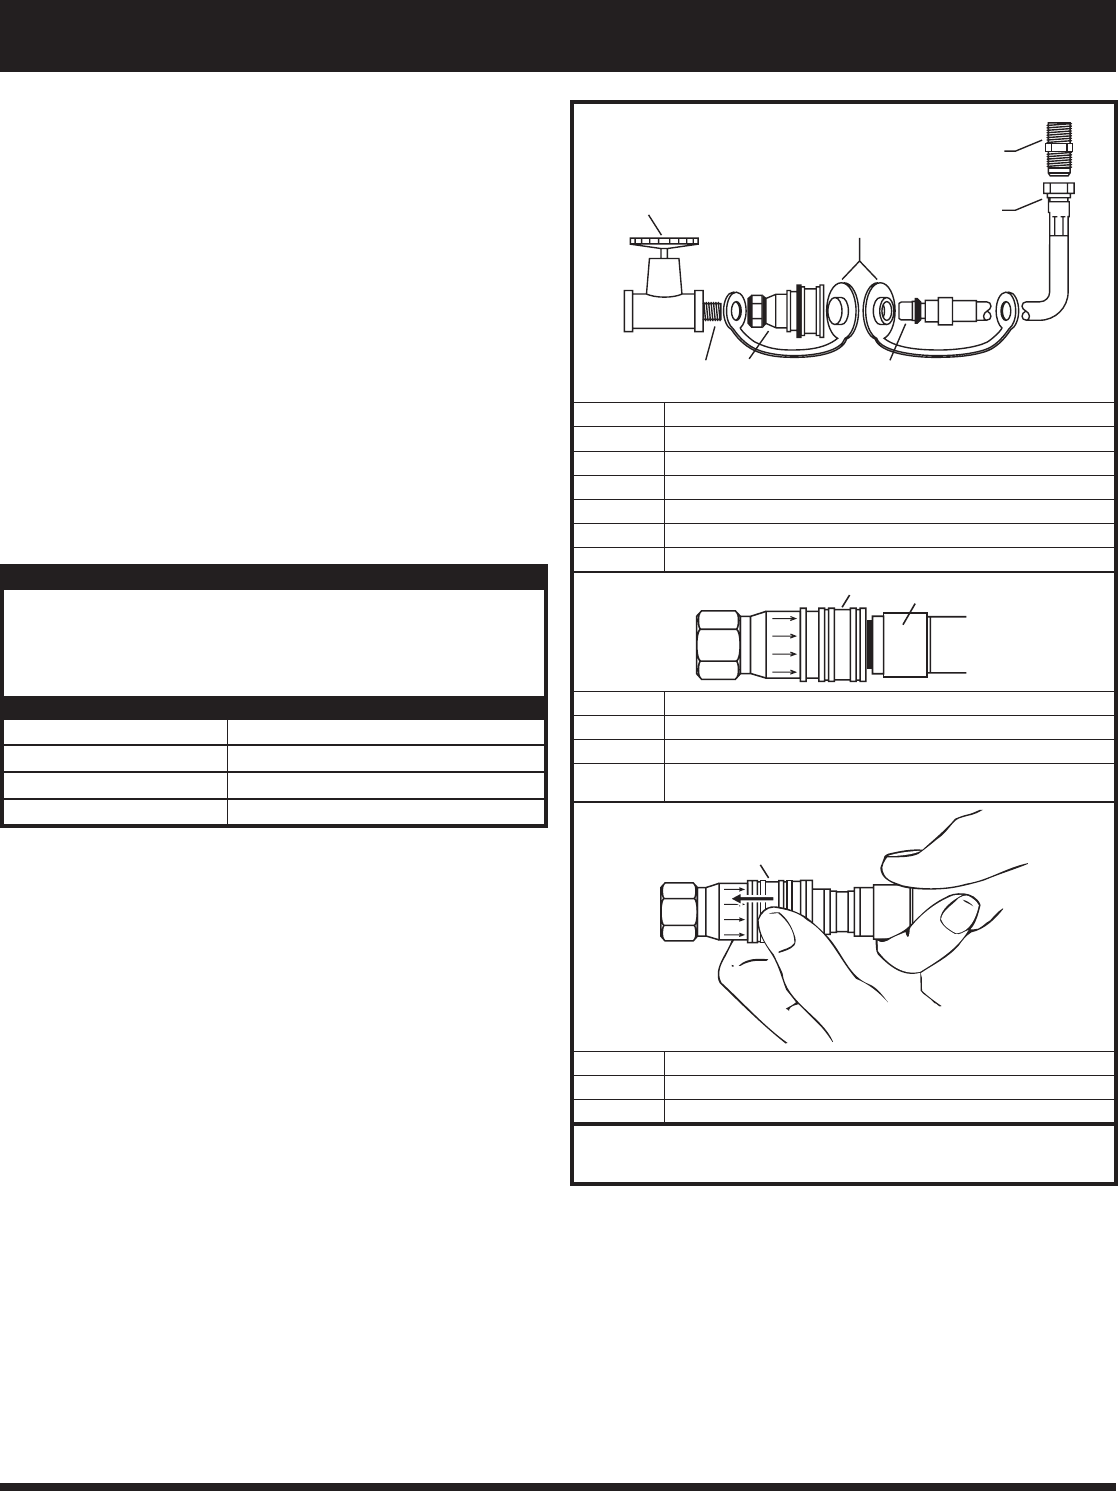
After the gas supply has been run and checked for leaks in accordance to the assembly
instructions, you are ready to grill. To connect the hose to the gas supply, pull back
the outer fitting, insert the hose fitting all of the way, and release the outer fitting. This
process will produce a gas joint.
Follow special storage instructions located in the Helpful Hints section of this manual for
proper care of your grill and its gas hose.
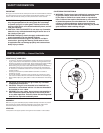
CONNECTION — Natural Gas Grills
6
5
3
7
1
2
4
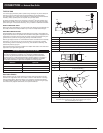
1 Flare Union
2 Swivel Connection
3 Install covers when hose is disconnected
4 Shut Off Valve
5 Coat this pipe nipple with gas resistant pipe dope
6 Socket
7 Male Connection
1
3
FLOW
FLOW
FLOW
2
4
1 Socket
2 Sleeve
3 Plug
4
Push plug until sleeve snaps forward locking plug in socket. (This turns
on gas automatically.)
FLOW
FLOW
FLOW
3
2
1
1 Socket
2 Sleeve
3 Push Sleeve Back
When properly assembled the plug cannot be removed without pushing
the sleeve back. To disconnect, push sleeve back and pull out plug.
(This automatically shuts off gas.)
Gas Leaks Checks
Before operating your grill, check carefully to be certain that all connections are tight
and there are no gas leaks. Never use a match or flame for leak detection. Use soapy
water or testing solution. Brush the solution on to connection points and look closely
for bubbles indicating escaping gas. If leaks are detected, shut off the main gas supply
valve and securely retighten connections, then repeat the leak test.
NATURAL GAS INSTALLER’S GUIDE
This guide is a recommendation for natural gas installations. It advises the installer
as to the size tubing that is necessary on a natural gas installation depending
on how far the grill is located from the house. All tubing should be anticorrosive
tin-lined copper or an AGA-approved alternate. Operating pressure of the grill is 7"
water column pressure. This should be verified after the installation is complete.
Comparable sized black iron pipe is also acceptable for natural gas lines.
Distance Pipe Size
1 - 25 feet 3/8"
26 - 50 feet 1/2"
51- 100 feet 2/3 of the run 3/4" down to 1/2"
101 feet or more 3/4"


