Special offers from our partners!

Find Replacement BBQ Parts for 20,308 Models. Repair your BBQ today.
ÖÖ
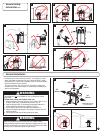
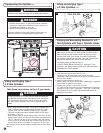
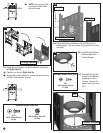
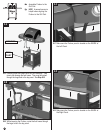
NOTE: Use a ground cloth
to protect the paint finish
during this step.
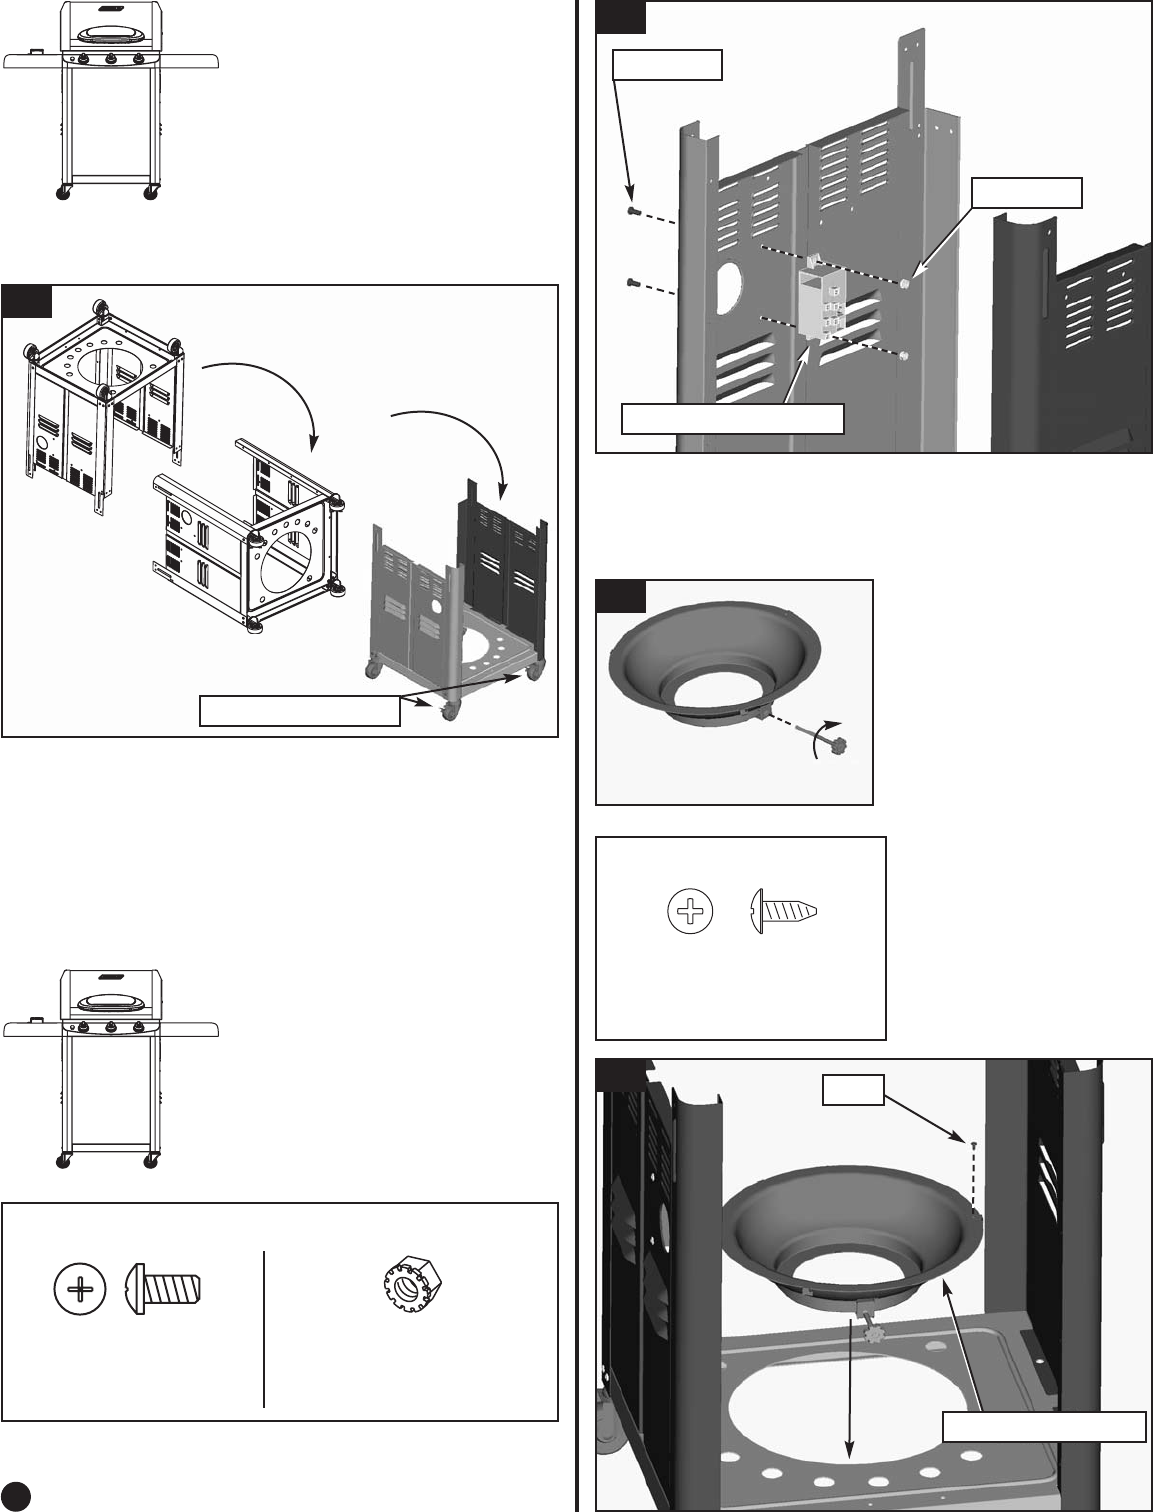
2-A. Carefully turn the grill Up-Side-Down.
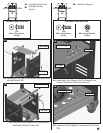
3-A
3-A. Check that all fasteners are tightened before turning the
grill Right-Side-Up.
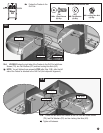
ÖÖ
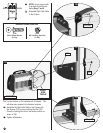
Carefully turn the grill Right-Side-Up.
ÖÖ
Engage the Locking Casters to prevent movement during
the rest of the assembly process.
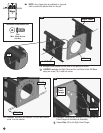
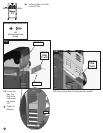
4-A. Attach the Electronic Module to the Left Panel on the
inside surface. Use two screws (AV) and two locking hex
nuts (BW).
Hardware shown actual size
(BW)
M5 Locking Hex Nut
(2) Qty.
Locking Casters
4-A
AV (x2)
Electronic Module
BW (x2)
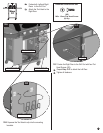
4-B
4-C
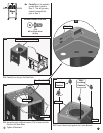
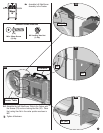
4-B. Assemble the Cylinder
Retaining Bolt to the
Cylinder Support.
(VP)
Self Tapping Screw
(1) Qty.
Hardware shown actual size
4-C. Assemble the Cylinder
Support to the Base by
engaging the tabs in
the slots. Secure the
support with one screw
(VP).
VP
Step
3
Step
4
10
Cylinder Support
(AV)
M5 x 10mm Screw
(2) Qty.


