


Special offers from our partners!

Find Replacement BBQ Parts for 20,308 Models. Repair your BBQ today.
Also check all joints and seals. On
completion of the installation and
commissioning please leave the
operating instructions with the
customer and advise them on the use
of the appliance.
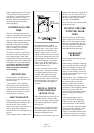
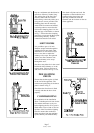
kept to a minimum and should not be
more than 125mm (5 inches) long.
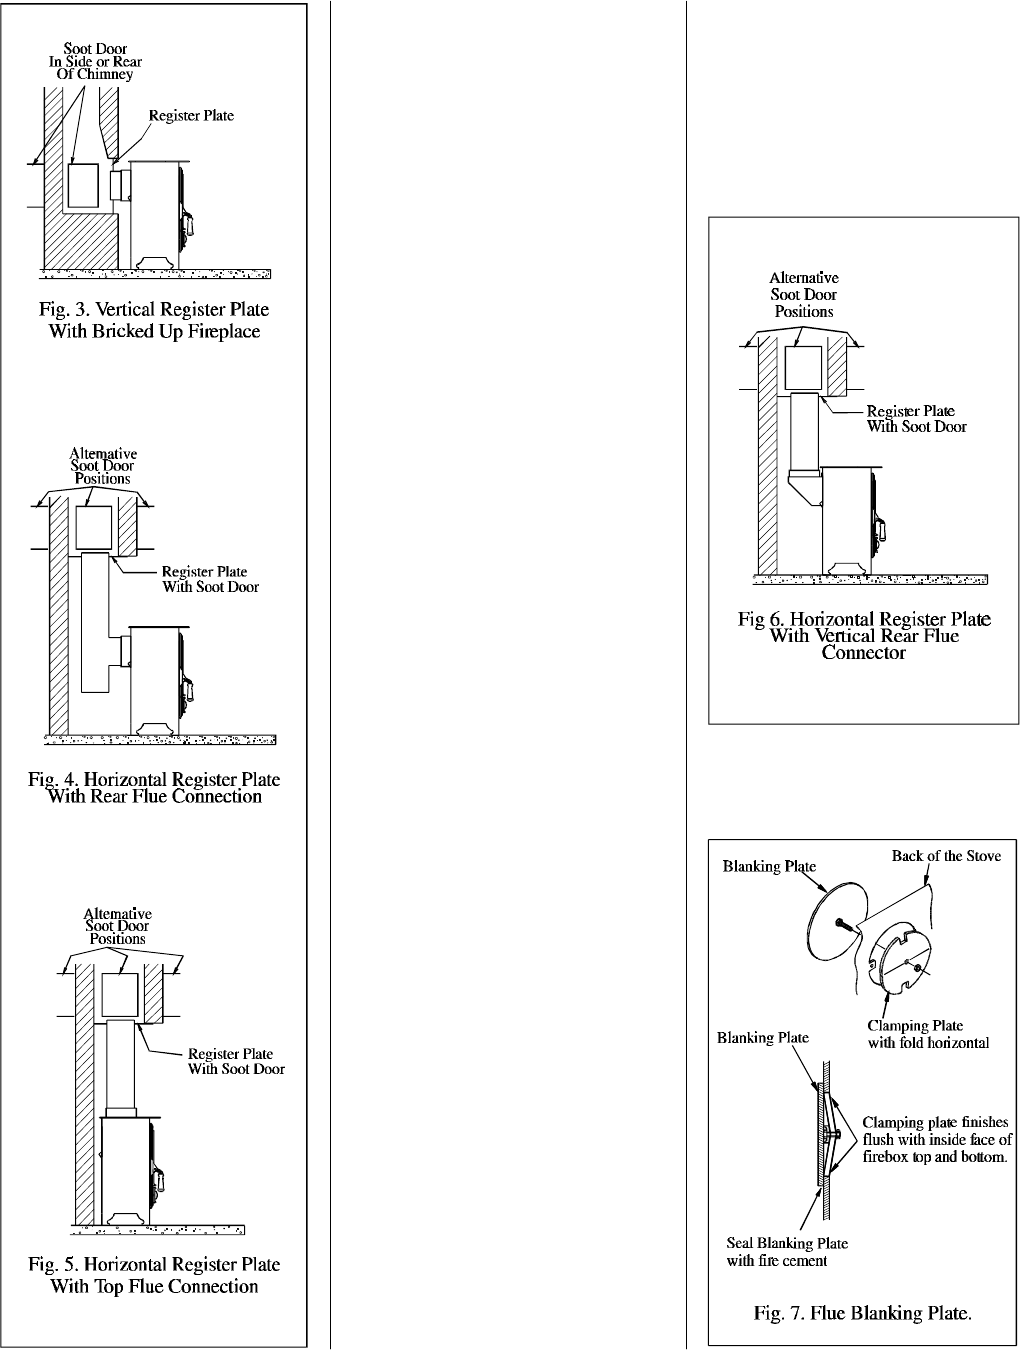
The sealing face of the flue collar
must be coated with fire cement
before fixing to the body of the stove
using the two screws provided. The
blanking plate must be removed,
sealed with fire cement and refitted,
care being taken to ensure that the
fold on the clamping plate is in line
with the lugs on the firebox as shown
in Fig. 7. Ensure that the clamping
plate does not prevent the throat plate
from seating correctly. All flue
connections must be well sealed.
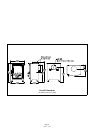
SOOT DOORS
It is possible to pass a 16 inch
diameter sweeps brush through the
appliance but in most back outlet
installations it will be necessary to
have a soot door to enable the
chimney to be swept. The optional
vertical rear flue connector does
allow the chimney to be swept
through the stove.
Soot doors may either be in the actual
brickwork of the chimney or in the
register plate. Various positions of
soot doors are shown in Figs. 3 to 6.
PRE LIGHTING
CHECK
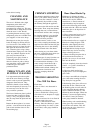
Ensure that the throat plate is fitted
in the roof of the appliance. The
location and positioning of the throat
plate is shown in Fig. 2.
Check that the front fence is fitted
correctly and that the door closes
properly.
COMMISSIONING
On completion of the installation
allow a suitable period of time for the
fire cement and mortar to dry out
before lighting the fire. If no grate is
fitted make a layer of ash or sand on
the base of the stove before lighting.
Check to ensure that smoke and
fumes are taken from the appliance
up the chimney and emitted safely.
Page 7
Country 4 7/98 b