Special offers from our partners!

Find Replacement BBQ Parts for 20,308 Models. Repair your BBQ today.
ASSEMBLY
2
1
Tools required for assembly:
Phillips Screwdriver (Not Supplied); Small Adjustable Wrench (Not Supplied)
•
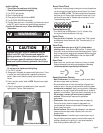
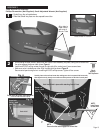
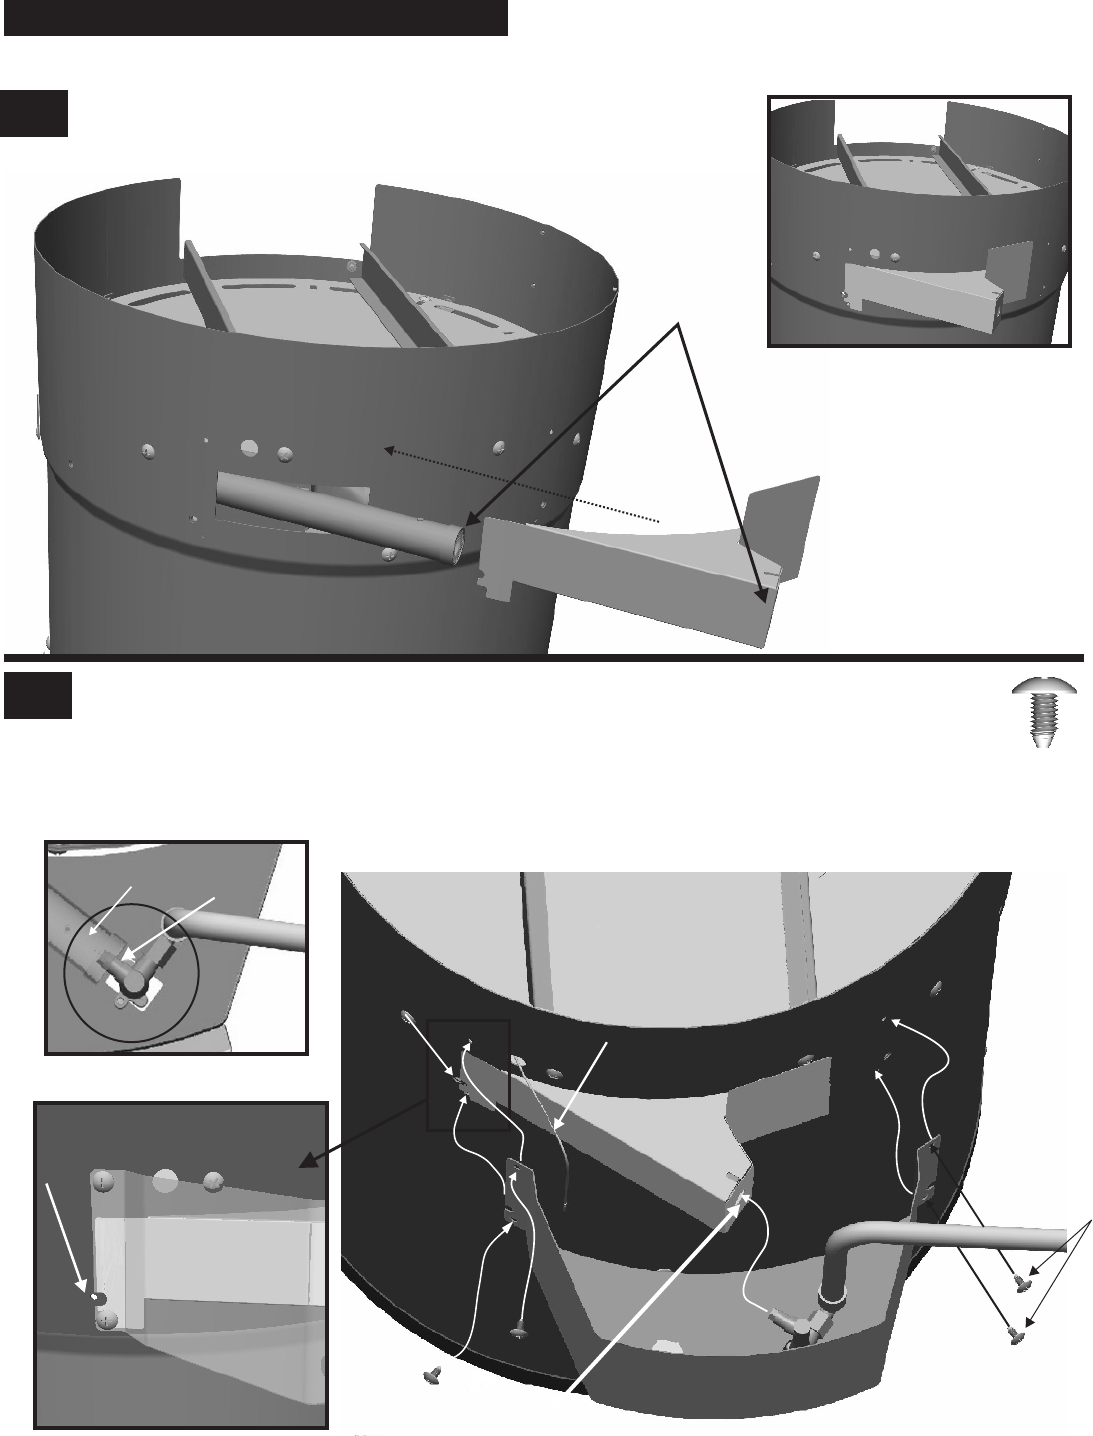
Carefully turn the unit upside down.
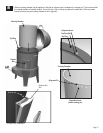
Slide Heat Shield into place over the exposed burner tube.
•
Align hole in
Heat Shield
with end of
Burner Tube
Heat Shield in Position
•
While holding the Heat Shield in place, slide the Control Panel Assembly into place, taking care to ensure that
the valve engages the burner tube. shown Figure A
•
Install two #10x3/8" self-tap screws through the right side of the control panel. Leave screws loose.
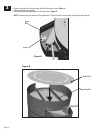
Make sure valve is inside burner tube. Align the heat shield as shown Figure B.
•
Hold Heat Shield in place while attaching Control Panel
NOTE:
Install these
NOTE:
Ensure that the valve engages the burner tube
Ignitor Wire
Qty: 4
#10x3/8"
Self-Tap Screw
Fig. A
Proper Valve to Burner Tube installation
(veiw from underneath control panel)
Page 13
Burner
Tube
Valve
End
Ignitor Wire
Screw hole
for leg - used
later.
screws first!
Fig. B
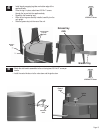
Secure control panel using the two remaining #10x3/8” self-tap screws. Tighten all four screws.
Screw hole
for leg - used
later.
Heat shield
Control
Panel
Carefully insert valve end into burner tube making sure valve is centered with burner tube,
after aligned correctly, loosely secure with two self-tap screws on RH side of control panel.


