Special offers from our partners!

Find Replacement BBQ Parts for 20,308 Models. Repair your BBQ today.
Seasoning Method
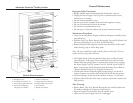
• Clean Racks, Drip Tray, Drip Bowl and Rectangular Tray and place in
smoker.
• Fill the Drip Bowl half full of water.
• Load the Feeder Tube with 5 Bisquettes. Note‑ Each Bisquettes burns for
20 minutes. The 2 extra Bisquettes are meant to push the final Bisquette
onto the Burner. These last 2 Bisquettes will not advance onto the Burner.
• Open the Vent Cover slightly at the top of smoker tower.
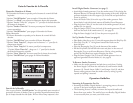
• Press “On/Off Smoker” to turn on.
• Press “>>>Wood” three times to advance a Bisquette onto the Burner.
• Set the “Smoker Timer Set” for 1 hour.
• Press “On/Off Oven” to turn on.
• Set “Oven Temp Set” to 150° F (66° C).
• Set the “Oven Timer Set” to 1 hour.
Note: Your smoker will be seasoned having reached 150° F and
smoked in for 1 hour.
Getting Started
• After seasoning the smoker, refill the Drip Bowl half full with water.
• Load desired amount of Bisquettes into the Feeder Tube.
• Press the “On/Off Smoker” to turn the smoke generator on.
• Press “>>> Wood” three times to advance a Bisquette onto the Burner.
• Press “Smoker Timer Set” for length of smoking time.
• Place your food onto the Racks and load them into the smoker.
• Set the Damper to the desired opening.
• Press the “On/Off Oven” to turn smoker oven on.
• Press “Oven Temp Set” to set the heat.
• Press “Oven Timer Set” to set length of cooking time.
Please see “Display Function Guideline” for further direction.
• Cold Smoke- Use the generator only.
• Hot Smoke- Use the generator and the oven together.
Display Function Guideline
Digital Smoke Generator
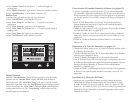
• Smoke Generator operated by left side control buttons.
• Press “On/Off Smoker” to turn Smoke Generator on.
• Press “>>> Wood” to advance Bisquettes onto Burner.
9
Guía de Operación
Curado y Preparación para Uso
* Curando el Ahumador Numérico Bradley es un proceso que marcha, entre
mas lo hace, las comidas tendrán mejor sabor.
* El Proceso de Curado es principalmente para remover los olores y sabores
imparciales de su ahumador. El olor de su nuevo Ahumador Numérico
Bradley no es necesariamente como quiere usted que sepa su comida.
1.
A.
2.
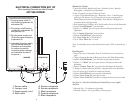
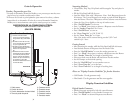
AHUMADOR GENERADO
B.
D. E.
3.
C.
4.
1. Primero enchufe el cable
sensor (1) en la parte posterior
del generador (A) y el ahumador
(B).
2. Enchufe el cordón de cierre (2)
en los enchufes en el ahumador
(C) y en el generador (D).
3. Enchufe el cordón abastecedor
de electricidad (3) en el contacto
eléctrico en el generador
(E).
4. Finalmente enchufe el cordón
abastecedor de electricidad (3)
en la toma de poder de pared
(4). (Los cordones de extensión
deberan ser para uso exterior y
la conexión con el cordón
de extensión deberá estar seca y
encima del suelo).
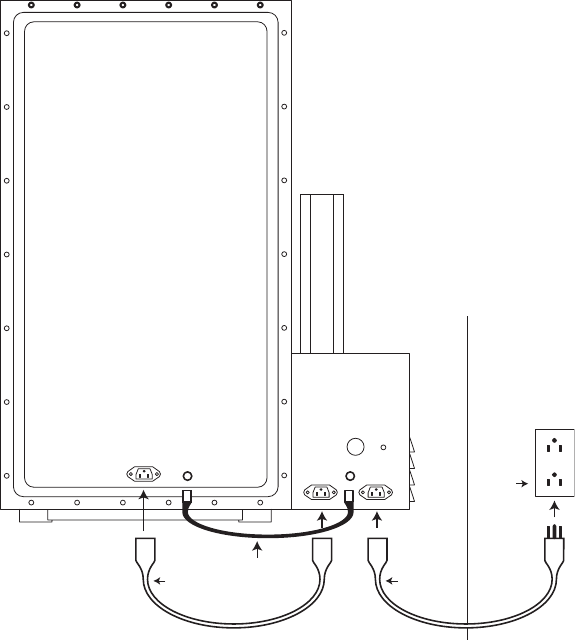
DISPOSICION DE LA CONEXION ELECTRICA
Despues de montar el Generador al lado del Ahumador
(EN ESTE ORDEN)
1. Cable sensor
2. Cordón de cierre
3. Cordón abstecedor de electricidad
4. Toma de poder de pared
A. Contacto sensor
B. Contacto sensor
C. Contacto macho
D. Contacto hembra
E. Contacto macho
36


