


Special offers from our partners!

Find Replacement BBQ Parts for 20,308 Models. Repair your BBQ today.
3
Owner’s manual and assembly instructions: model 252719 portable outdoor fireplace 4/02
Contact 1-800-762-1142 for assistance.
Do not return to place of purchase.
Assembly Instructions
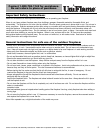
For Best Results:
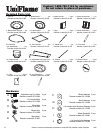
Remove all contents from packaging and make sure all parts are present before attempting assembly. While
assembling, tighten all bolt connections by hand first. Then, when the fireplace is fully assembled, go back and
tighten with wrenches.
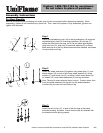
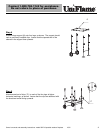
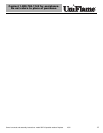
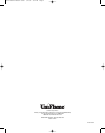
Step 1
Attach two adjustable leg cups (14) to two leg extensions (18) using two
adjustable leg-cup bolts (A). Insert leg extensions (18) into legs (7),
assure the holes on the two legs are in line and attach legs together
using front axle (12), wing nuts (C) and small washers (G), as shown.
Make sure the rim of the cup faces downward when attached, and bottom
of cup touches end of leg.
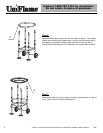
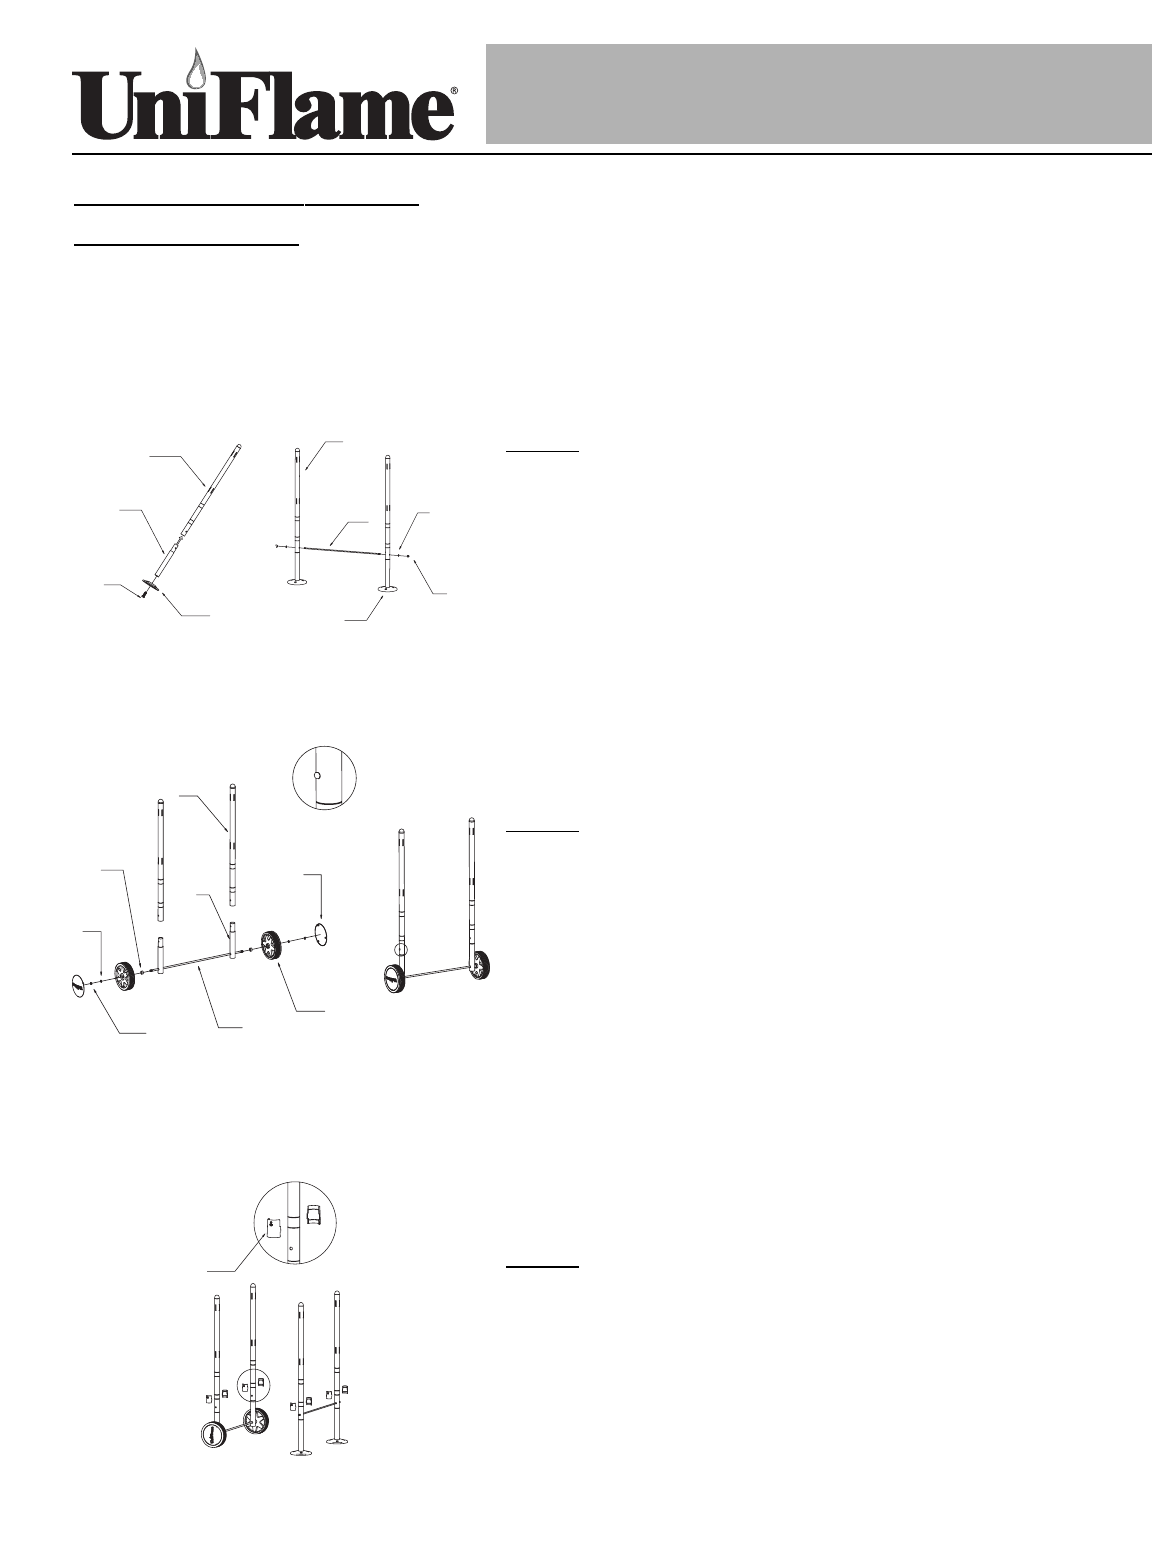
Step 2
Attach two wheel extensions (8) together using wheel axle (11), and
attach wheels (15) to ends of axle using wheel standoffs (I), wheel
washers (F), and wheel nuts (D), as shown. Install wheel decals (16)
on wheels (15). Insert wheel extensions (8) into legs as shown.
Note: The end of wheel extension has a lock pin. Push pin down, then
insert the wheel extension into leg and turn the wheel extension
to assure the pin insert into lock holes on leg.
7
18
A
14
7
12
G
C
14
I
F
D
11
8
7
15
16
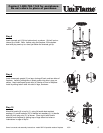
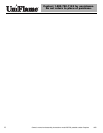
Step 3
Attach first set of clips (17), to each of the four legs at the lowest
horizontal marking, as shown. Assure that the clips are attached with
the directional arrow facing upwards.
17